While initiating a manual scan with Windows Security is easy, having direct access to all scan options would be easier. Here’s how you can set Windows Security scan shortcuts.
1. Create a Quick Scan Desktop Shortcut
This method will create a Windows Security Quick Scan desktop shortcut.
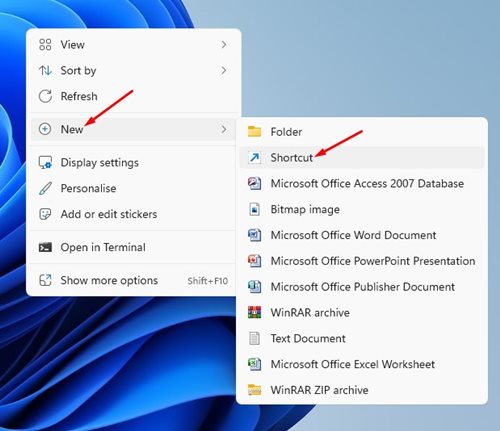
1. Right-click on a blank space on your desktop and select New > Shortcut.
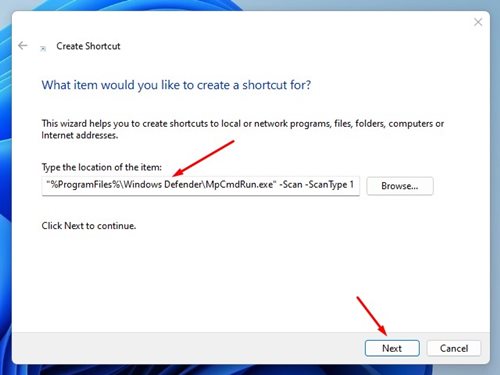
2. Enter the following path and click Next.
"%ProgramFiles%\Windows Defender\MpCmdRun.exe" -Scan -ScanType 1
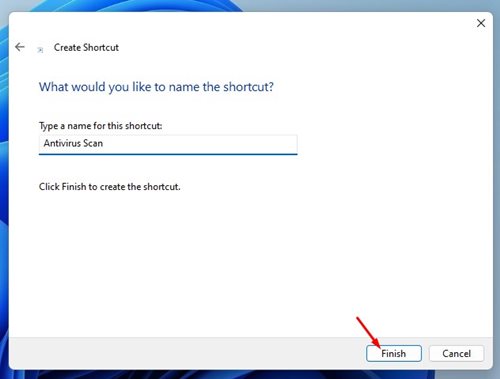
3. In the shortcut name window, enter a shortcut name, such as Security Scan or Antivirus Scan, and click Finish.
4. You will find the new shortcut on your desktop. Double-click on it to run the scan.

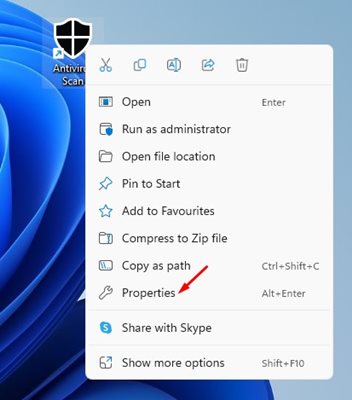
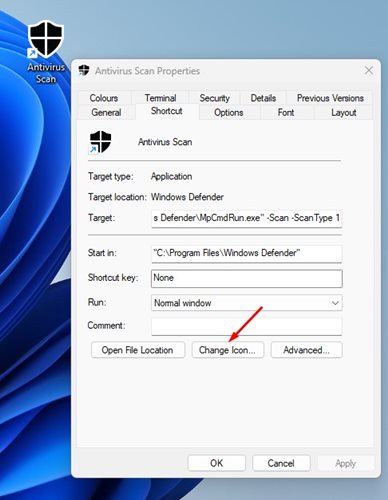
5. If you want to customize the shortcut, right-click on it and select Properties.
6. On the shortcut properties, click on the Change icon.
7. On Look for icons in this file: field, paste the path:
%ProgramFiles%\Windows Defender\EppManifest.dll
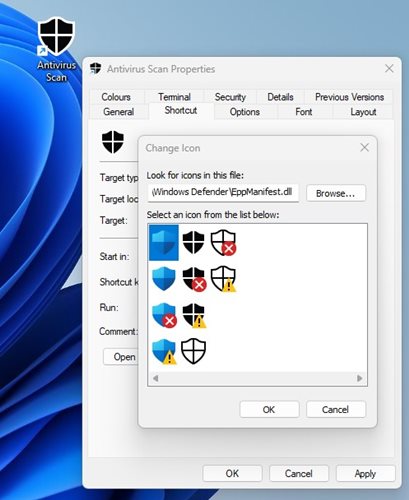
7. Select the icon you want to set and click Apply.
2. Create Windows Security Scan Options Shortcut
You can create a desktop shortcut to open the Windows Security Virus and Threat Protection page. Here’s how to create it.
1. Right-click on a space on your desktop and select New > Shortcut.
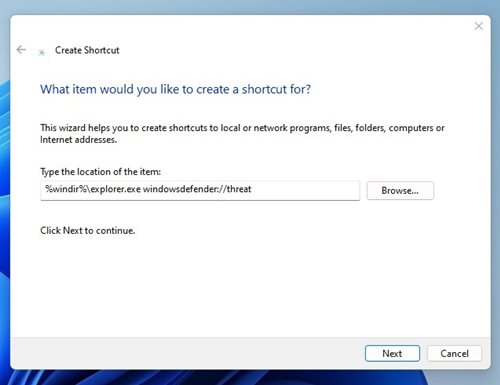
2. In the Type the location of the item field, enter the following path and click Next.
%windir%\explorer.exe windowsdefender://threat
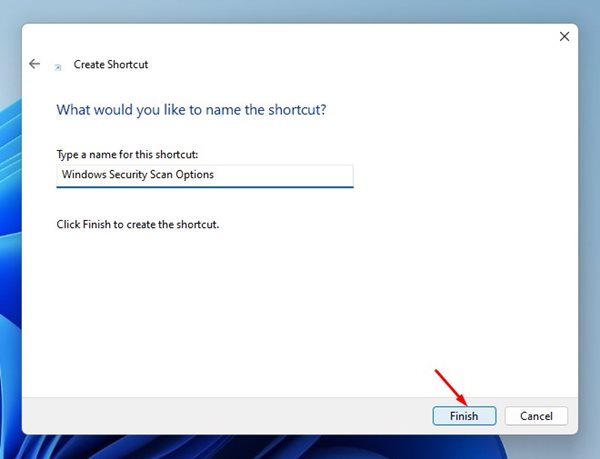
3. On the Name the shortcut Window, name the shortcut file anything you wish, such as Scan Options, Security Scan, or Virus and Threat Protection.
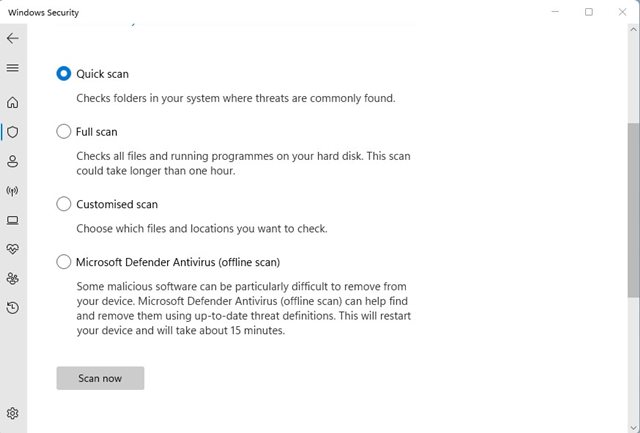
4. Double-click the shortcut file you have created and select the scan options.
3. Add Windows Security to the Context Menu
If you want an even easier way to access the Windows Security app on your Windows 11, you can add a shortcut to the Context menu.
1. Visit this link and download the Winaero Tweaker ZIP file.
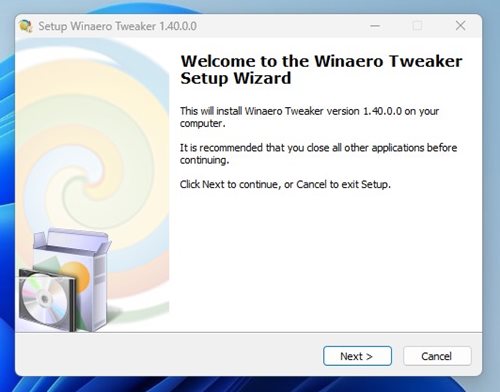
2. After downloading the ZIP file, extract it and run the WinaeroTweaker executable file. Follow the on-screen instructions and complete the installation part.
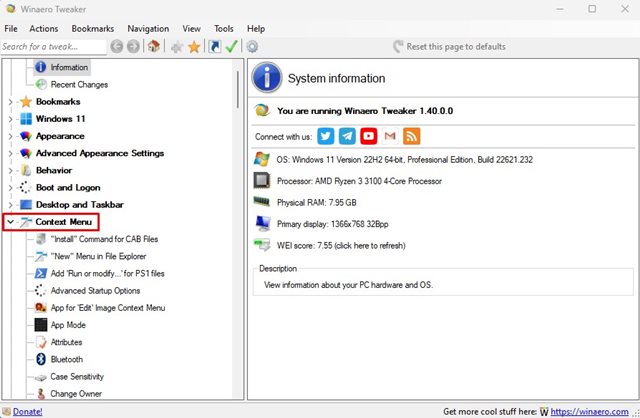
3. Run Winawer Tweaker and double-click the Context menu.
4. Select Windows Security on the left. On the right side, check the Add Windows Security submenu in the Desktop context menu.
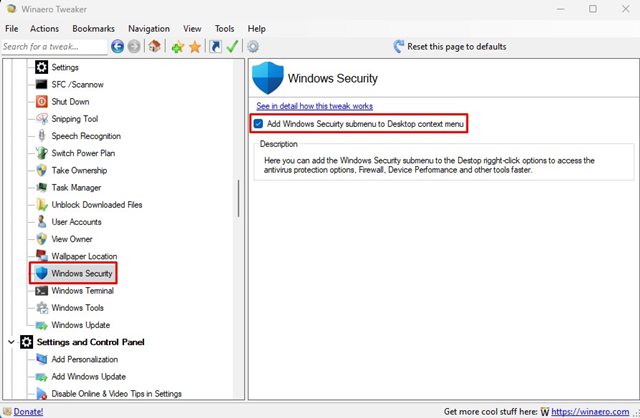
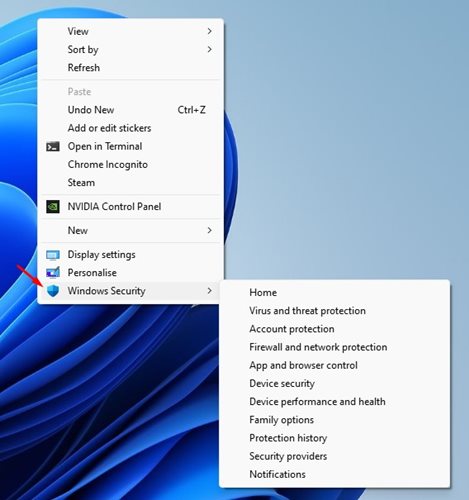
5. This will add the Windows Security submenu to your context menu on Windows 11. Right-click on your desktop and select Show more options > Windows Security.
Also Read: How to Check DirectX Version on Windows 11
These are the best ways to create Windows Security Scan shortcuts in Windows 11. Use these scan shortcuts whenever you want to perform a search.


