Sleep mode keeps your active programs and games running while saving battery power. While this is helpful for PCs because it reduces power consumption, it sometimes doesn’t work as expected.
Many Windows 11 users have recently complained about Sleep mode not working on their devices. If you are facing issues while enabling the Sleep mode on Windows 11, here’s what you can do.
1. Make sure the Sleep Mode is Turned On
Before trying other methods, ensure the Sleep Mode is enabled on your Windows 11. To confirm whether Sleep mode is enabled, follow these steps.
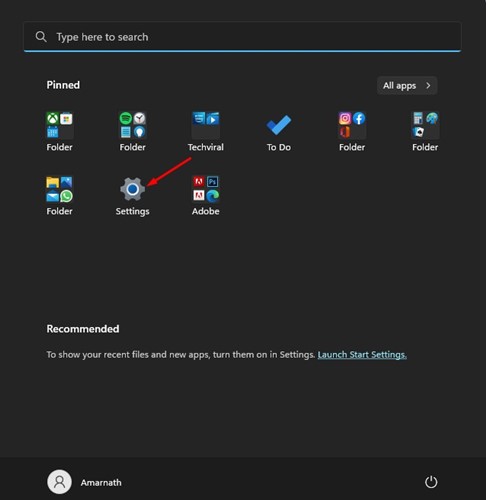
1. Click on the Windows 11 Start Button and select Settings.
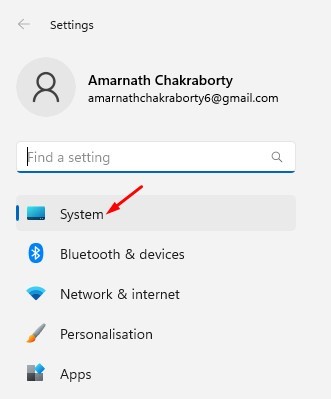
2. Click the System tab on the left pane.
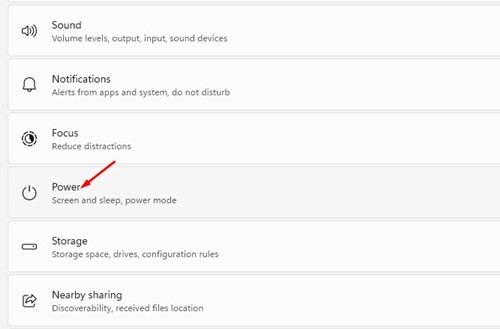
3. Click the Power button.
4. Click on the Screen and Sleep option.
5. If you’ll find two options on the Screen and sleep. To activate the sleep mode, specify the time in the drop-down.
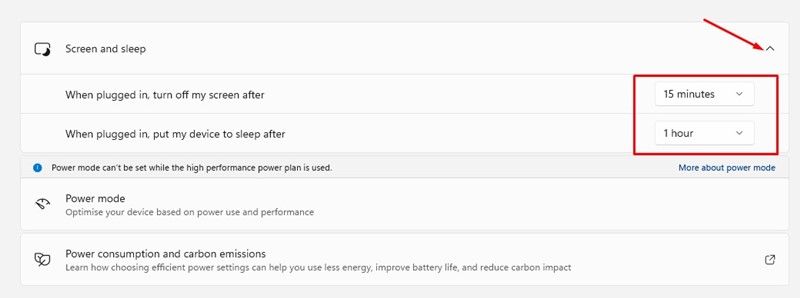
Sleep mode is probably enabled if you’ve already specified the time for the Screen and sleep. If it isn’t, specify the time and activate the Sleep mode.
2. Disable the Fast Startup
Many Windows 11 users have claimed to fix the Sleep mode not working on Windows 11 by disabling Fast Startup. So, you can try disabling the Fast Startup option.
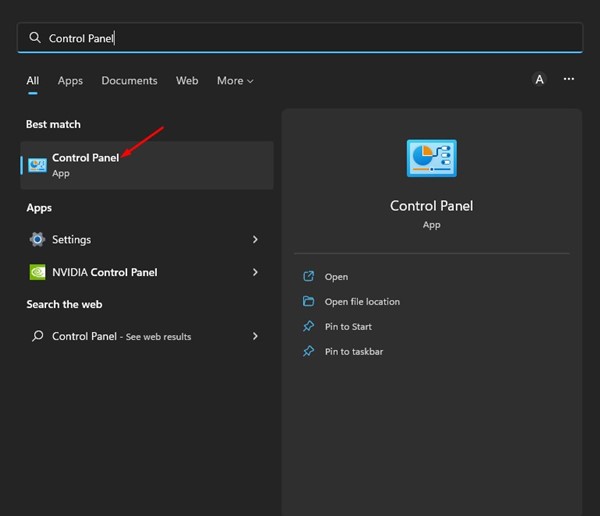
1. Open the Control Panel app from the Windows Search.
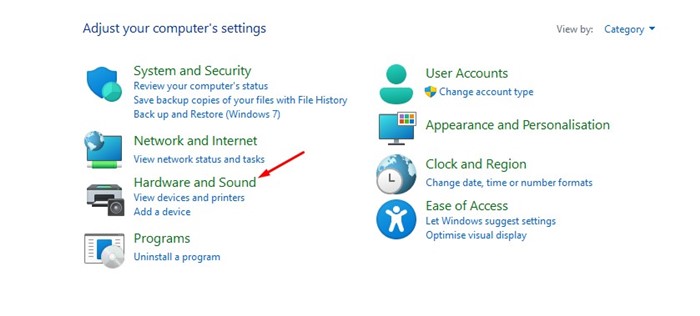
2. Click on the Hardware and Sound option on the left sidebar.
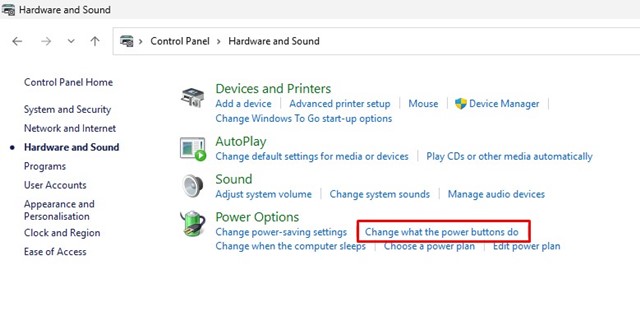
3. Click on the Power Options or Change What the power buttons do link.
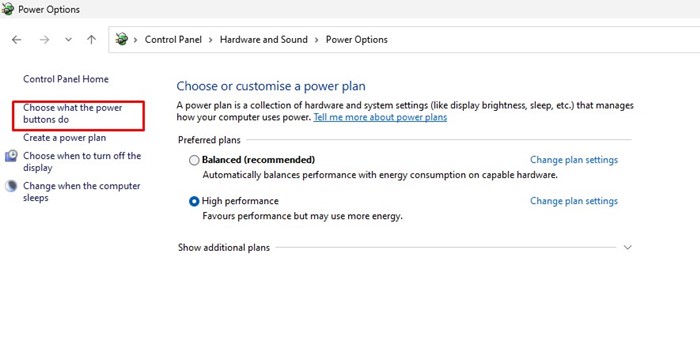
4. Click on the Choose what the power buttons do link.
5. Click on the Change Settings that are currently unavailable.

6. Next, on the define power buttons and turn on the password protection screen, uncheck the Turn on fast startup (recommended) option.
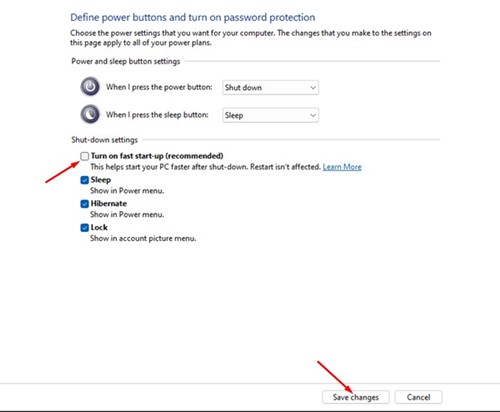
7. After making the changes, click on the Save Changes button.
After making the changes, restart your Windows 11 computer. This will probably fix the Sleep mode not working problem on your device.
3. Disable Wake Up Devices on Windows 11
Even a slight movement of the mouse and a keypress can wake your computer from Sleep Mode. If you have a problematic mouse, the removable device is probably preventing Windows 11 from going into sleep mode. Therefore, you must disable the Wake Up Devices from the Device Manager.
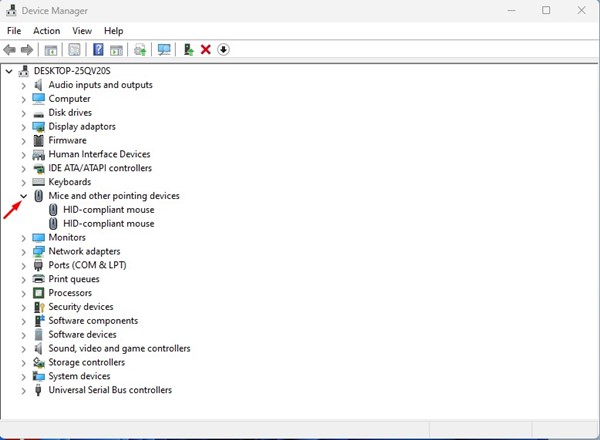
1. Open the Device Manager app from the Windows Search.

2. Expand the Mice and other pointing devices in the Device Manager.
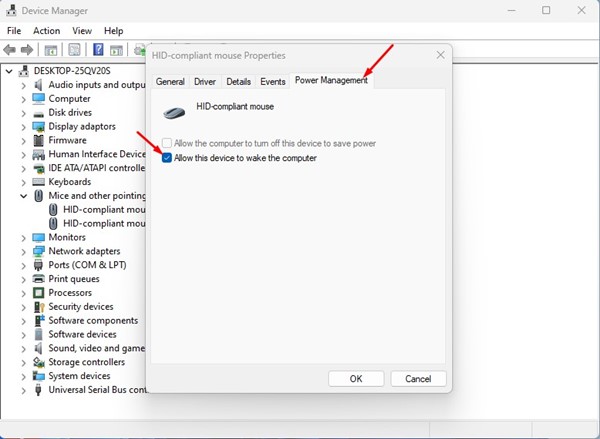
3. Right-click on the HID-compliant mouse and select Properties.

4. On the HID-Compliant Mouse Properties, uncheck the ‘Allow this device to wake the computer’ option and click the OK button.
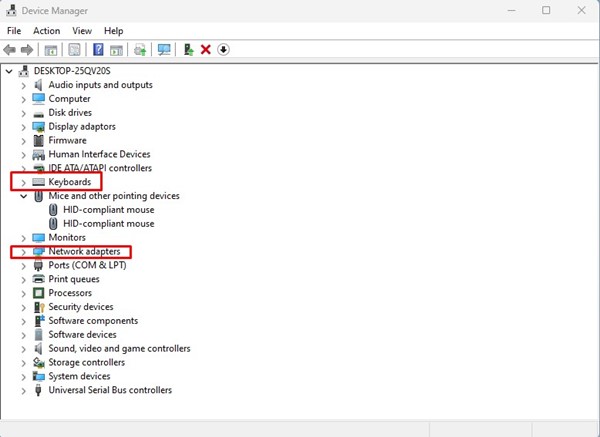
5. You must repeat the same steps for the Network Adapter and keyboards.
4. Find & Remove Background Processes and Apps
If your Windows 11 PC still does not go into sleep mode, you must find and remove the programs preventing it from sleeping. To do this, you need to use the Windows Terminal app.
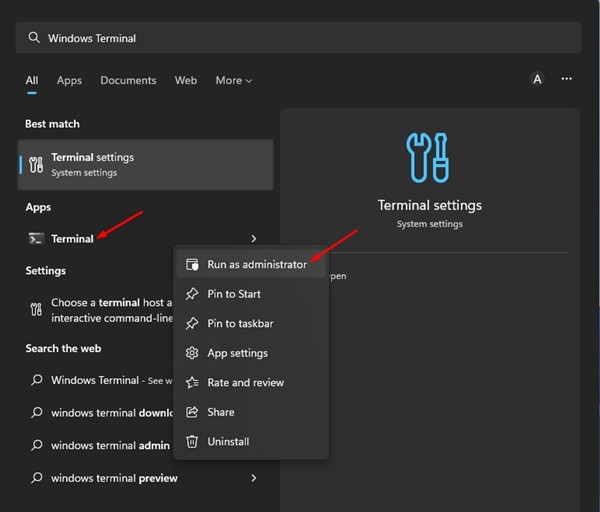
1. Click the Windows 11 search and type in Windows Terminal. Next, right-click on the Windows Terminal and select Run as administrator.
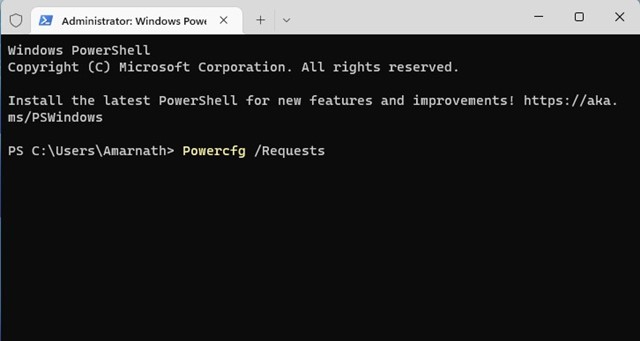
2. Type in the following command and enter.
Powercfg /Requests
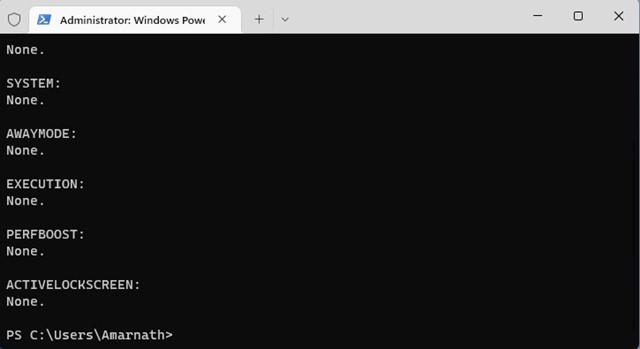
3. The Windows Terminal will return with all programs, preventing your PC from entering Sleep mode. Find the problematic program and close it.
5. Modify the Power Plan Settings
In this method, we will make a few changes to the Power Plan settings to fix the Sleep mode not working issue.
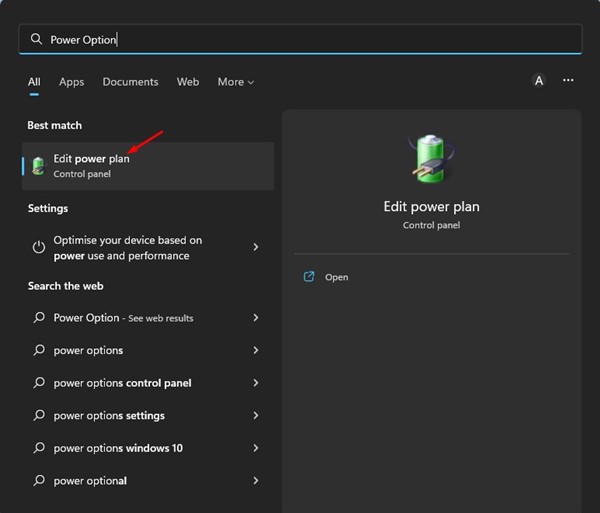
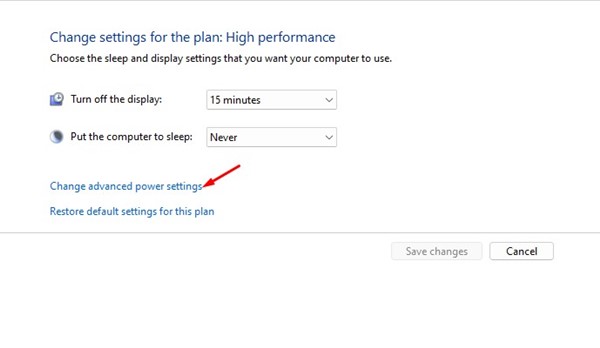
1. Click on the Windows 11 Search and type Power Options. Next, open the Edit Power Plan option from the list.
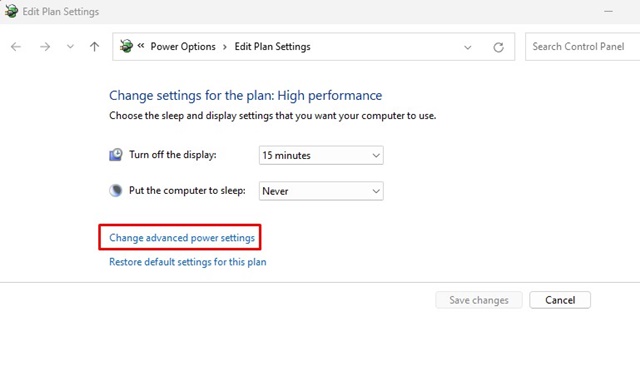
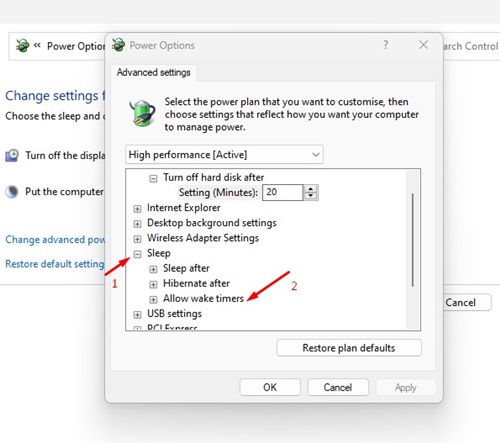
2. Click on the Change advanced power settings option.
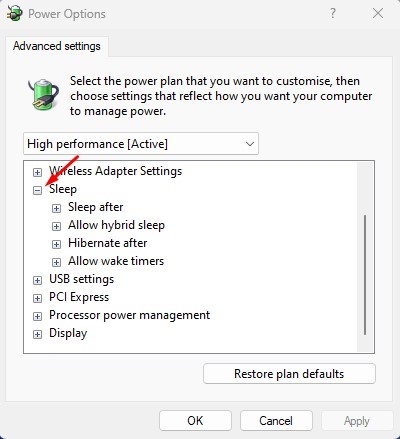
3. On the Power Options pop-up, expand the sleep option.
4. Expand the Allow wake timers section and select Disable for On battery and Plugged in.
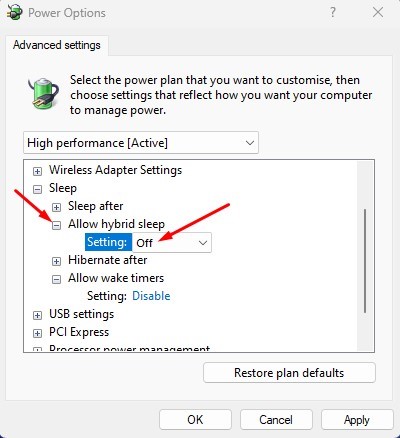
5. Expand the Allow hybrid sleep section and select ‘Off’ for On battery and Plugged in.
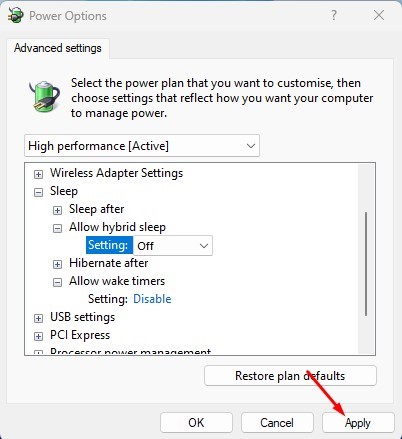
6. After making the changes, click Apply.
6. Disable the Screensaver
Disabling the screensaver is one of the best things you can do to resolve sleep mode not working on Windows. The screensaver feature can prevent your computer from going to sleep. So, it’s best to check and turn off the Windows Screensaver to eliminate the sleep mode not working problem.
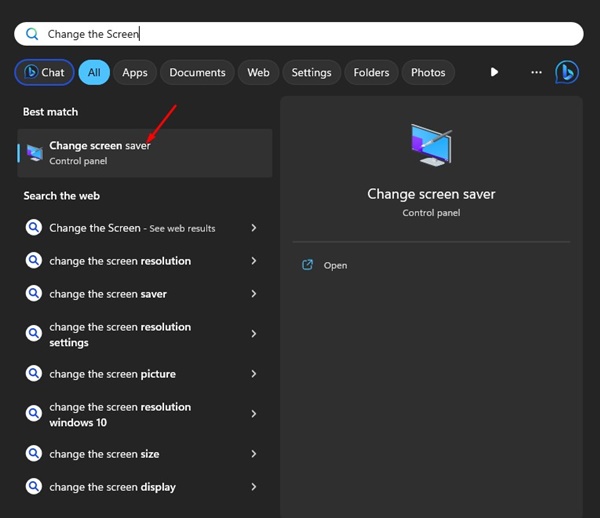
1. Click on Windows Search and type Change the Screensaver. Now open the Change Screensaver app from the list.
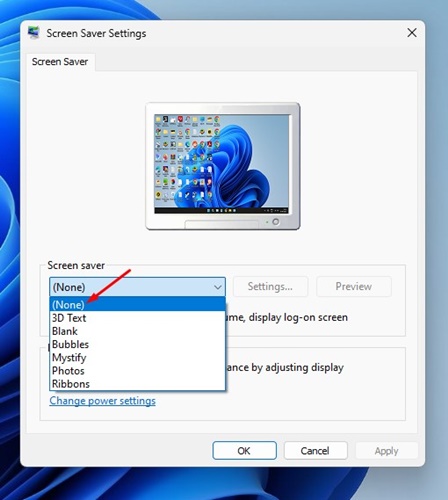
2. This will open the Screen Saver Settings prompt.
3. Click on the Screen Saver drop-down and select None.
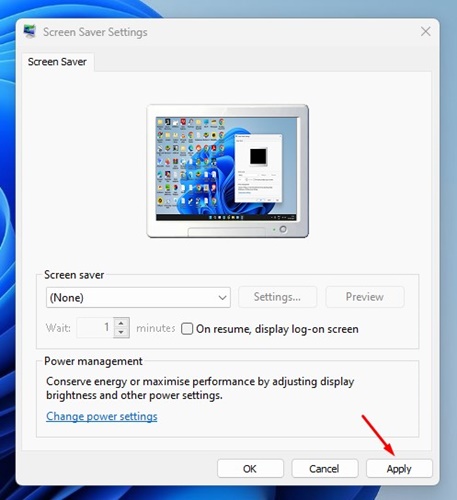
4. Click the Apply button and then OK.
7. Disable the Wake Timers
Wake Timers are the processes that wake up your computer from sleep mode. Sometimes, Wake Timers can even prevent your PC from entering Sleep mode. So, it’s best to disable the Wake Timers to resolve the issue of the sleep mode not working.
1. Click on the Windows Search and type Power Options. Open the Edit Power Plan app from the list.

2. Click on the Change Advanced power settings link.
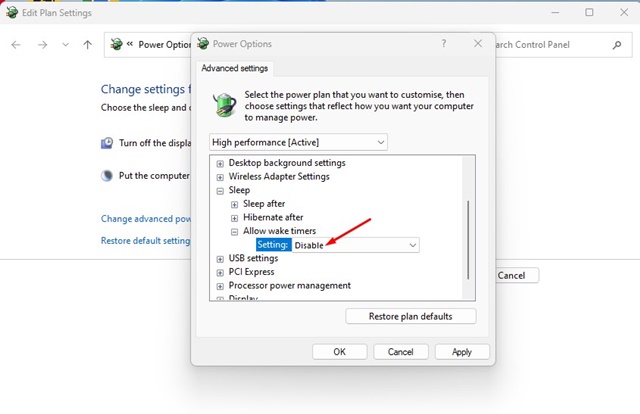
3. Navigate to Sleep > Allow Wake Timers.
4. You must confirm that the On Battery and Plugged In are set to Disable.
5. After making the changes, click on the Apply button.
8. Restore Power Plan Settings to Default
If your Sleep Mode does not work, the next best option is to restore your power plan settings to their default. This will correct any incorrect settings.
1. Click on Windows Search and type Edit Power Plan. Then, open the corresponding option in the search results.
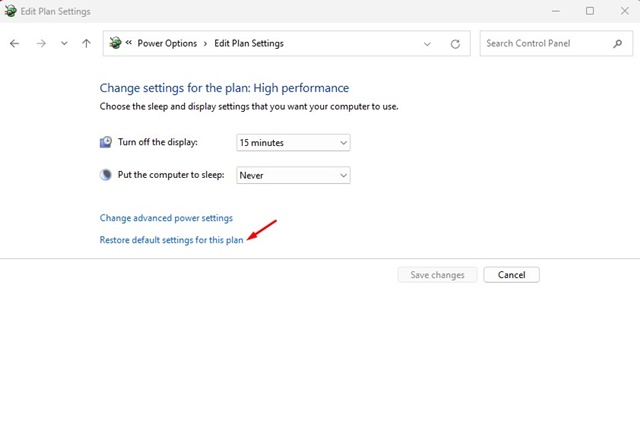
2. Click on Change Advanced Power Settings. Or else, select your active power plan.
3. Click on the Restore default settings for this plan option.
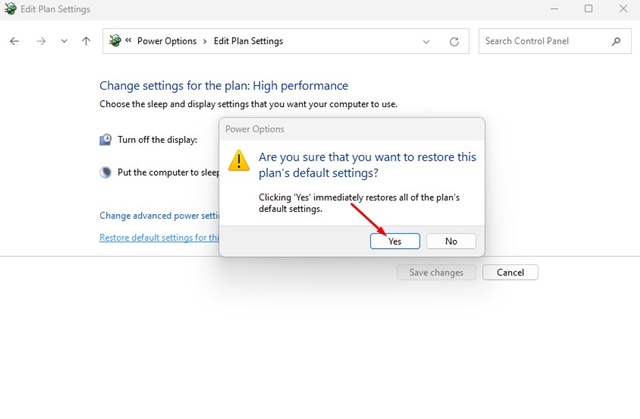
4. Click on the Yes button.
9. Run the Power Troubleshooter
If everything fails to fix your device’s Sleep mode problem, you need to run the Power Troubleshooter and follow the simple steps we have shared below.
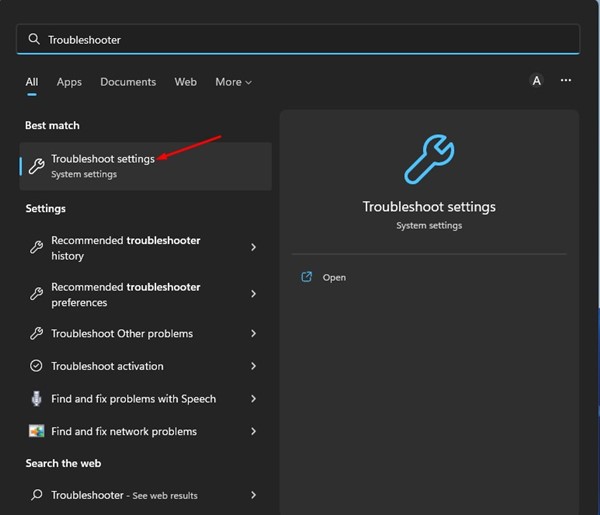
1. Click on the Windows 11 Search and type in Troubleshooter. Next, open the Troubleshoot settings from the list of results.
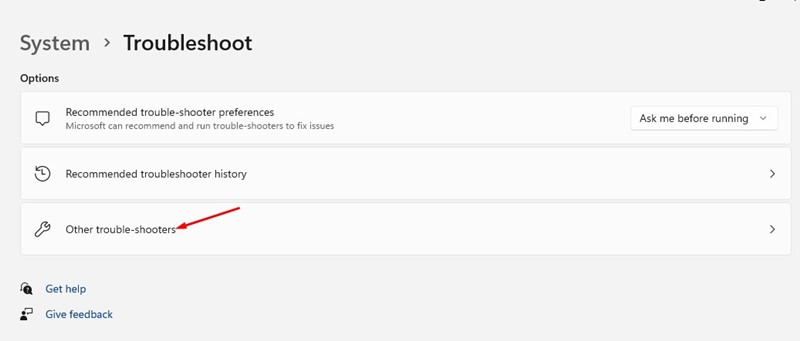
2. Select the Other trouble-shooters option.
3. Scroll down and click the Run button beside the Power.
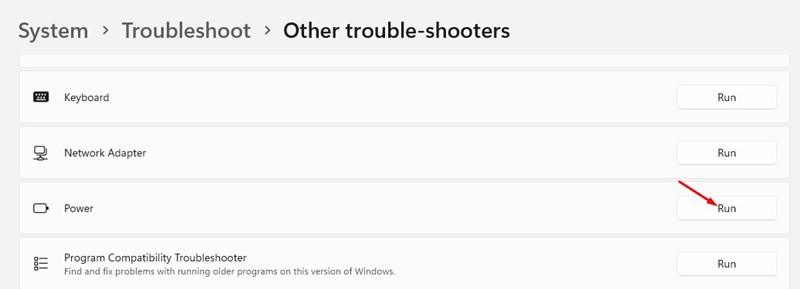
4. This will run the Power Troubleshooter on your Windows 11 computer.
10. Scan Windows 11 for Viruses & Malware
Viruses & Malware can prevent your Windows 11 PC from going to sleep. This happens when malicious programs run silently in the background and prevent your PC from going to sleep.
If none of the methods worked for you to fix Sleep Mode not working, it is time to scan your PC for potential malware. Here’s how to scan for malware on Windows 11.
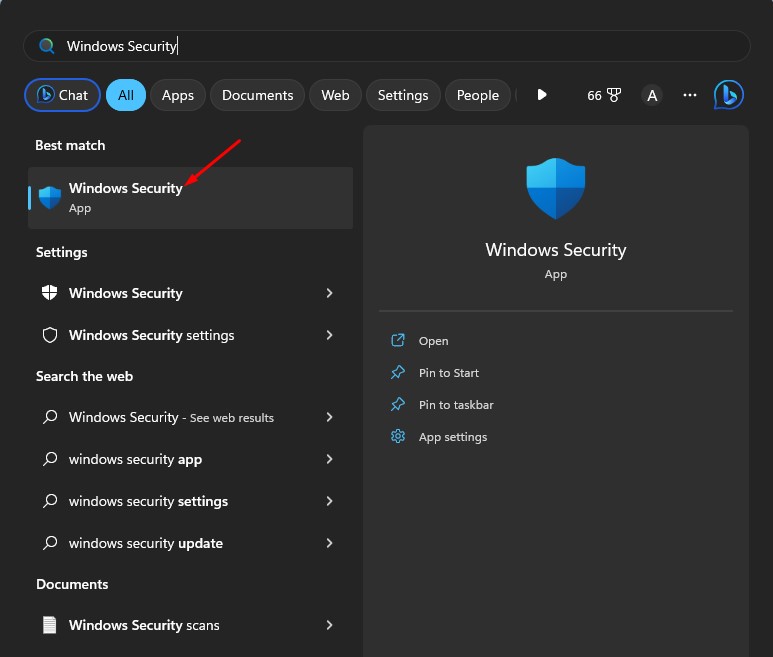
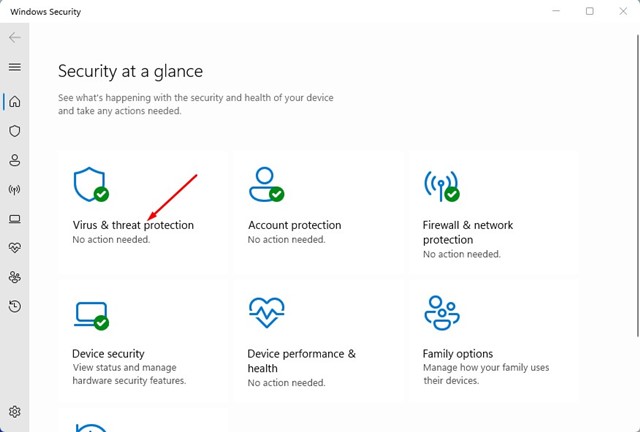
1. Open the Windows Security app from the Windows Search.
2. Switch to the Virus & Threat Protection.
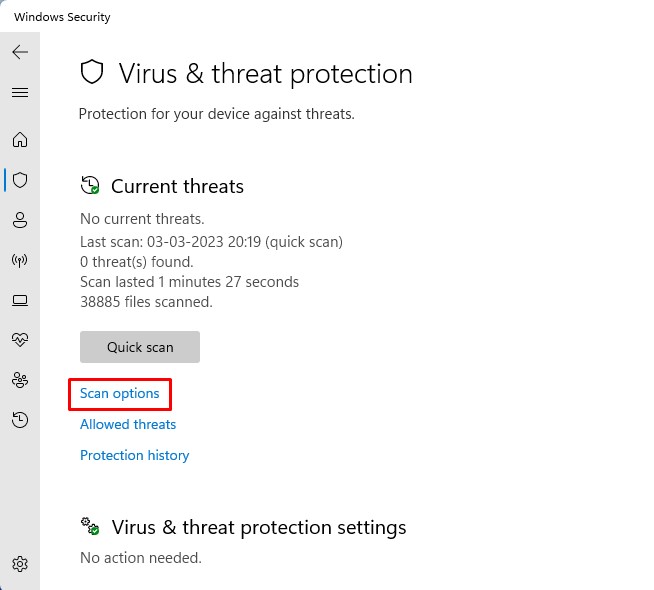
3. Click the Scan Options under the Current Threats.
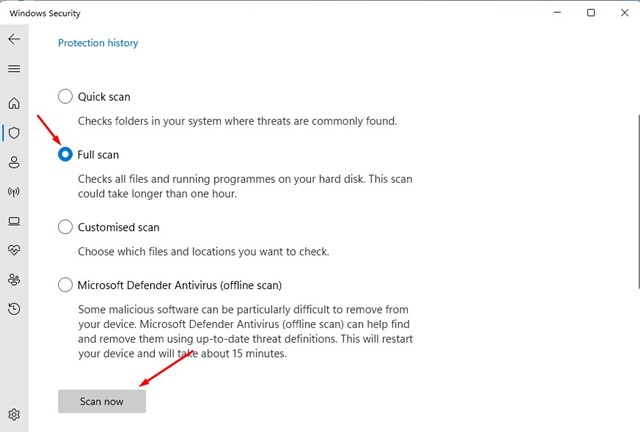
4. Select Full Scan on the Scan options and click Scan now.
Also Read: How to Create a Bootable USB to Bypass Windows 11 22H2 Restrictions
These are some of the best ways to fix Sleep mode not working on Windows 11. If you have any doubts about these methods, let us know in the comments below.


