The option to stop Notepad from opening previous files on Windows 11 is hidden deep under the Notepad Settings itself; hence, no third-party tool is needed. Here’s how you can stop Notepad from opening previous files on Windows 11.
Stop Notepad from Opening Previous Files on Windows 11
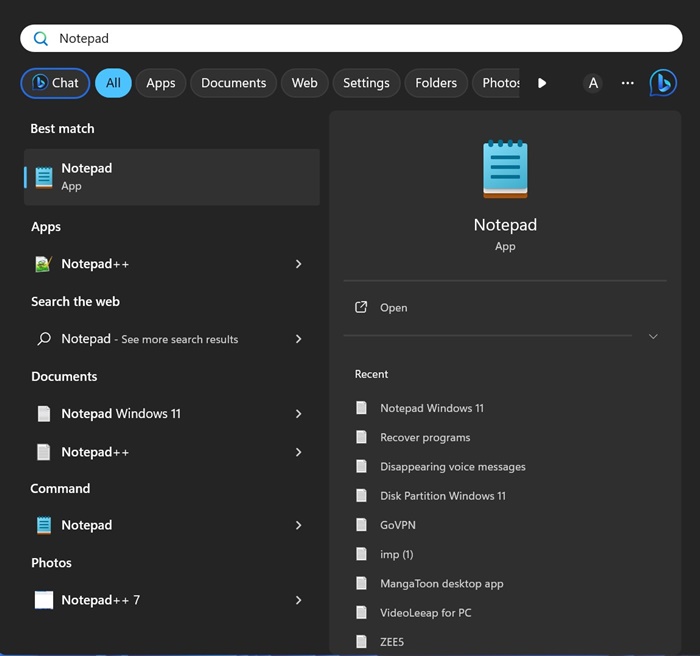
1. Open Notepad from the Windows Search.
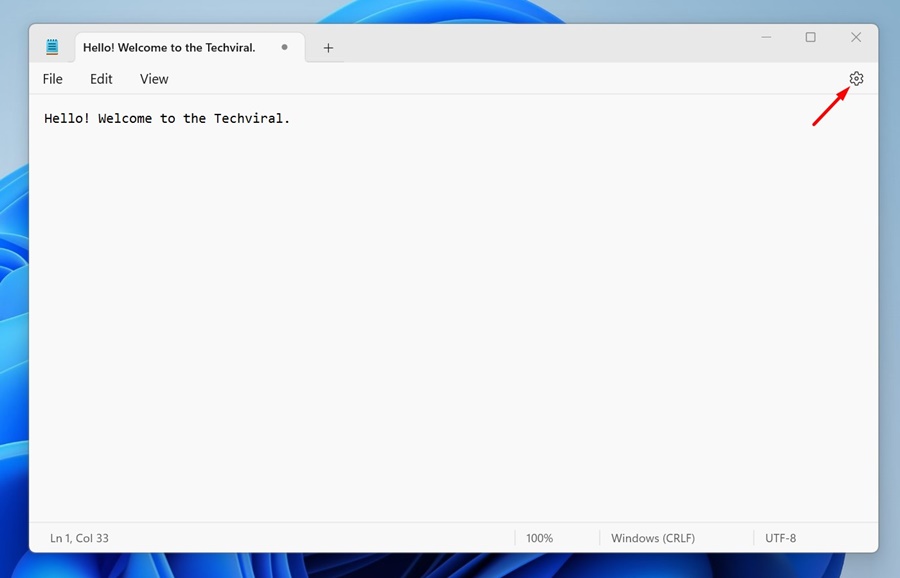
2. Click on the Settings gear icon at the Notepad’s toolbar.
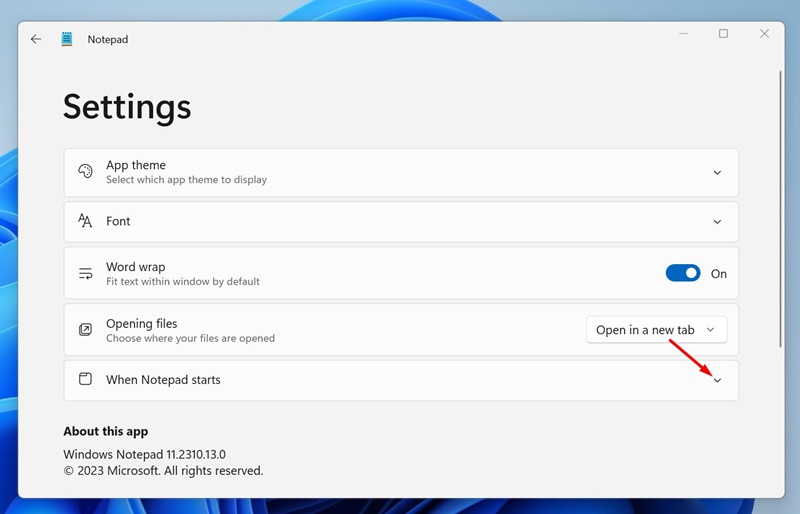
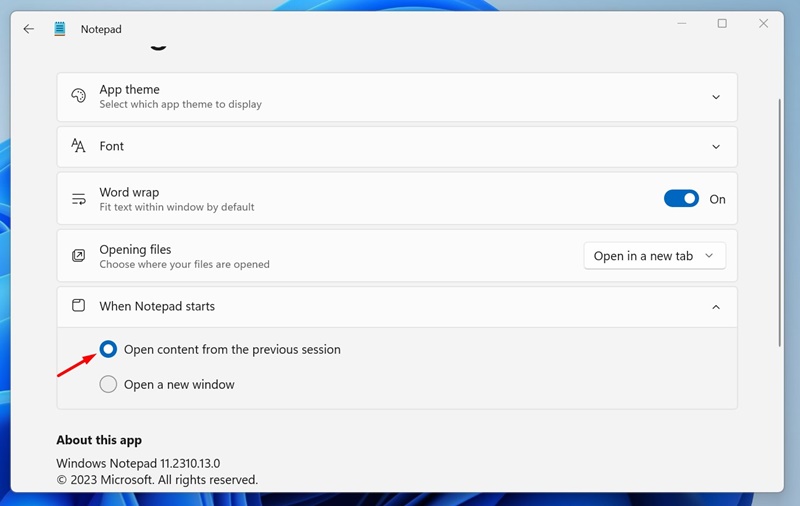
3. Scroll down to the When Notepad Starts section and expand it.
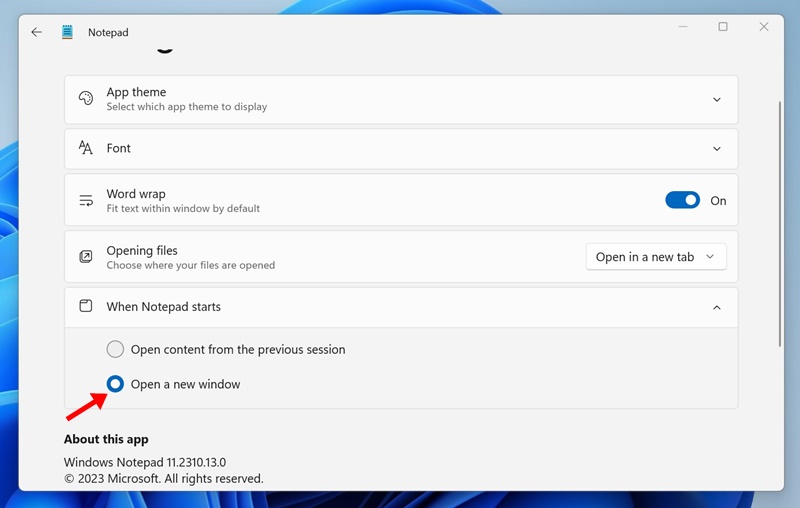
4. You will find two options: Open content from the previous sessions or open a new window.
5. If you don’t want Notepad to open your previous files, select the Open a new Window option.
Close the Notepad application and open it again. The next time Notepad opens, it will start with a blank ‘Untitled’ file. You won’t see Notepad restoring your previous files.
How to Force Notepad to Open Content from the Previous Session?
If you change your mind and plan to see content from previous sessions on Notepad, you need to force Notepad to open content from the previous sessions.
1. Open the Notepad application on your Windows 11 computer.
2. Click on the Settings gear icon in the toolbar.
3. Scroll down and expand the When Notepad Starts.
4. Select Open Content from the previous session.
This guide explains how to prevent Notepad from opening files from previous sessions on Windows 11. Although this feature is useful, if you find it irritating, you can follow these steps to disable it. Let us know if you need more help on this topic.


