Just take a brief look at your Facebook account, you will find hundreds of images over there. Although we use Facebook the most to connect with your friends and family members, we don’t actually use that platform as a long-term storage solution.
On Android smartphones, Google Photos has always been the obvious choice for saving photos. The service from Google Automatically creates a backup of all your photos in its server. Now that we all share photos on Facebook, have you ever thought about moving your Facebook pictures to Google Photos?
Well, if you choose to do so, you don’t need to worry about manually creating a backup of your Facebook Photos. So, in this article, we are going to share an easy method that would help you to get your pictures out of Facebook and into Google Photos.
How To Transfer Facebook Photos To Google Photos On Android
The method which we are going to share below can be a little tricky and can take some time. However, the end results are worth every minute. So, let’s check out how to get your pictures out of Facebook and into Google Photos 2020.
Step 1. First of all, open the Facebook app on your Android smartphone.

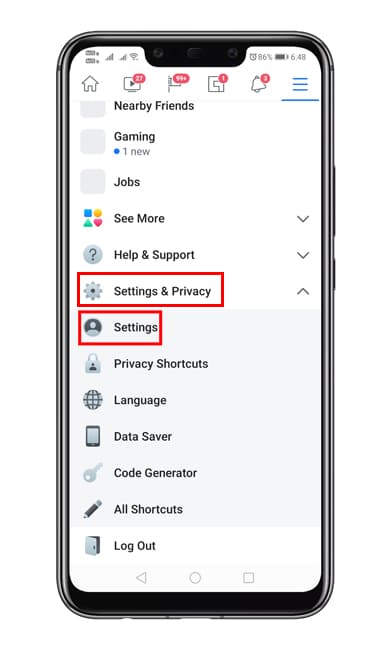
Step 2. Next, tap on the three lines on the top of the navigation bar. Tap on ‘Settings & Privacy’ and then on ‘Settings’
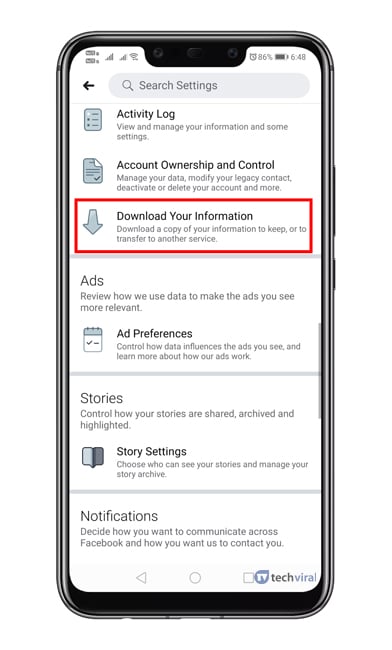
Step 3. Next, tap on the ‘Download your information’
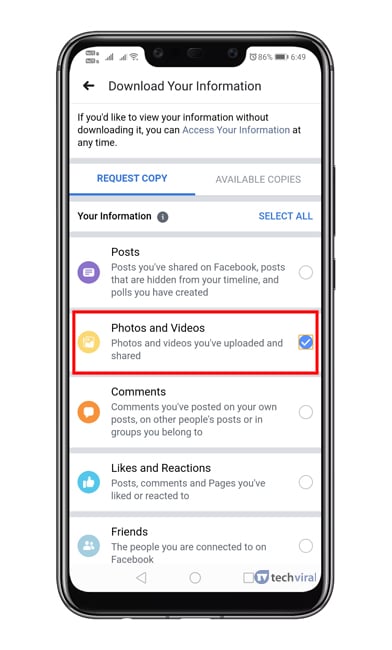
Step 4. Now you need to deselect all and select only ‘Photos and videos’
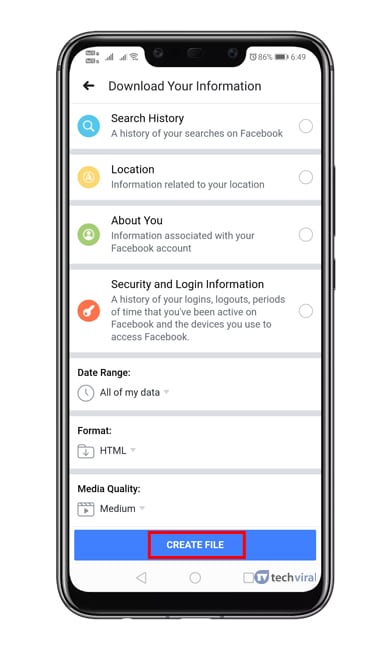
Step 5. Scroll down and tap on ‘Create file’
Step 6. Now, wait for 5 to 10 minutes until you see the ‘Download’ button next to the file. Once done, tap on the ‘Download’ button to download the file.

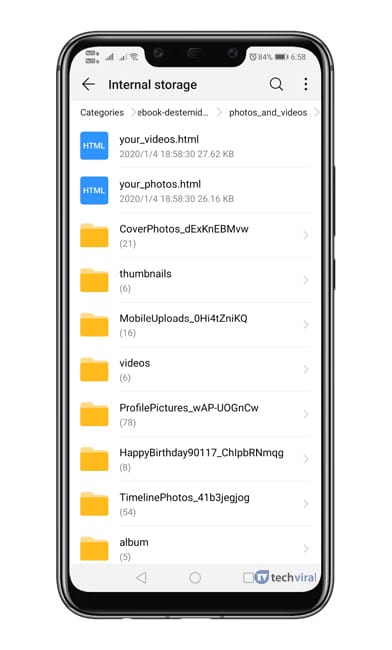
Step 7. Once done, extract the file by using a zip app. Extracted files would look like this.
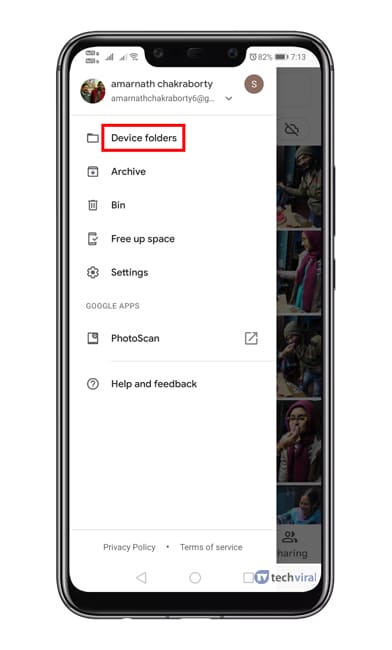
Step 8. Now open Google Photos and tap on the three lines at the top-left of the screen and select ‘Device Folders’
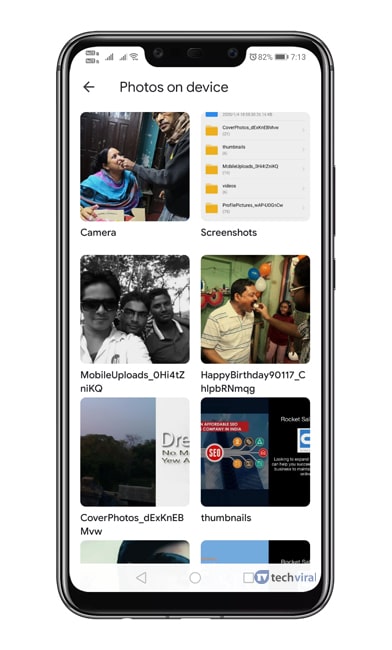
Step 9. There you will find the facebook photos.
That’s it, you are done! Well, the process might be tedious, but it’s the easiest one to get every facebook photos on Google Photos app.
So, this is all about how to get your pictures out of facebook and into Google Photos. I hope this article helped you! Share it with your friends also.