Well, if you have a Windows 11 compatible laptop/desktop, you can install the Preview builds update. Many users have already enrolled in the Windows Insider Program and have joined the Beta/Preview Build channel to install Windows 11.
Although Windows 11 offers you many features and options, there’s one problem that no one can deny – Windows 11 is still under testing and has many bugs. So, if you have recently installed a Windows 11 update and are facing problems, you are reading the right guide.
On Windows 11, you can easily roll back the update and undo all the changes made to your computer. So, if you are experiencing problems after installing a Preview build of Windows 11, you might find this article very useful.
Also Read: How to Set Up a Picture Password in Windows 11
Steps to Uninstall an Update in Windows 11
In this article, we will share a step-by-step guide on how to uninstall an update in Windows 11. The process is going to be very easy; just follow some of the simple steps given below.
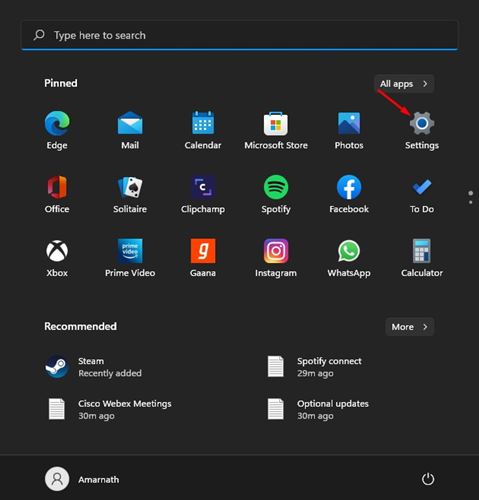
1. First of all, click on the Windows Start button and select Settings.
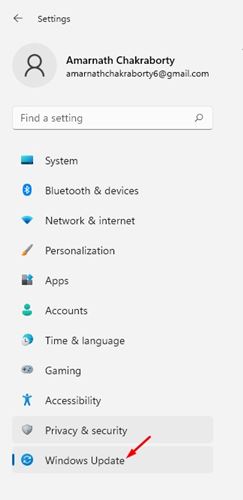
2. On the Settings page, click on the Windows Update option.
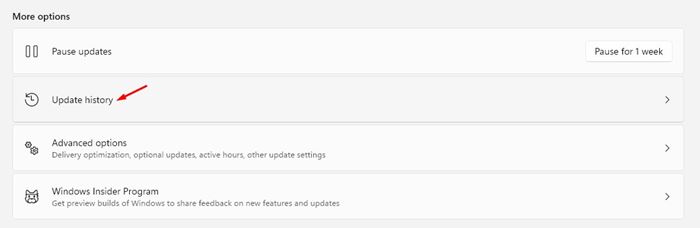
3. On the right pane, click on the Update history button as shown below.
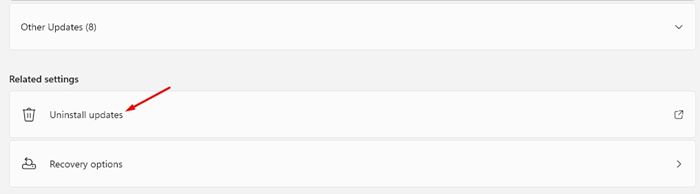
4. Now scroll down and click on the Uninstall Updates option.
5. The next screen will show you the list of all installed updates. To remove an update, select the update and click on the Uninstall button at the top.
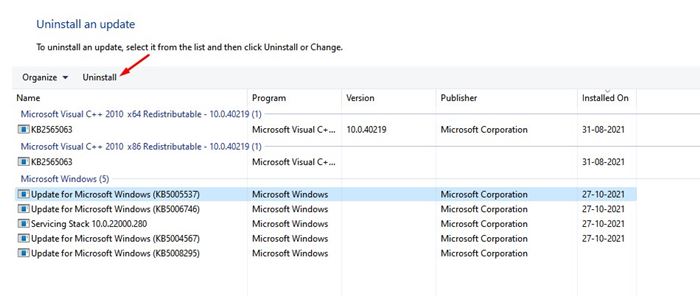
6. On the Confirmation pop-up, click on the Yes button.
That’s it! You are done. This is how you can uninstall an update in Windows 11.
How to Uninstall a Build on Windows 11
Just like the regular updates, Windows 11 also allows you to uninstall Preview builds. If you wish to uninstall a build on Windows 11, you need to follow the steps shared below.
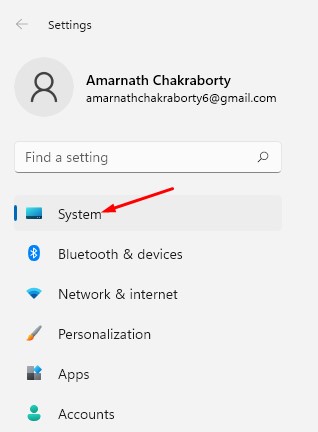
1. First of all, press the Windows Key + I button to open the Settings page. Then, on the Settings, click on the System option.
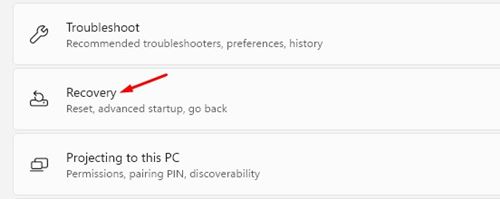
2. On the right pane, click on the Recovery option, as shown in the screenshot.
3. On the Recovery options, click on the Restart Now button behind the Advanced Startup.
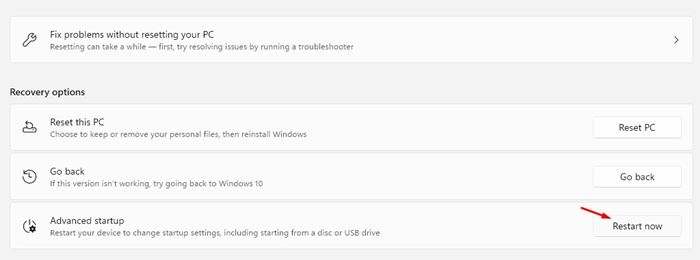
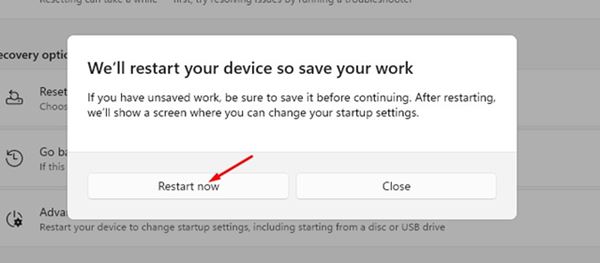
4. On the confirmation pop-up, click on the Restart Now button.
This will restart your PC and will open the Advanced Boot menu. You need to navigate to the Troubleshoot > Advanced Options > Uninstall Updates. On the next screen, you need to select and uninstall the latest feature update.
That’s it! You are done. This is how you can uninstall a build on Windows 11.
So, this guide is all about how to uninstall an Update in Windows 11 operating system. I hope this article helped you! Please share it with your friends also. If you have any doubts related to this, let us know in the comment box below.


