PowerShell may take time to respond to your commands or return with errors. At times, PowerShell may also fail to open on your Windows PC. You can easily fix such problems by updating PowerShell.
1. Install or Update PowerShell with the Winget Command
The easiest way to install or update PowerShell in Windows is by using the Winget Command.
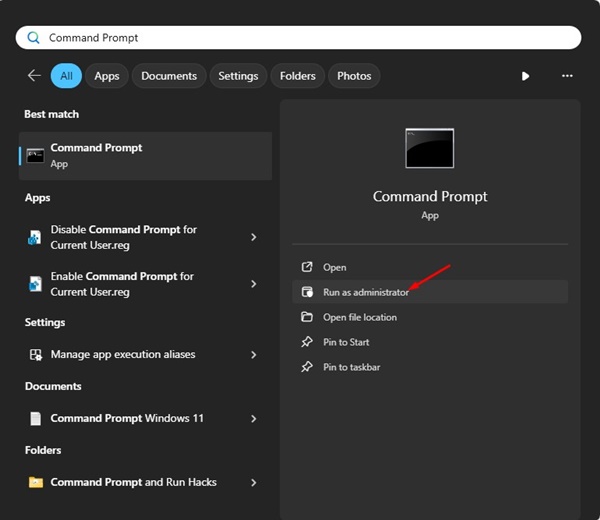
1. Type in Command Prompt on the Windows 11 Search. Right-click on the Command Prompt and select Run as administrator.
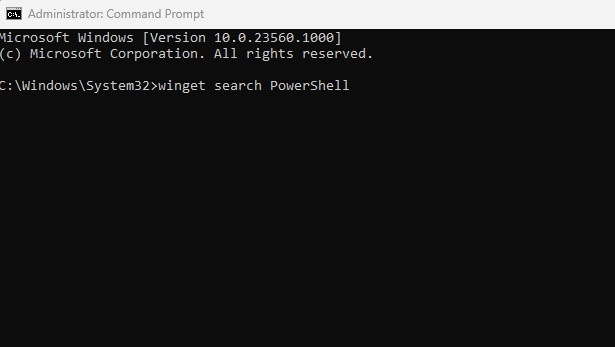
2. Execute this command and press Enter.
winget search PowerShell
3. Note down the ID associated with the PowerShell app.

4. Execute this command by replacing AppID with the app ID you’ve just copied.
winget install AppID

2. Install or Update PowerShell from GitHub
If you don’t want to use a command-line tool to update the PowerShell utility, you have the option to download & install the latest version of PowerShell from GitHub.
1. Open your favorite web browser and visit this GitHub page.
2. You will find three different options to download the .msi files (LTS, Stable, Preview).
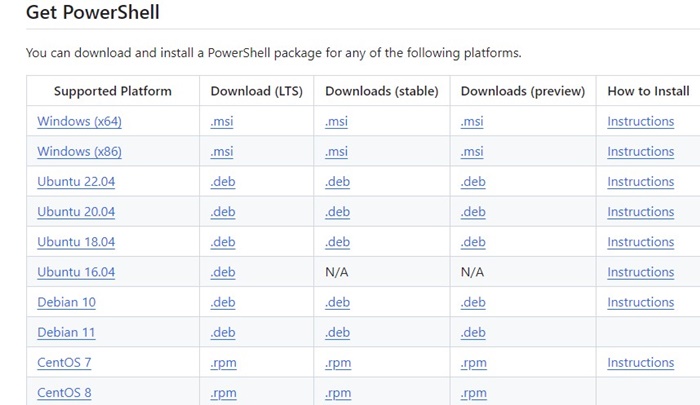
3. You should download the Stable version. Once you have downloaded the MSI file, double-click it to begin the installation.
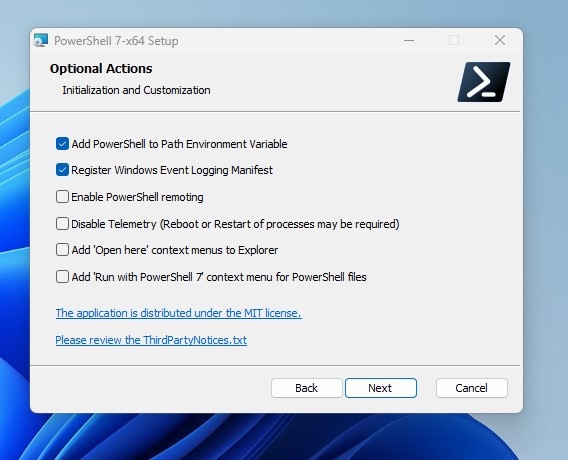
4. Go with the default selections on the Optional Actions and click Next.
5. Wait until the installation completes.

3. Update PowerShell from the Microsoft Store
If you are using Windows 11, you can install or update the PowerShell utility using the Microsoft Store app.
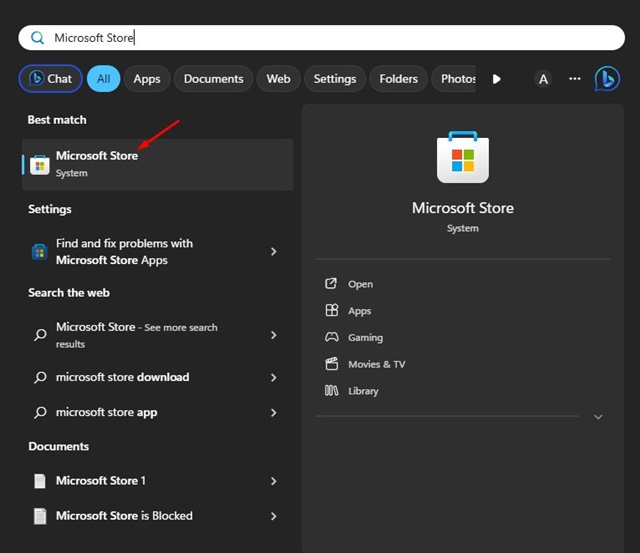
1. Open Microsoft Store from the Windows Search.
2. Search for PowerShell.
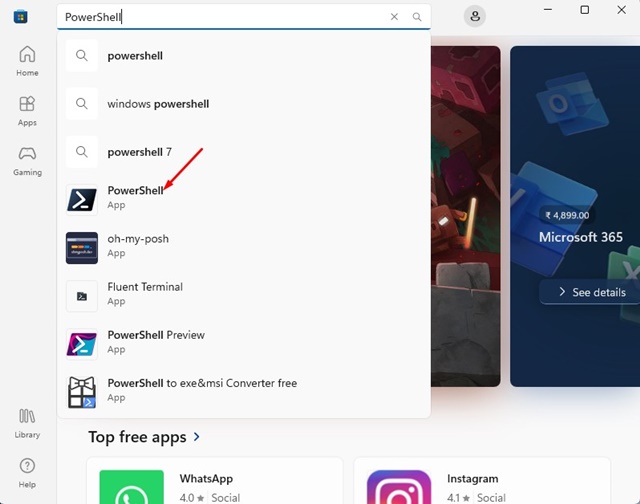
3. If any update is available, you will see the Update button. Click Update.
4. If PowerShell is not installed on your device, you must click Install.
Use Both PowerShell 5 and PowerShell 7
If you have followed these steps to install PowerShell on your device, you will have both PowerShell 5 and 7.
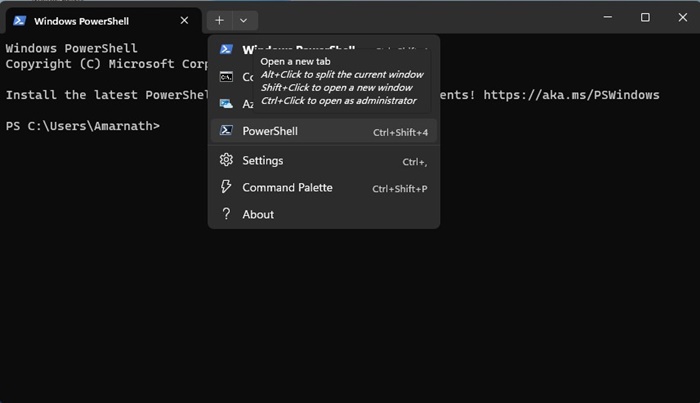
PowerShell 7.x is installed in a different location on your device, but both versions remain active. If you are a Terminal user, you will find an additional PowerShell Profile.
This guide explains how to update or install PowerShell on Windows. Please let us know if you need more help updating PowerShell on Windows 11.


