SD cards are definitely the best and most handy option to store important data. These portable storage devices were meant to run on Smartphones, tablets, DSLRs, etc. SD cards are available in different sizes like 2GB, 4GB, 8GB, 64GB, etc.
Although Android smartphones nowadays provide users enough room to store data, still the demand for SD Cards are high. Maybe you need that extra storage to store lengthy videos, or you may need it to save the high-resolution photos.
However, SD Cards can’t be used to store apps and games files. By default, Android installs the Apk files on the internal memory and stores the data files on the SD Card. That means that while installing apps & games, Android uses both internal and external memory.
What if I tell you that you can install APK files on SD Cards? Well, Google introduced a feature known as ‘Adoptable Storage’ with Android 6.0 Marshmallow. The feature solves every issue related to the internal and external memory usage on Android.
What is ‘Adoptable Storage’ Feature on Android?
It’s a feature that allows users to use SD card as internal memory. Yes, you read that right! You can use your SD card as internal memory. That means you can now install the Apk files directly on the SD cards.
To use an SD Card as internal memory on Android, you need to follow some of the simple steps given below. So, let’s check out how to use an SD Card as internal storage on Android smartphones.
How To Use SD Card As Internal Storage On Android
Below, we have shared a method that utilizes the ‘Adoptable Storage’ feature of Android. You need to follow all steps accordingly to use the SD card as internal storage on Android smartphones.
Step 1. First of all, put the SD Card on your Android smartphone.
Step 2. Once done, open Settings and tap on ‘Storage’
Step 3.Tap on your SD Card and select the three vertical dots on the top right corner.
Step 4. Now tap on the ‘Storage Settings’
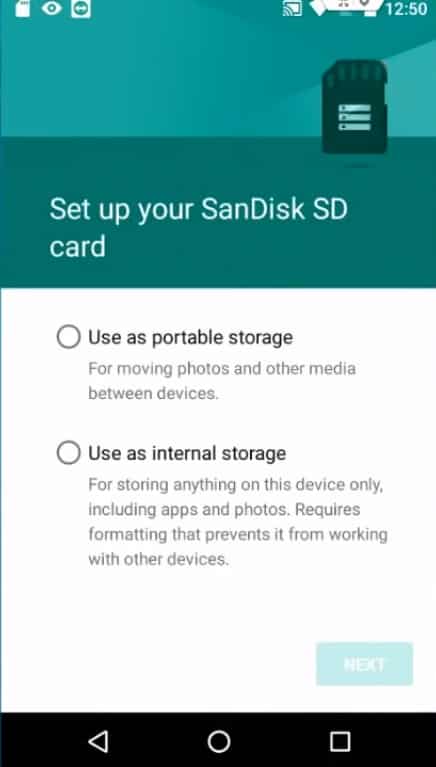
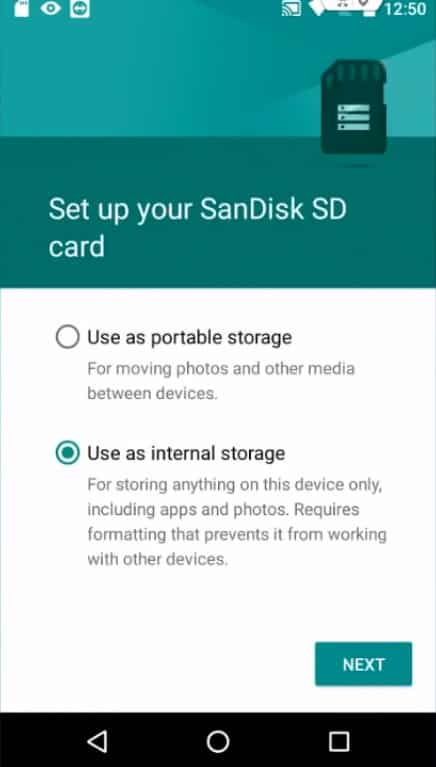
Step 5. In the next step, tap on ‘Use as internal storage’
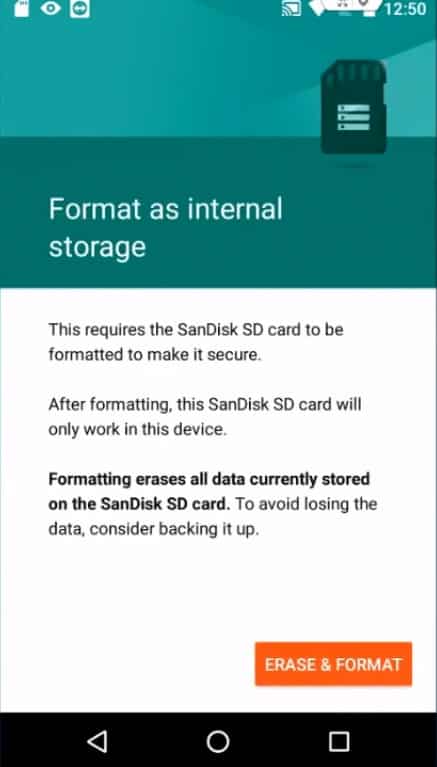
Step 6. In the next screen, you need to tap on ‘Erase & Format’
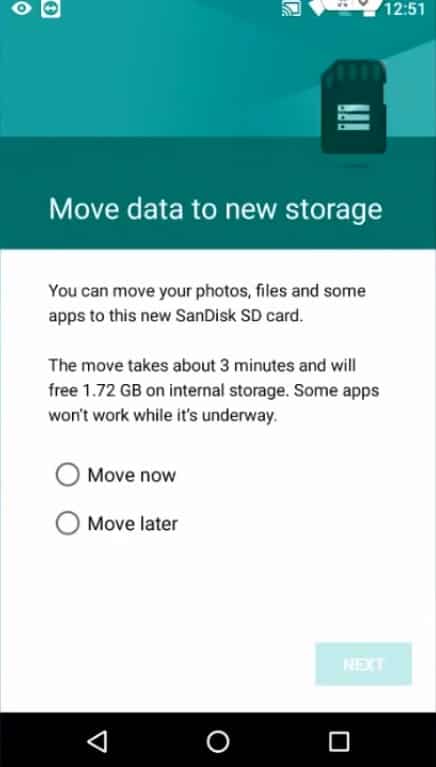
Step 7. Now you will be asked to move the data to the new storage. You can either select ‘Move now’ or ‘Move later’
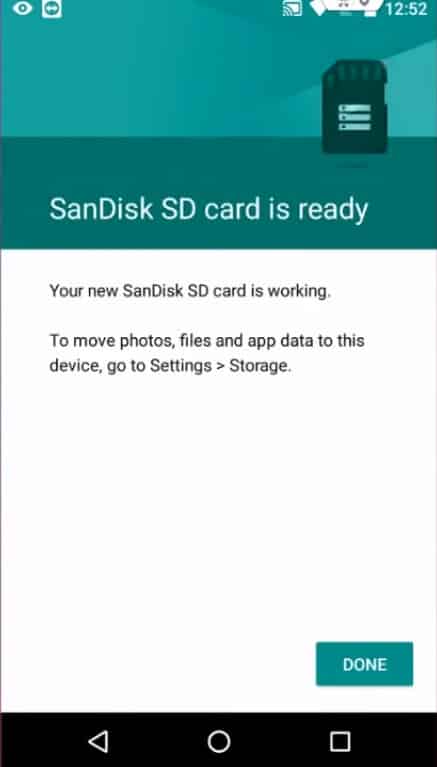
Step 8. Once done, tap on ‘Done’ to finish the data transfer process.
That’s it, you are done! Now, if you want to make the SD card portable again, then open the storage option and tap on your SD card. Now tap on the option ‘Format as portable’ to make it portable again. If you have any other doubts, let us know in the comment box below. I hope this article helped you! Share it with your friends also.


Galaxy Tab S2 doesn’t show the option for internal memory in step 4/5. When Format is chosen, it just states it will be portable storage
Can I make it portable again?
The problem is that it did not solve any memory problem in my case. I did configure a sdcard here as internal but it keeps putting all files on the internal that is full and because of that, I can’t update any app or install any new app. In files app from google, I can see 15.50 used of internal storage and 22,31 Gb used of sd card. And it seems I cannot reduce thoose 15.50 Gb. Strange.