Let’s admit; Android is one of the coolest mobile operating systems we have ever seen. From customizations to multitasking, Android has apps for every different purpose.
If we talk about multitasking, you can get a customizable multitasking sidebar on Android. The panel sits on the edge of your screen and provides quick access to your most-used & favorite applications, shortcuts, contacts, widgets, etc.
So, if you are looking for an easy way to switch between apps without leaving the current one, then we have got you covered. In this article, we will share a method that would add a customizable multitasking sidebar on your home screen.
[alert-announce]Also Read: How To Remotely Control One Android With Another[/alert-announce]
Steps to Add Customizable Multitasking Sidebar on Android
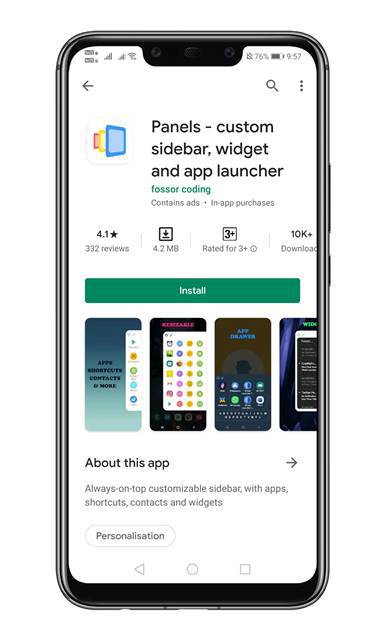
To add a multitasking sidebar, we will use the app known as ‘Panels’. It’s a multitasking app that adds a sidebar panel on the edge of your screen. So, let’s check out how to use the Panels Android app.
Step 1. First of all, download & install Panels on your Android device.
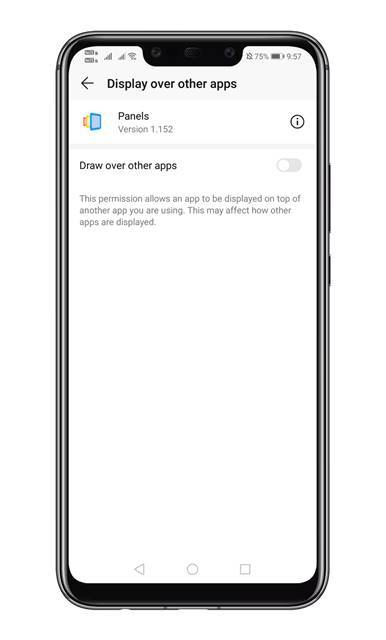
Step 2. Once done, open the app & grant the permissions.
Step 3. Now you will see the main interface of the Panels App.
Step 4. Just tap on the ‘Activate’ toggle to turn it on.

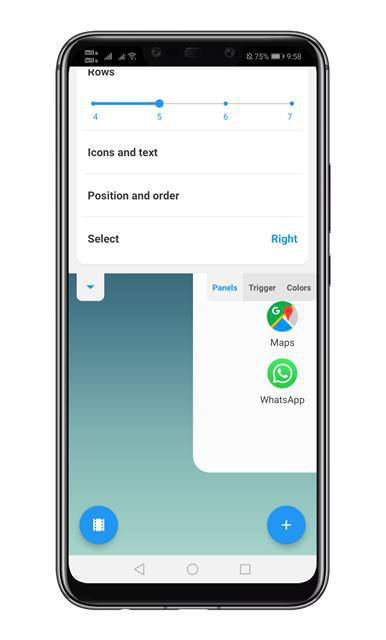
Step 5. Once done, tap on the view button. From there, adjust the icons and text, Position and order, etc.
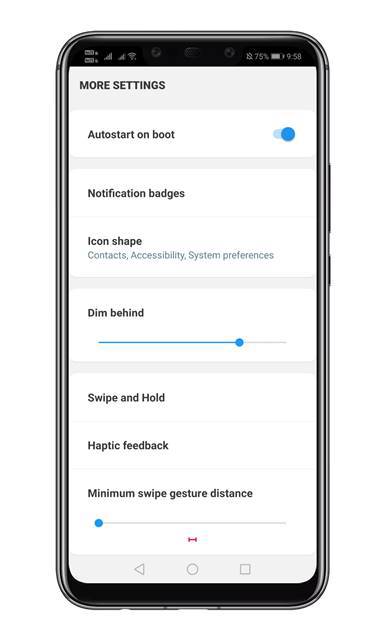
Step 6. Now tap on the ‘More Settings’ option to adjust other options like Dim behind, Swipe and hold options, etc.
Step 7. Once done, move to the home screen and swipe from the right edge of the screen. This will open the sidebar displaying the apps.

Step 8. Swipe again to display the full app switcher.
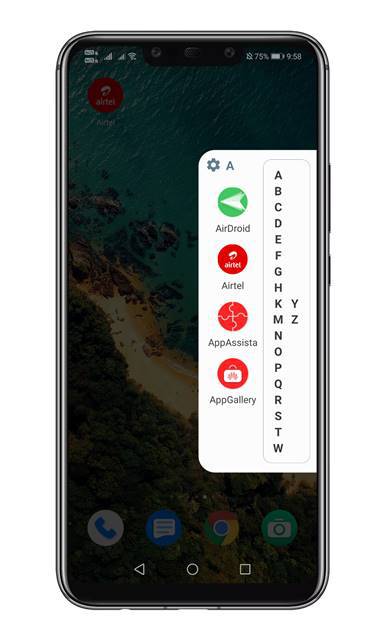
That’s it! You are done. This is how you can add a customizable multitasking sidebar on Android.
So, that’s all from us for today! This method will boost your multitasking and increase productivity! I hope this article helped you! Please share it with your friends also.


