While trying to browse the web, the ‘Allow Chrome to access the network’ error may come up as very annoying & frustrating. If you get this error and are looking for help, here’s what you can do.
Before giving Chrome Access to the Network
Before allowing Google Chrome to access the network, you must investigate why your Firewall blocked the connection. Even though you’re not planning to visit any suspicious sites, your Chrome browser is likely infected with malware.
If you can’t figure out whether your browser has been hijacked, recall the recently installed extensions. If you suspect your Chrome browser is infected, clean it with a proper antivirus or antimalware tool.
1. Configure the Windows Firewall
This method will add an exception to the Windows Firewall, allowing Chrome to access the network firewall.
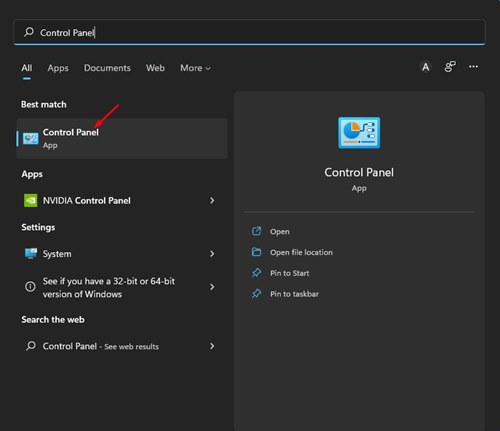
1. Open Control Panel from the Windows Search.
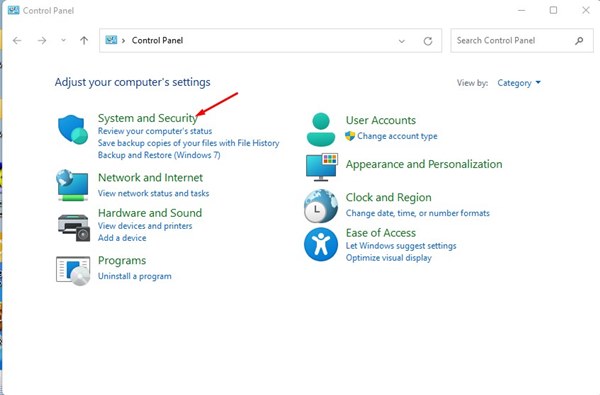
2. Click System and Security.
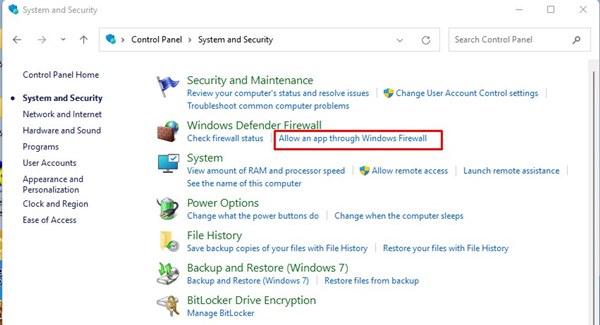
3. Click on the Windows Defender Firewall.
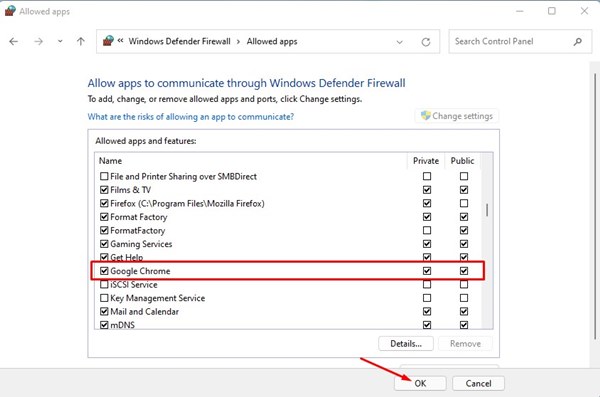
4. Click on the Allow an app or feature through Windows Defender Firewall.
5. Click Change settings.
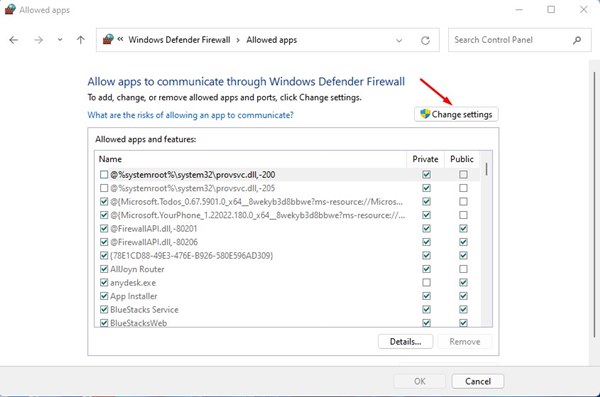
6. Check the checkbox for Google Chrome, both public and private, and click OK.
2. Exclude Google Chrome for Windows Security
After configuring Windows Firewall, you need to make a few changes to the Windows Security app to allow Chrome to access the internet.
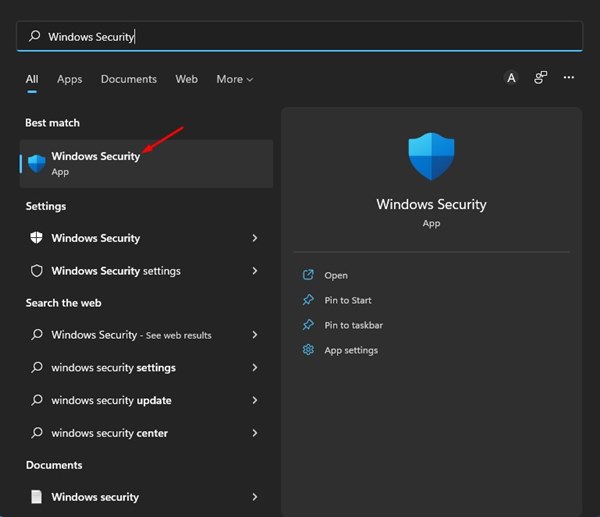
1. Open the Windows Security app from the Windows Search.
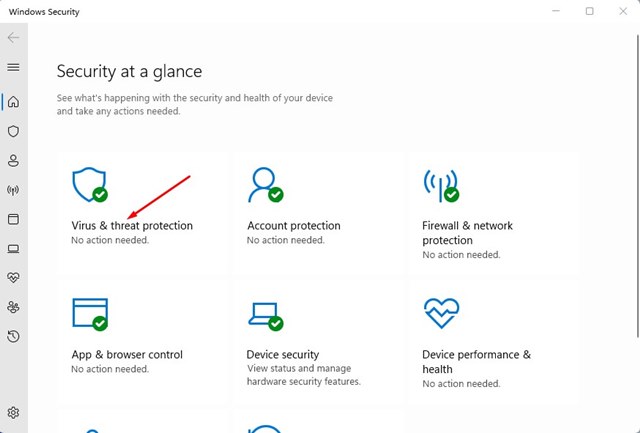
2. Click on Virus & Threat Protection.
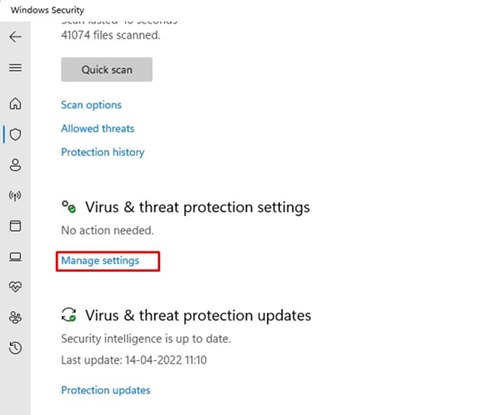
3. Click the Manage Settings option underneath Virus & Threat Protection settings.
4. Scroll down to the Exclusion tab and click Add or Remove Exclusion.
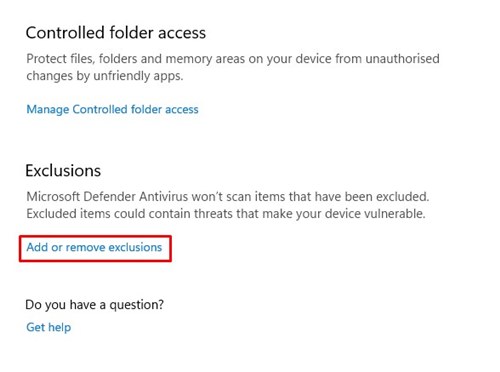
5. Click on Add an Exclusion button and select Folder.
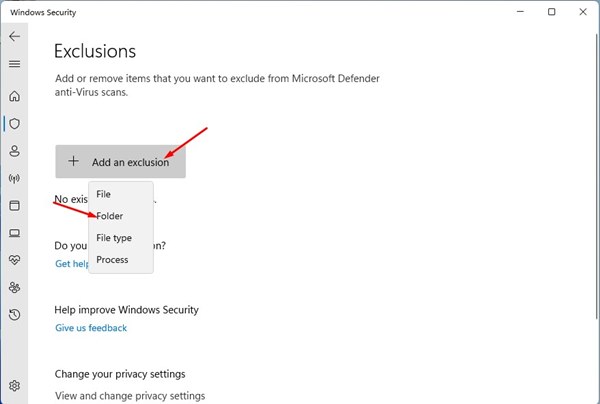
6. On the file picker, you must navigate to the C:\Program Files (x86) and select the Google Chrome folder.
3. Add Chrome as an Exception in the Other Antivirus programs
If you are using other antivirus programs like Avast, Avira, Kaspersky, etc., you must also add Chrome as an exception to those security tools. I have shared the steps for adding Chrome as an exception on Avast Antivirus.
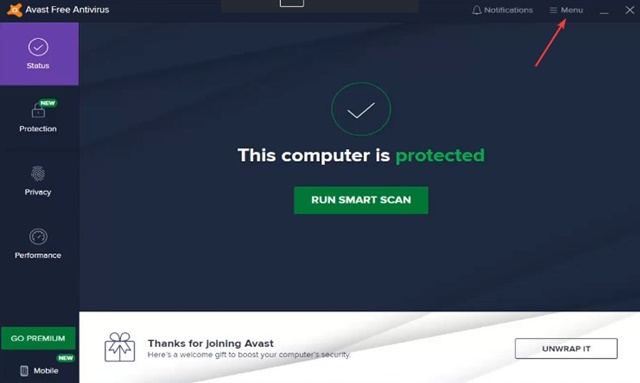
1. Open the Avast Antivirus and click the Menu icon at the top right.
2. Select Settings.

3. Switch to General > Exceptions.

4. Click Add Exception.
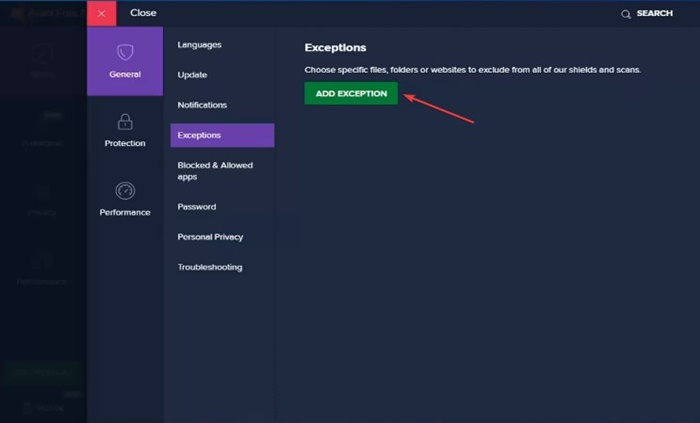
6. Click the Browse button and select the path for the Chrome Folder. Once you’ve done this, click Add Exception.
These are the best ways to allow Chrome to access the network. If you have any doubts, let us know in the comment box below.


")