If you are using the latest version of the Windows operating system – Windows 11, you might be overwhelmed by the number of visual changes that it introduced. Windows 11 looks much more refined than Windows 10, and it actually looks very good.
Along with the visual elements, you also get a redesigned Start menu, new icons in the File Explorer, rounded corners on Windows, and more. If you are using Windows 11, you might have noticed that the operating system automatically hides the scrollbar for applications that are not actively in use.
Microsoft has done this to save some battery power & to speed up the device, but many users prefer to see the scrollbar all the time. So, if you are amongst them who want to show scrollbars on Windows 11 all the time, you might find this guide very useful.
How to Always Show Scrollbars on Windows 11
In this article, we will share a step-by-step guide on how to always show scrollbars on Windows 11 operating system. The steps will be straightforward; just follow them as we have directed below. Let’s check out.
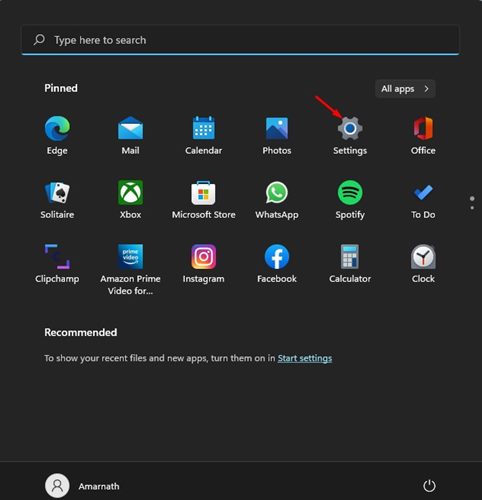
1. First of all, click on the Windows 11 Start button and select Settings. Alternatively, you can press the Windows Key + I button on your keyboard to launch the Settings app directly.
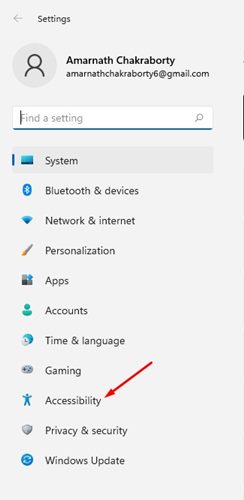
2. On the Settings page, click on the Accessibility section as shown below.
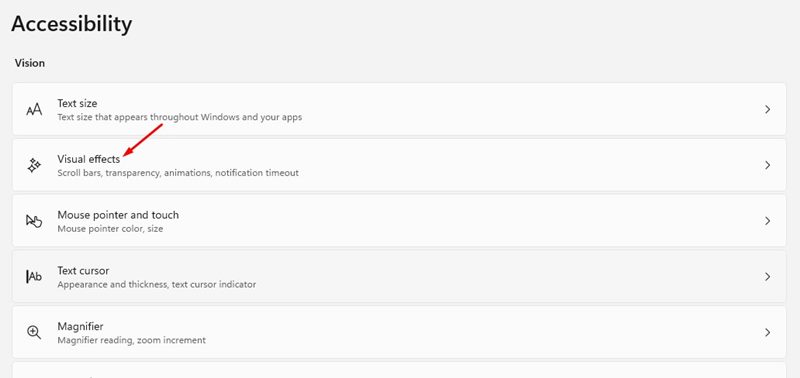
3. On the right pane, you need to scroll down and click on the Visual effects option, as shown below.
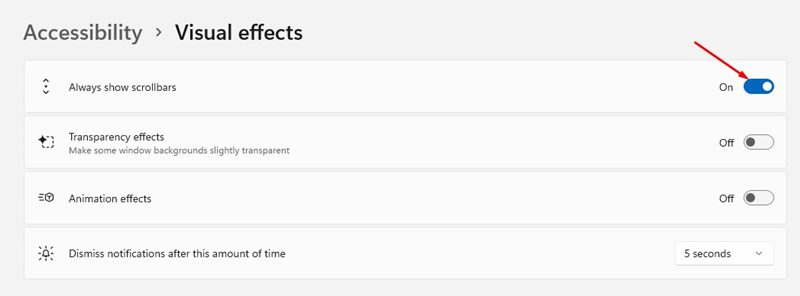
4. On the Visual effects page, enable the toggle for ‘Always show scrollbars’. This will always show scrollbars on your Windows 11 PC.
That’s it! You are done. This is how you can always show scrollbars on Windows 11 operating system.
How to Show Scrollbars on Windows 11 via Registry Editor
If you cannot access the Accessibility settings for any reason, you need to follow this method. We will use the Registry editor to always show scrollbars in Windows 11. Here’s what you need to do.
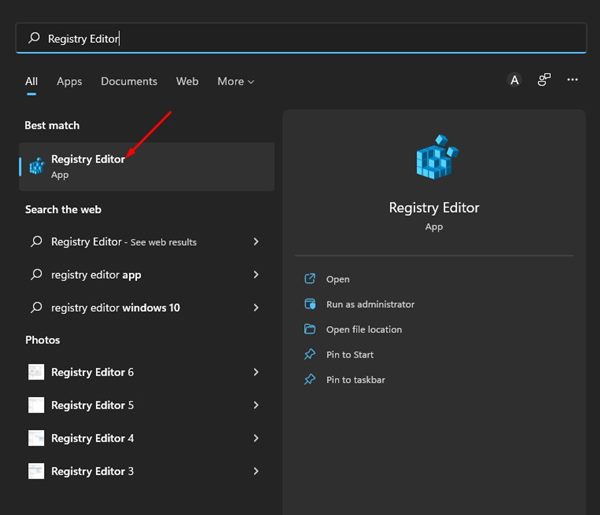
1. First of all, click on the Windows 11 search and type in Regedit. Next, open the Registry Editor from the list.
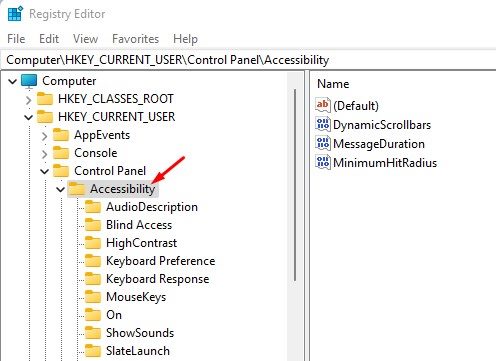
2. On the Registry Editor, navigate to the following path:
HKEY_CURRENT_USER\Control Panel\Accessibility
3. On the right, double click on the ‘DynamicScrollbars’ key, and on the value data field, enter 1. Once done, click on the Ok button to apply the changes.
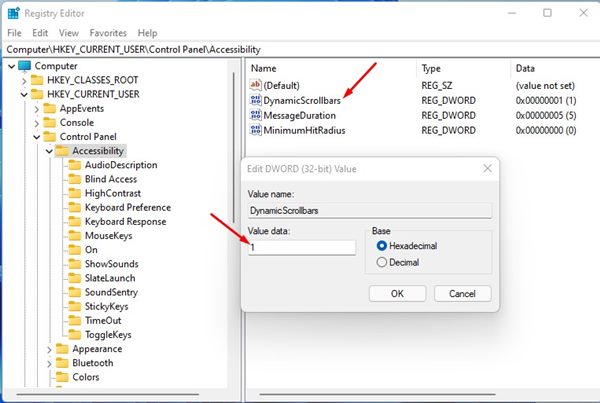
4. If you wish to auto-hide the scrollbar, enter ‘0’ on the Value Data field for DynamicScrollbars in the above step.

That’s it! You are done. This is how you can make scrollbars always visible on Windows 11 operating system.
It’s pretty easy to always show scrollbars in Windows 11 operating system. I hope this article helped you! Please share it with your friends also. If you have any doubts related to this, let us know in the comment box below.


