Many Windows 11 users have recently encountered an ‘An error occurred while troubleshooting’ error even while launching a troubleshooter. If you are one of them, here’s what you should do.
1. Restart your PC

Since you don’t know the actual reason for the ‘An error occurred while troubleshooting’ error, it’s important to restart your Windows 11 device.
Restarting the Windows 11 PC will close all processes and eliminate the bugs & glitches. Click on the Windows 11 Power Menu and select Restart.
2. Run the Troubleshooter from Windows 11 Settings
You can launch the built-in troubleshooters from the RUN dialog box, but it’s recommended to run the troubleshooters from the Windows 11 Settings.
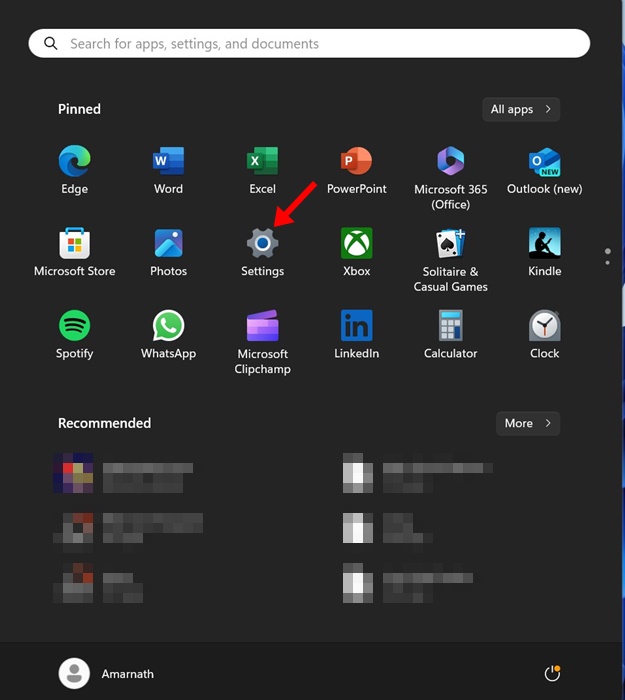
1. Click on the Windows 11 Start button and select Settings.
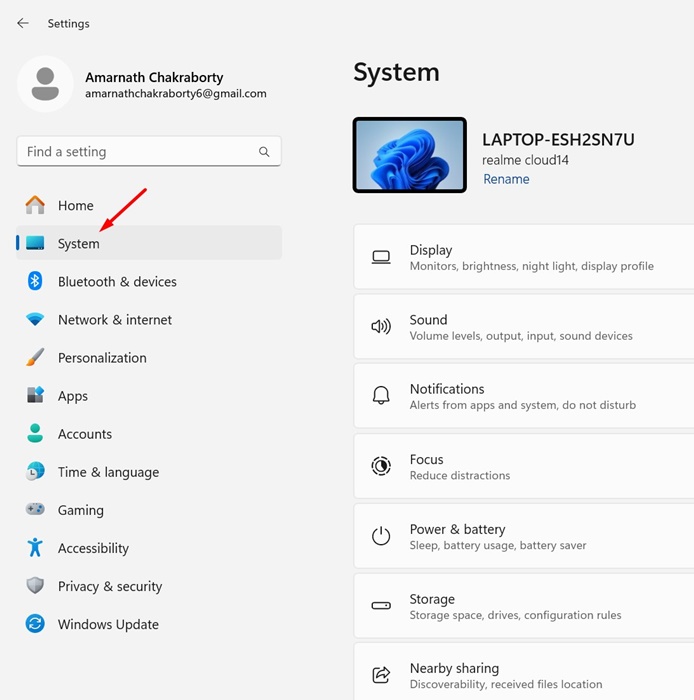
2. Switch to System.
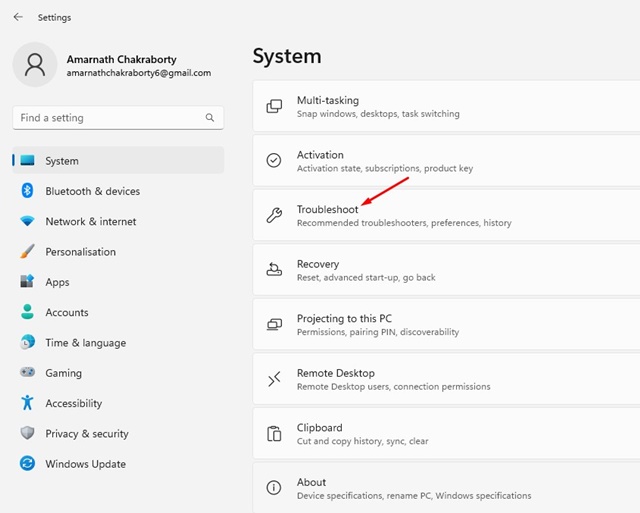
3. Click Troubleshoot.
4. Click on Other Troubleshooter.

5. You will find all built-in troubleshooters. Click the Run button next to the Troubleshooter you want to run.

3. Restart these Windows Services
The troubleshooter that Windows 11 offers depends on specific Windows Services to function. So, if one of the required Windows Services isn’t functioning as it should, you will get an error message while running the Troubleshooters.
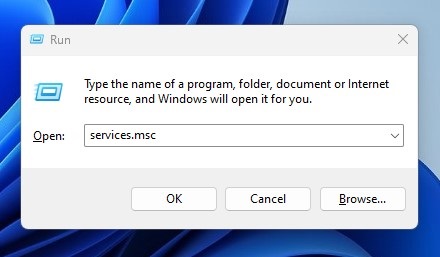
1. Press the Windows Key + R button on your keyboard. This will open the RUN dialog box.
2. Type services.msc and press Enter.
3. Find Background Intelligent Transfer Service.
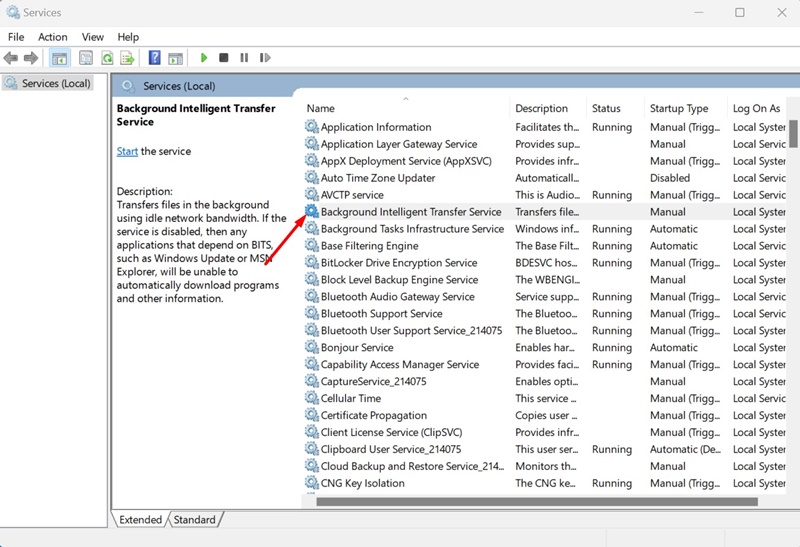
4. Right-click on it and select Restart.
5. Right-click on the Cryptographic Services and select Restart.
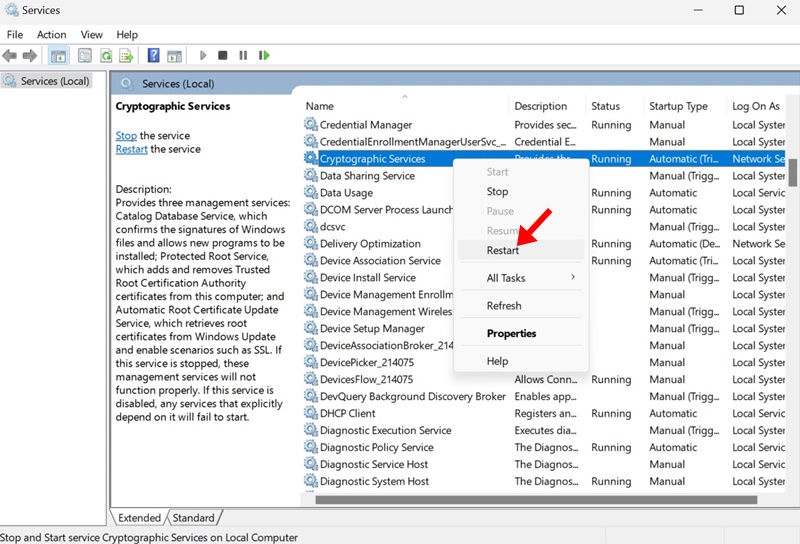
After making the changes, close the Services app and launch the built-in troubleshooter again.
4. Run the SFC/DISM Scan
Corrupted system files are another common reason why the Troubleshooter does not work on Windows 11. You can find & replace corrupted system files by running the SFC and DISM scans via the Command Prompt.
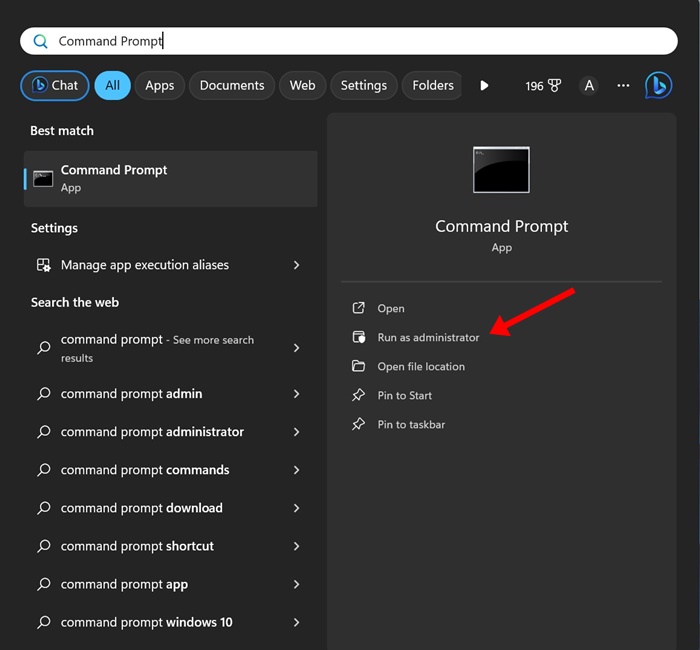
1. Type Command Prompt in the Windows 11 Search. Next, right-click on the Command Prompt and select Run as administrator.
2. Execute this command:
DISM.exe /Online /Cleanup-image /Restorehealth
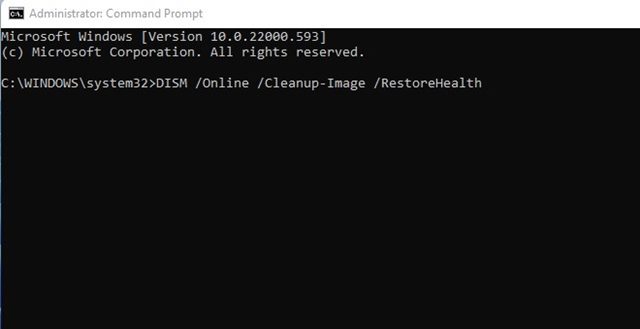
3. Type in this command and press Enter:
sfc /scannow

After executing both commands on the Command Prompt, restart your Windows 11 PC. After the restart, launch the Troubleshooter again.
5. Run the Troubleshooter in Safe Mode
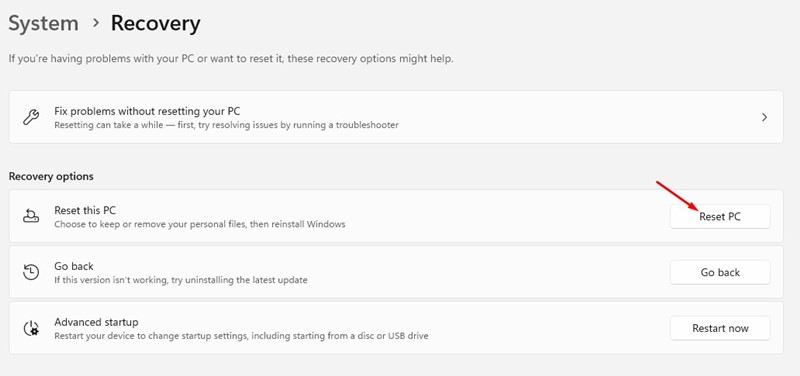
If you’re still unable to run a specific troubleshooter, you should run the troubleshooter in Safe mode. To boot your Windows 11 PC into safe mode, head to Settings > System > Recovery. On the Recovery screen, click the Restart Now button in the Advanced Startup section.
When your PC reboots, navigate to Troubleshoot > Advanced Options. On Advanced Options, select Startup Settings and select Restart.
Your PC will restart and show you various options; choose the number for safe mode. Once in Safe Mode, run the Troubleshooter from the Windows 11 Settings.
6. Reset Windows 11
If nothing worked in your favor, it’s time to reset your Windows 11 PC. Resetting will roll back your PC settings to their default state.
You will also lose a few pieces of data stored on your system installation drive. So, make sure to create a proper backup before you reset Windows 11.
You can follow the steps we have shared in our guide – How to Reset Windows 11 via Settings. Make sure to follow the steps carefully to avoid any errors.
These are some of the best methods to fix ‘An Error Occurred while troubleshooting error’ on Windows. Let us know in the comments below if you need more help on this topic.


