SD cards and Pendrives are portable storage devices mainly used to transfer/store files. Unfortunately, portable devices like USB flash drives, SD cards, etc., were prone to damage.
Recently, we received multiple messages from our users regarding the Android unable to format SD card error. This usually means that the hardware on your SD card is beginning to fail. It also happens when the SD card is already formatted with the file system that it doesn’t recognize.
Also read: How To Remove Write Protection From USB or SD Card
How to Fix Android’s Unable to Format SD Card Problem (3 Methods)
So, whatever might be the reason, in this article, we will share a few best methods to fix the ‘Android unable to format SD card’ error. So, let’s check out.
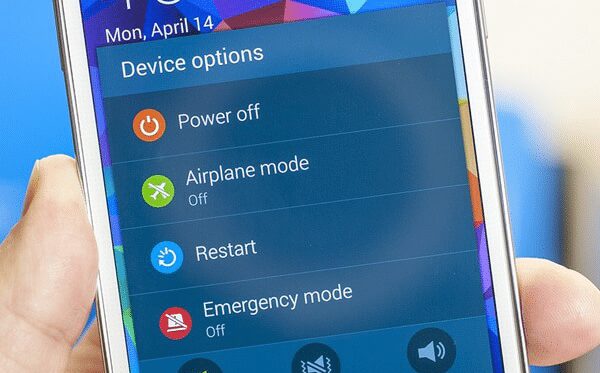
1. Restart Your device
If you have been using an Android smartphone for a while, then you might know that a simple restart can fix most of the Android issues.
Sometimes, some apps or processes saved on the SD card were loaded in the background, preventing Android from formatting an SD Card.
So, before trying anything else, make sure to restart your Android and check whether the format process goes on or not.
2. Check the Memory Card on a Computer
If you are still unable to format your Memory Card after the restart, you need to check the card on a computer/laptop. First, check whether your PC is reading the Memory Card or not. If it’s not reading the memory card, it might be a sign of damage.
You need to remove the memory card and clean it with a cotton swab or any soft object in such a case. Once cleaned, reinsert the memory card and format it.
3. Format Using a Computer
If you cannot format the memory card or SD card from Android, then you can try to format it with a computer. Formatting USB devices or SD cards with a computer is an easy process. Just follow some of the simple steps given below.
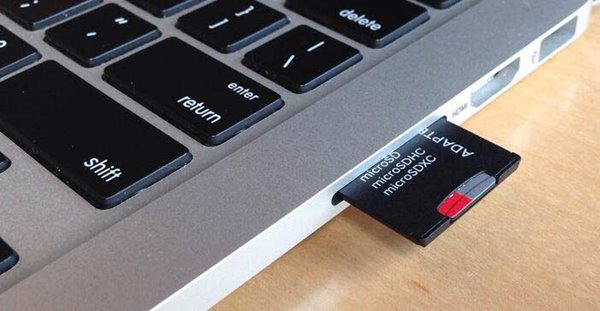
1. Connect your memory card to the PC using a card reader, or connect your smartphone via a USB cable. Just keep in mind that your SD card should appear on the Computer so that you can work on it afterward.
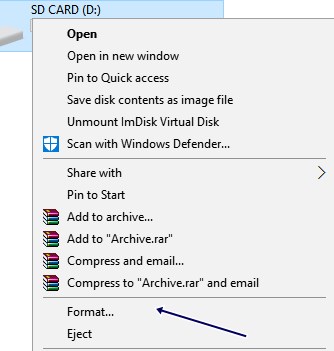
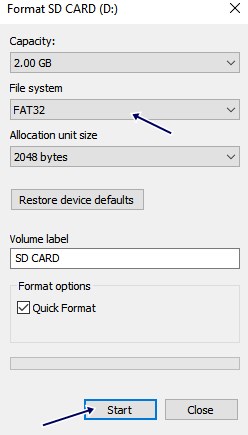
2. After your SD card is successfully connected to the computer (running Windows), go to My Computer. Right-click on the SD card and select the option Format.
3. You will see that the Format windows will pop up on the screen with many options. Select the file system as FAT32, and click on the Format button.
Windows will now try to format up your SD card, and most probably, it will easily format it.
4. Remove The Write Protection
Well, write protection could be another possible reason behind Android’s failure to format the SD Card. So, if that was the issue, you need to remove the write protection from the memory card. To remove the write protection, you need to use Command Prompt.
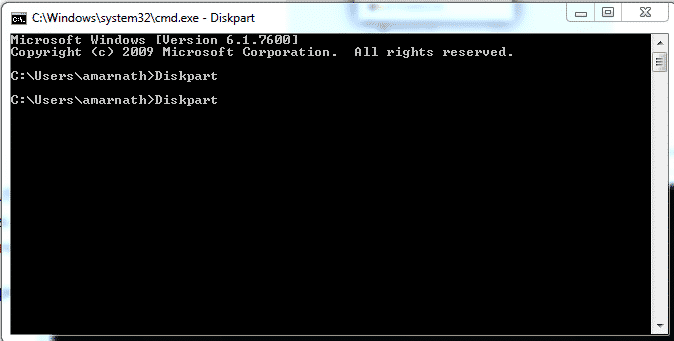
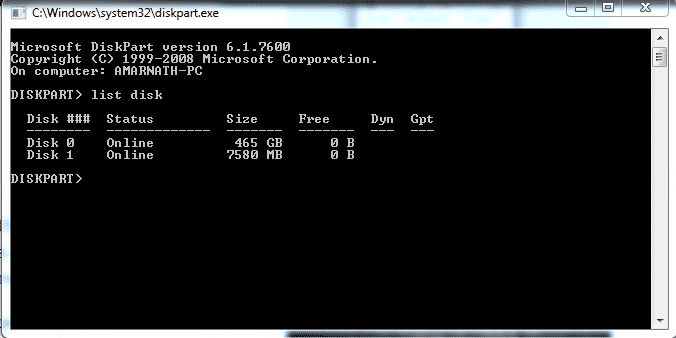
1. First of all, connect your SD or memory card to the computer and then open CMD. To open CMD, click on Start and select CMD. Now on the Command Prompt, type in Diskpart and hit enter.
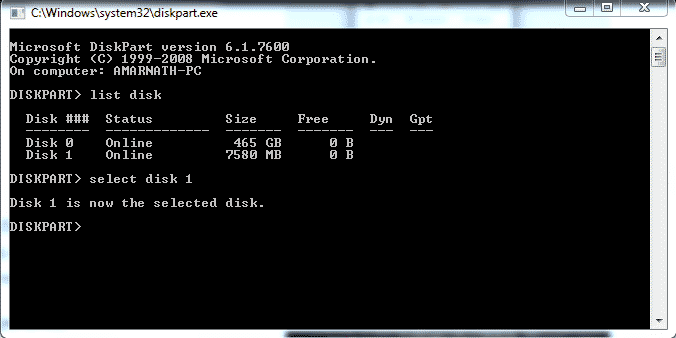
3. Now, you will see the connected storage device. Select the disk number associated with your SD card. Type in select disk 1 (replace Disk 1 with the disk number associated with the SD card)
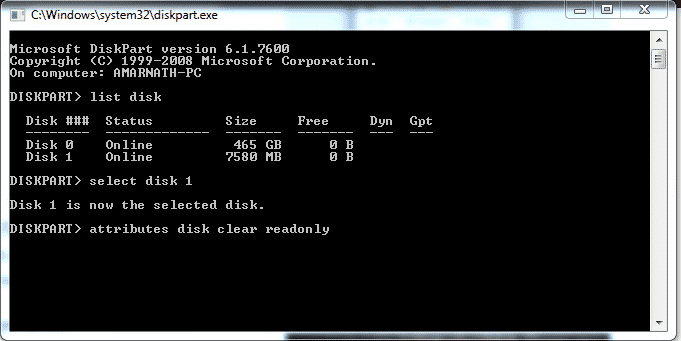
4. In the final step, type in attributes disk clear readonly.
That’s it; you are done! Now type in ‘exit‘ on the command prompt. Now you should be able to format the memory card from both Android and Windows computers.
If you cannot use an SD card on your Android device, you can go for other storage options like USB OTG (if supported) as this won’t be using your device’s card slot, which might be causing the read/write problem.
So, these are the possible methods to fix the SD card not formatting issue. Your problem could be easily solved by executing any of the above methods given below. If it helped you, make sure to share it with others as well.
Tutorial in Android , How to run both safari and android browsers or Android and ubuntu together