It’s no doubt that Windows 10 is the best ever desktop operating system. But, what if you have a MAC system and want to run Windows software on it? In this article, we have shared three best methods to run Windows 10 on MAC.
We all know that Windows is the best ever operating system that’s made for computers. But what if you have a Mac system and want to run Windows software on it? You can actually run Windows Softwares on MacOS. Not just software, but you can enjoy the entire Windows operating system on your MAC. Below we had discussed all the possible methods to run Windows operating system on MAC. After installing Windows, Mac users can enjoy Windows software as well. You don’t really need to have any technical knowledge to run Windows on MAC.
[alert-announce]Also Read: How To Find & Remove Duplicate Files In MAC[/alert-announce]
Best Ways To Run Windows On Mac
Below, we have shared 3 best methods that would help you to run the Windows operating system on a MAC computer. So, let’s check out the 3 best methods to run Windows on MAC.
1. Using Boot camp Assistant
Boot camp is a software that allows you to install the Windows on your Mac and the interesting thing is that you can run both of the systems Windows and macOS without uninstalling the current OS. Boot Camp for Mac is a dual boot feature. So, let’s check out how to use Boot Camp to run Windows on MAC.
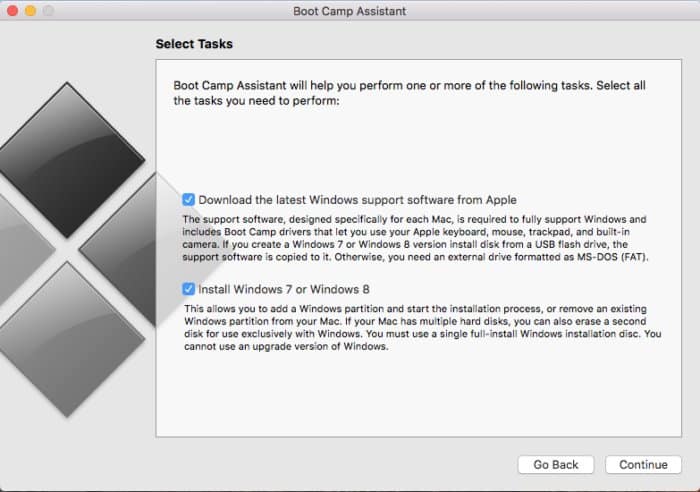
Step 1. First of all, make sure you have a working Windows 10 ISO file. Launch Boot Camp Assistant on your MAC and select the first two options as shown in the image below.
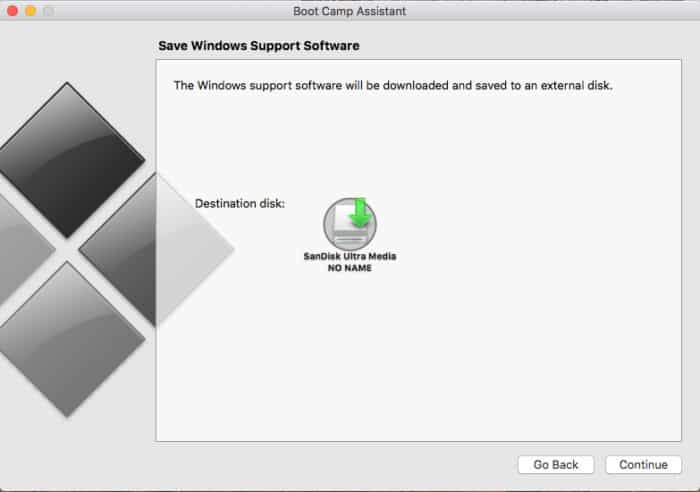
Step 2. Now you will be asked to select the destination disk where the Windows support software will be downloaded and saved. Once done, you will be asked to browse the Windows 10 ISO file.
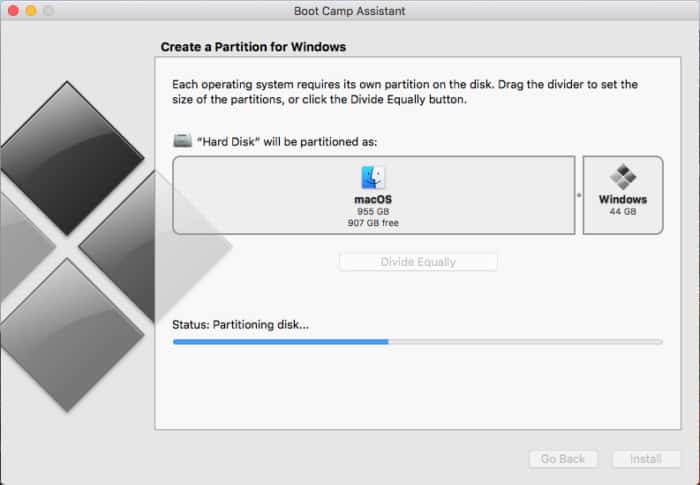
Step 3. After that, you need to select the partition size. Select everything as per your choice. We recommend you leave at least 50GB of storage space for Windows 10.

Step 4. Now the Boot Camp assistant will partition and install Windows. Wait until the process completes.
Step 5. To boot into the Windows operating system, restart your MAC and then press and hold the Option (or ALT) key during the startup. You will see a dual boot screen. There you need to select ‘Windows’
That’s it, you are done! This is how you can use Boot Camp to install Windows on the MAC computer.
2. Using Virtual machines
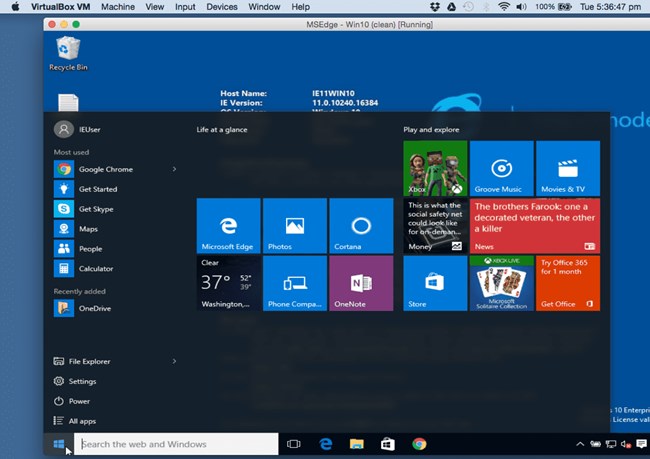
It is another method by which you can run Windows on your Mac. By this method you run your Windows as a software on your Mac and all the functions will be the same as you get in the real Windows. By this method, your computer cannot detect whether the system is running OS X or it is running on Windows.
There are some of the popular Virtual machine programs that you can use to perform the task of running Windows. These include VMware Fusion, VirtualBox, etc. There is one negative point of using this method and it is that you cannot run the Mac OS X applications and Windows OS applications alongside. You will have to install the applications differently on both the OS.
3. Using Parallels Desktop
Well, Parallels Desktop is another best virtualization product that is pretty much similar to the VMWare Fusion. Although Parallels doesn’t support as much OS versions as VMware Fusion, it does support Windows 10, Windows 7, and Windows 8.1. So, Parallels Desktop can be used to run Windows on a MAC computer.
Step 1. First of all, make sure that you have a working Windows 10 ISO file. Open Parallels Desktop app from the Application folder and select File > New.

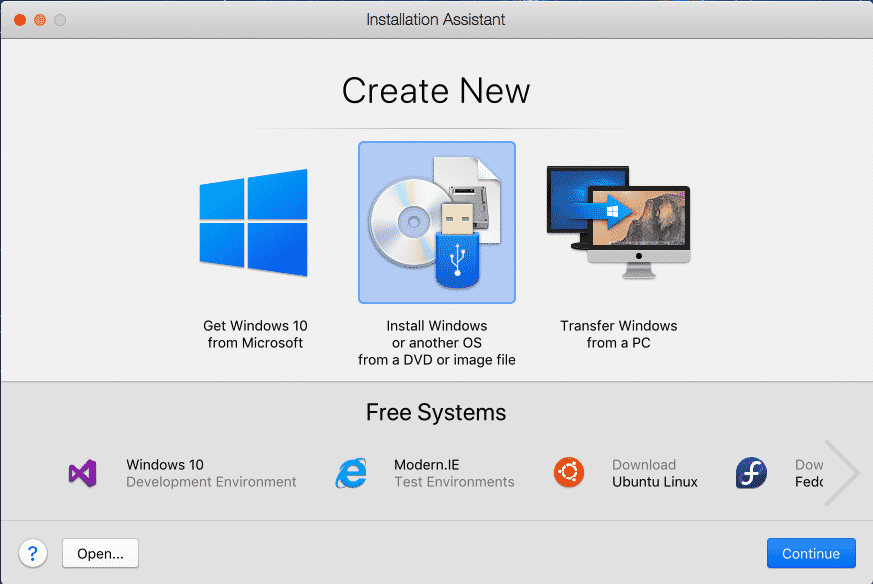
Step 2. Now you will see a screen like below. Here you need to pick the option ‘Install Windows or another OS from a DVD or image file.
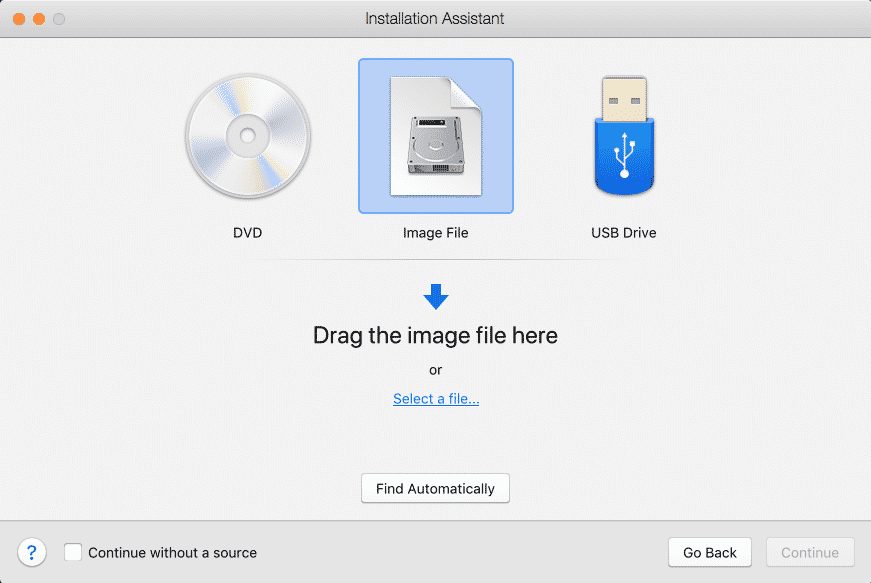
Step 3. On the next page, select the ‘Image file’ and select the Windows 10 ISO file.
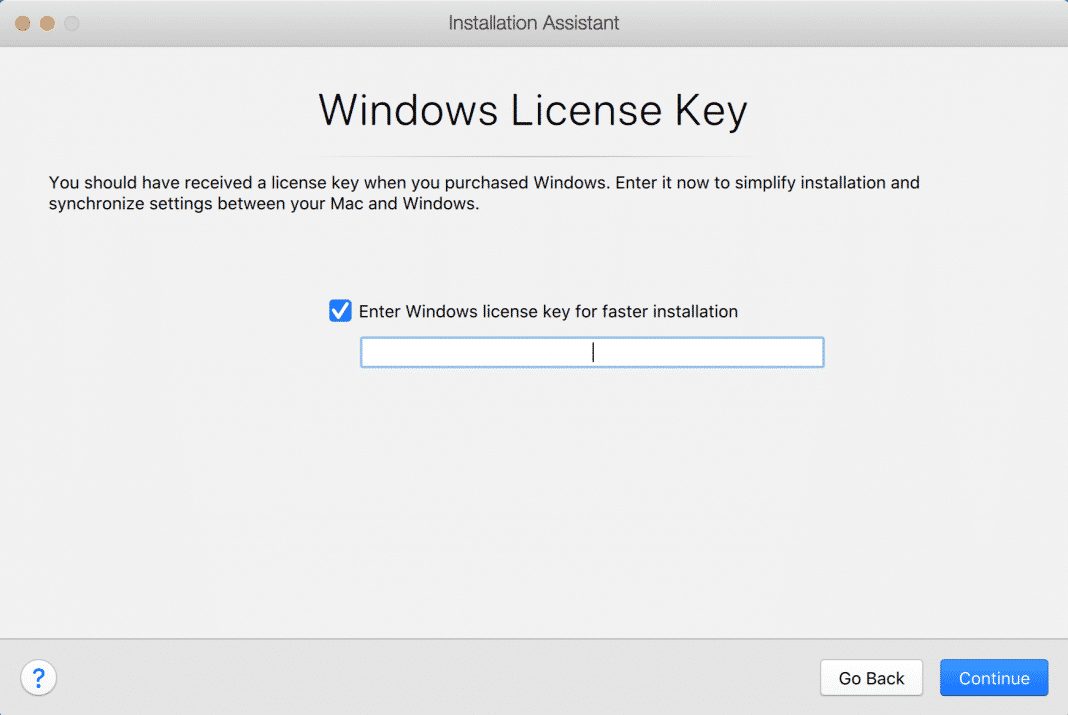
Step 4. Now you will be asked to enter the Windows 10 License key. Simply enter the product key and click on ‘Continue’
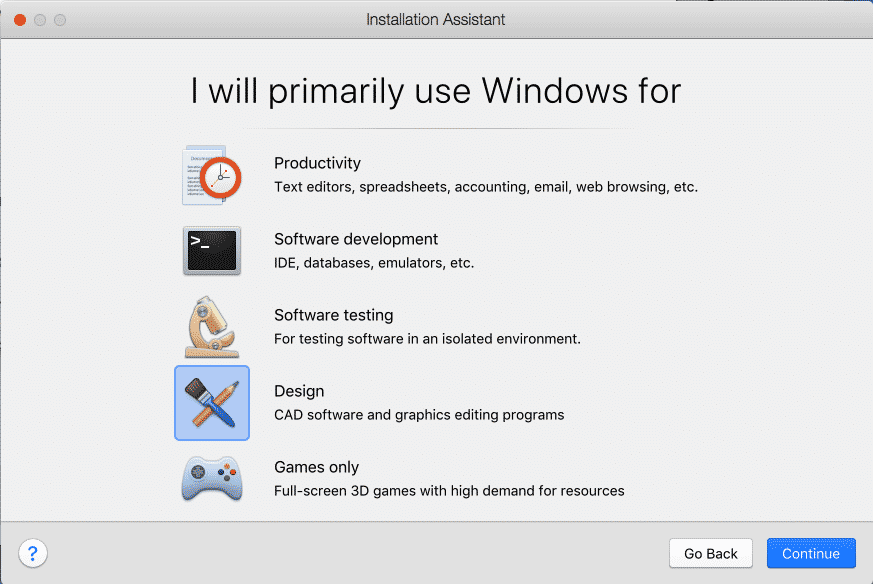
Step 5. Now you need to select how you want to use Windows in Parallel desktop. You need to select everything as per your requirements.
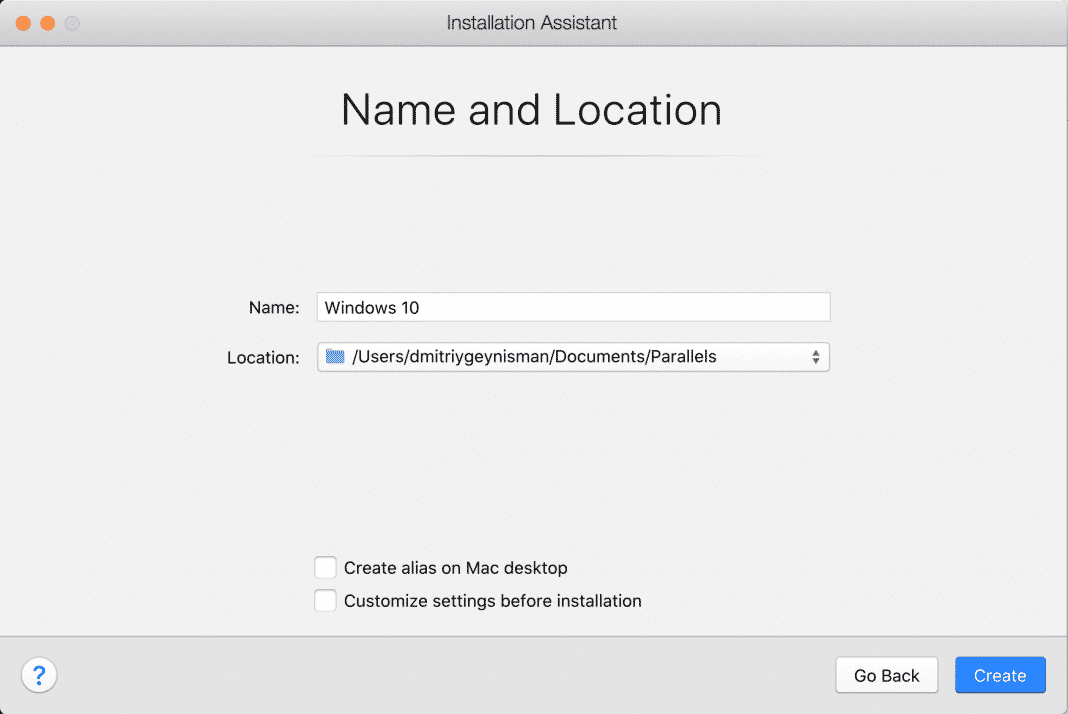
Step 6. In the next window, you will be asked to select the name and location for the Virtual machine to install.
Step 7. Finally, click on ‘Continue’ and the Windows installation process will begin. Once done, launch Windows by opening a Windows application or by clicking the Power button in the control center.
That’s it, you are done! This is how you can use Parallels Desktop to run Windows on MAC.
So, these are the three best methods to run Windows 10 operating system on MAC Computer. If you know any other such methods, let us know in the comment box below. Hope this article helped you! Share it with your friends as well.


