Let’s admit it: we all hate ads. Ads not only annoy us, but they also ruin our video-watching or web-browsing experience. Furthermore, if your phone has adware, it can affect battery life and performance.
What if I tell you that you can remove ads from your Android without gaining root access? This is possible with Android’s Private DNS option. Google has already introduced a new feature, ‘ Private DNS’ or DNS over TLS on Android Pie.
For those unaware, it’s a feature that allows users to change or connect to different DNS on Android easily. The Private DNS option of Android Pie will enable users to set any particular DNS server for WiFi and Mobile networks in one place rather than changing it one by one. So, to block ads on Android, you need to switch to Adguard DNS.
What is Adguard DNS?
According to the official site, AdGuard DNS is a foolproof way to block internet ads that don’t require installing applications. It’s free and compatible with every device. The key thing about AdGuard DNS is that you get rootless system-wide ad-blocking on Android devices.
That means you no longer need to root your device or play with Chrome flags to disable ads on Android; you can do it with the help of a Private DNS.
How to Block Ads on Android Using Private DNS
Please ensure that your phone runs on Android 9 Pie or above. If it’s running on Pie, follow some simple steps given below.
1. First, open your Android app drawer and tap on Settings.
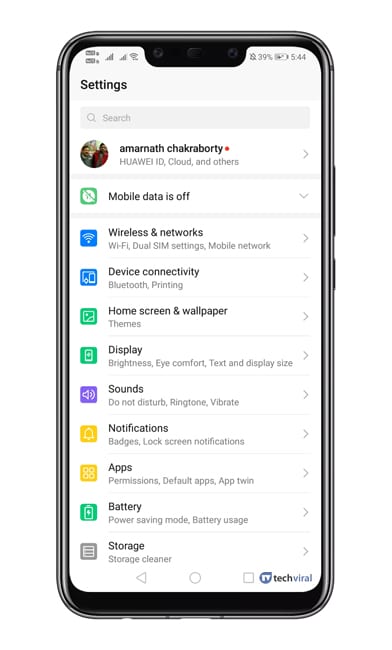 2. Under the Settings tab, you must select Network & Internet or Wireless & Networks.
3. Under the Network & Internet Settings, select Private DNS.
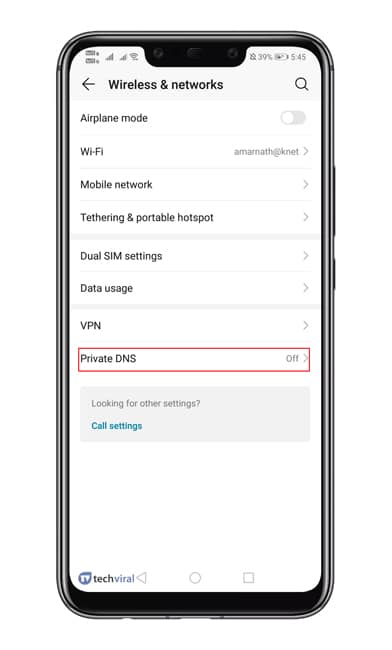
4. Now, you need to select the option Configure Private DNS.
5. Under the hostname, type in dns.adguard.com
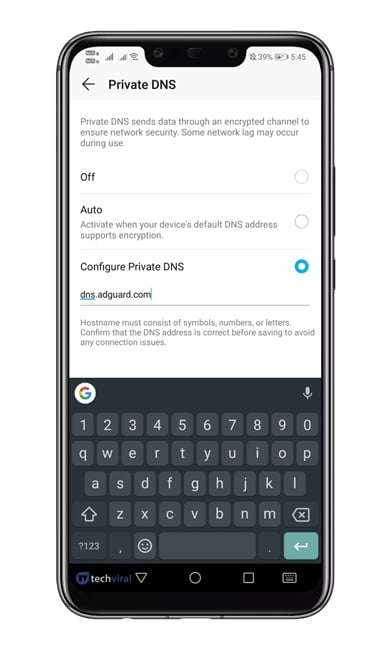
6. Save the settings and open the Google Chrome browser.
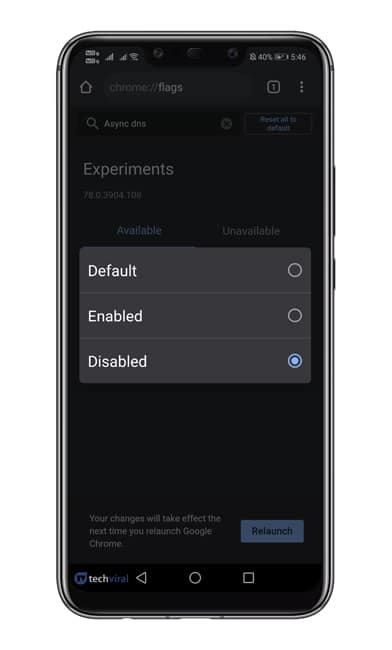
7. On the URL bar, enter Chrome://flags and hit Enter.
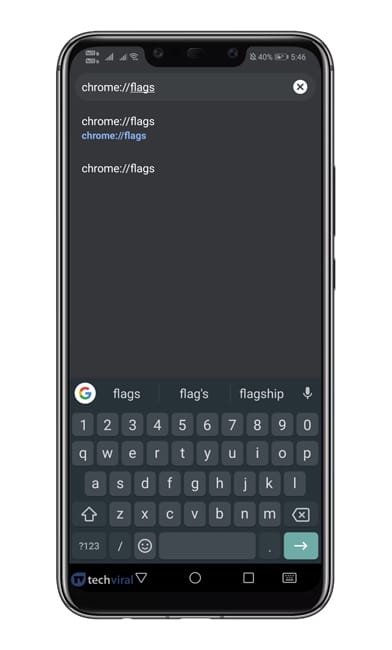
8. Now search for ‘DNS’ and turn off the Async DNS option.
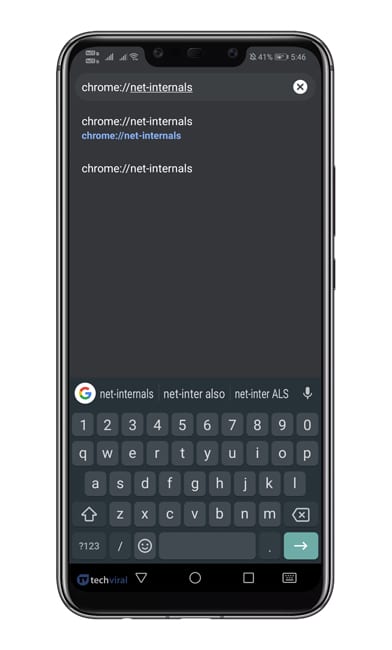
9. Now, enter chrome://net-internals the URL bar and hit enter.
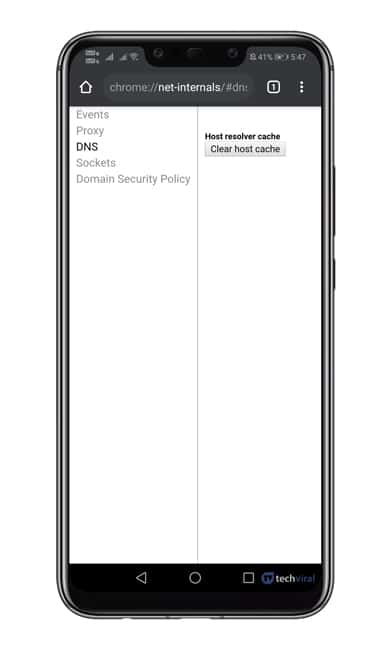
10. Select the DNS tab and tap on the Clear Cache option.
Block Ads on Android Using DNS Switch
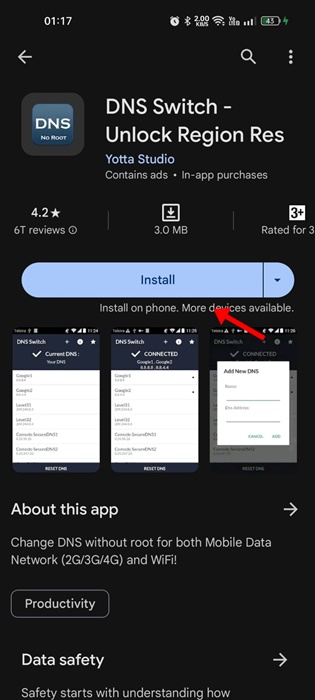
DNS Switch is an Android app that blocks ads system-wide and instantly switches your device’s DNS address.
DNS Switch has many public DNS servers you can activate with a tap. So, to block ads, you must download the DNS Switch app and activate the AdGuard DNS on Android.
1. Download & install the DNS Switch app on your Android smartphone.
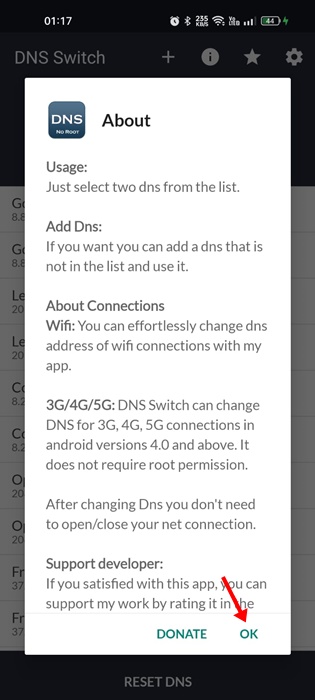
2. When the app installs, open it and tap OK.
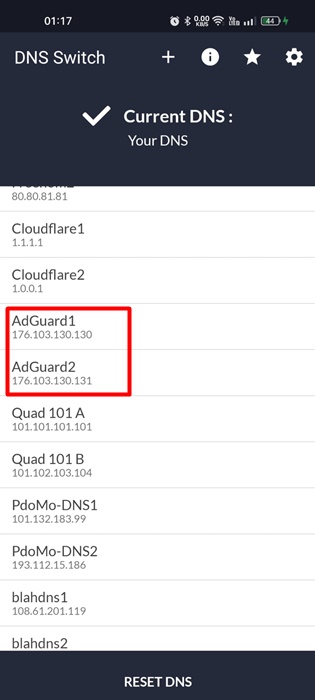
3. Now, you will find various DNS presets. Find AdGuard1 and AdGuard2.
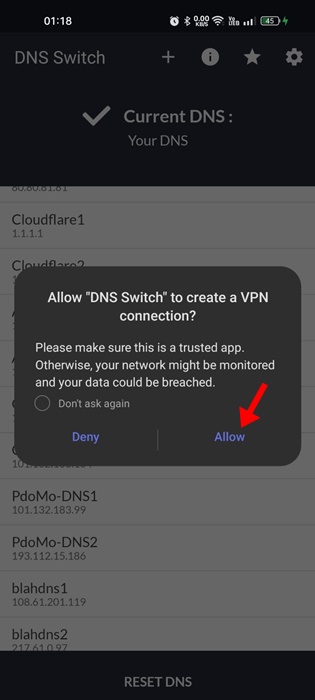
4. Once you select both, you will see a prompt asking you to allow the DNS Switch app to create a VPN. Tap on Allow.
That’s it! The app will immediately start a VPN connection and activate the AdGuard DNS on your Android device. You will now see fewer ads than before while browsing the web or using any apps or games.
Best DNS for ad blocking Android
Like the Adguard DNS, there are plenty of other DNS providers for privacy. You can use other DNS to block ads on your Android as well. Below are some of the best DNS for AD blocking on Android smartphones.
1. LibreDNS
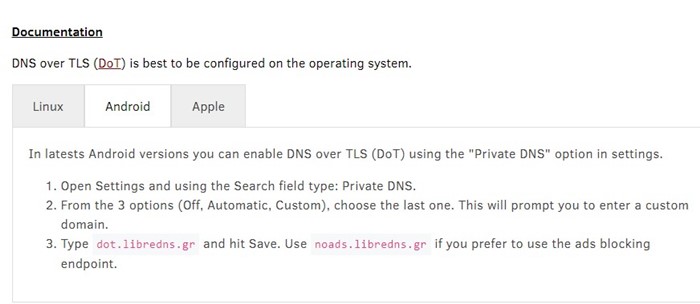
LibreDNS is a public DNS provider on the list that blocks ads and bypasses certain restrictions. It’s a great DNS server if you want enhanced security while browsing the app.
Setting up LibreDNS to block ads on Android is pretty simple. Follow the steps we shared above, and set noads.libredns.gr on the Configure Private DNS field.
2. Control D
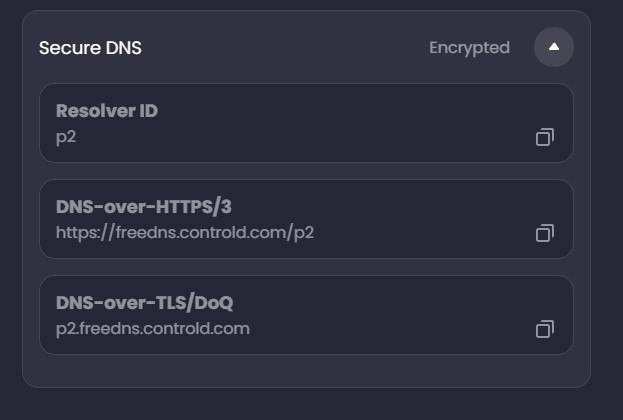
Control D is another great public DNS provider that claims to stop ads, malware, and trackers from accessing your smartphone or computer.
It has dedicated DNS servers for ads & tracker blocking, social media unblocking, content filtering, and more. If you want to block ads, add p2.freedns.controld.com to the Private DNS configuration.
3. NextDNS
NextDNS claims to protect your device from all sorts of security threats on the web. It can block malicious websites, ads, and trackers, filter content, and more.
The private DNS of NextDNS is even capable of blocking malware, phishing attacks, crypto jacking, and more. However, to get its DNS server address, you must create an account and configure your settings.
Once you’ve done this, you need to download the NextDNS app and set it up to enable the DNS server.
These are some of the best DNS for ad blocking on Android. Use them to remove ads from the web pages, apps, and games on your Android smartphone.
Other Ways to Block Ads on Android?
Apart from setting up Private DNS for blocking ads on Android, you can use a web browser with ad blocking functionality.
These days, most Android browsers like Opera, Microsoft Edge, Brave Browser, and Firefox Focus all have an ad blocker functionality that automatically detects & blocks ads from the webpages.
We have already shared a list of best adblock browsers for Android. Make sure to go through that guide and pick the web browser that fits your needs.
Frequently Asked Questions:
How do I block all ads on Android?
Until you have root access, you cannot block all ads on Android. However, you can set up ad-blocking DNS to eliminate almost 70% of ads on your Android phone.
Private DNS option is not available on my phone?
If the Private DNS option isn’t available on your Android phone, you can use the DNS Switch app. You can use any DNS changer app from the Play Store and switch to AdGuard DNS.
Why am I suddenly getting ads on my phone?
If you suddenly get more ads on your phone, chances are that you’ve installed adware. Adware is basically malware that shows you ads; it can drain your battery life.
How to stop Android adware?
You can use any reliable Antivirus program to find and detect hidden adware. If you don’t want to install any security program, uninstall the suspicious apps.
Adguard DNS won’t block all ads, but it will block the most annoying ones. The method shared above would remove ads from every webpage. I hope this article helped you! Please share it with your friends also. If you have any doubts, let us know in the comment box below.


thank you so much for this helpful article….I really these annoying ads.
Async DNS is not a result that appears for me when searching for DNS under Chrome://flags on my Android phone. Any idea why?
Async dns option not shown in chrome://flags
It really work’s! I set my DNS to dns.adguard.com it’s blocking advertising!