If you see unknown apps on the Installed apps list and can’t uninstall them, you should be quick to take action because this problem is often linked to malware or viruses. Here’s how you can uninstall unknown apps.
1. Restart your PC

Chances are that the program you’re trying to uninstall already has specific processes running in the background.
Even though you will receive a different error in this case, it’s still important to find and close all background processes run by the program.
If you can’t find any related background processes on the Task Manager, restart your Windows 11 PC.
2. Uninstall the Program from the Control Panel
If you can’t uninstall the program from the Installed Apps (Settings > Apps > Installed Apps), you can try uninstalling it from the Control Panel.
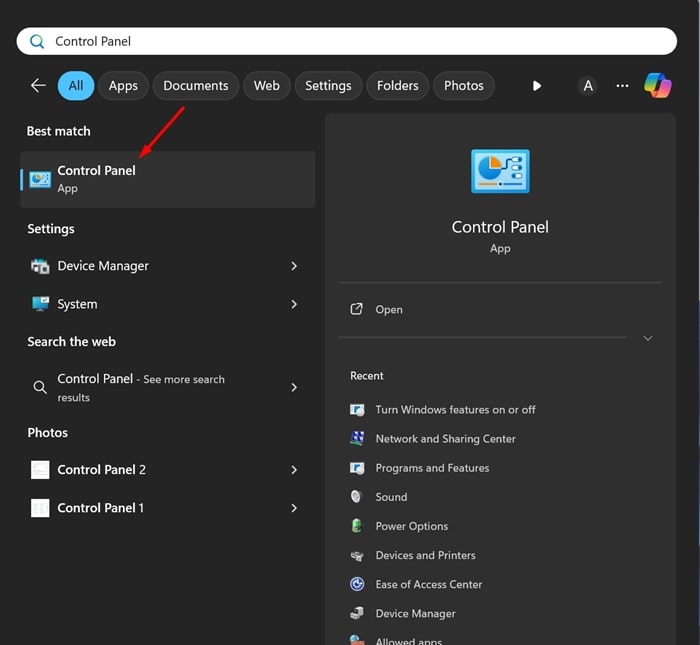
1. Open Control Panel from the Windows Search.
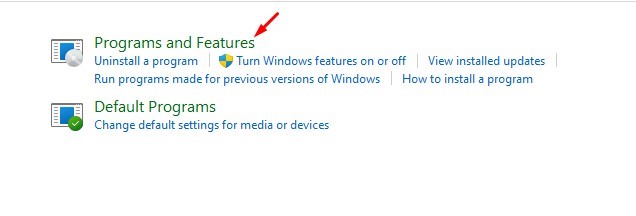
2. Click Programs.

3. Click Programs and Features.
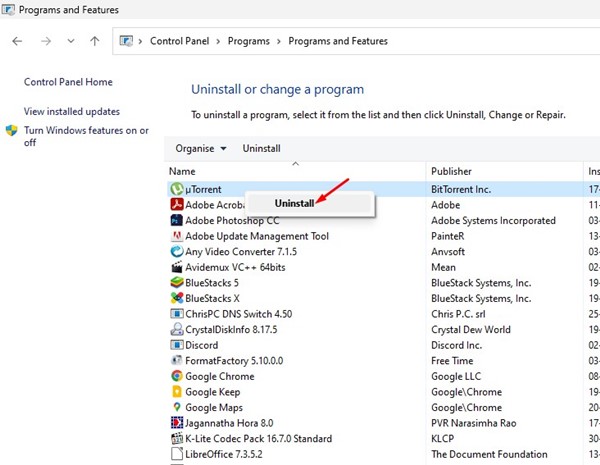
4. Find the unknown program you want to uninstall, right-click on it, and select Uninstall.
3. Run a Full Scan with Windows Security
The Full Scan mode in Windows Security checks all files and running programs on your disk drives. The scan usually takes longer than an hour to complete, but the results are worth it.
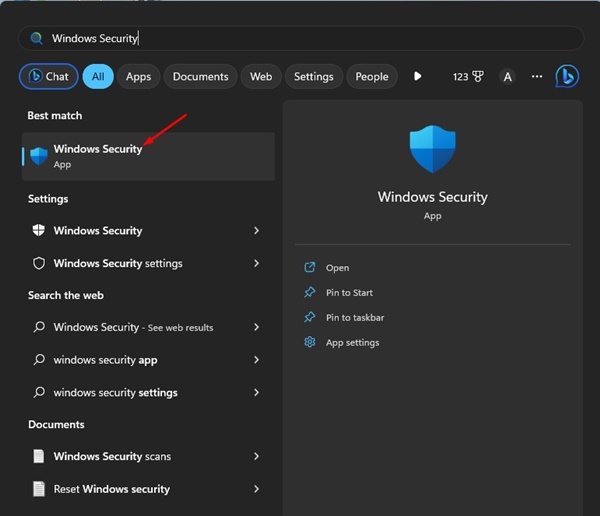
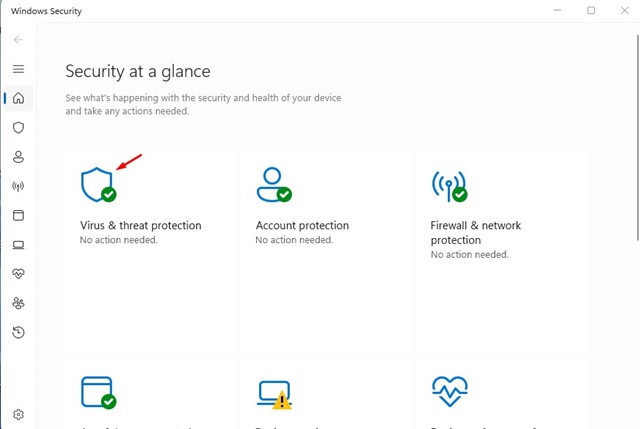
1. Open the Windows Security app from the search.
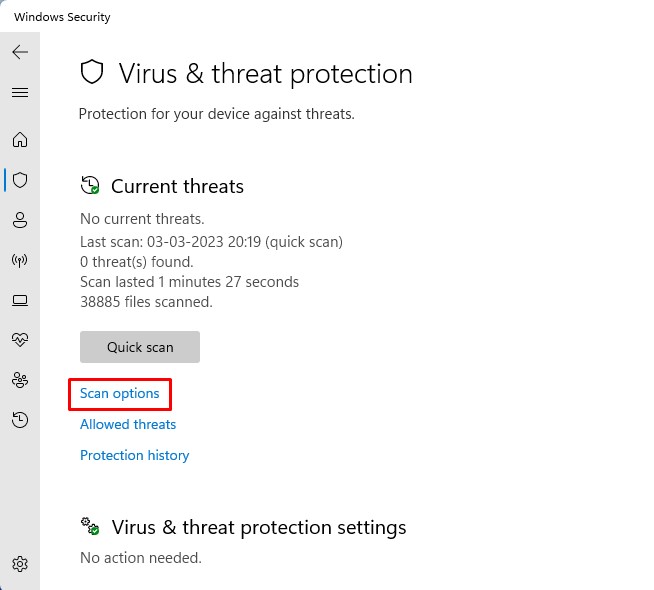
2. Switch to Virus & Threat Protection.
3. Click on Scan Options.
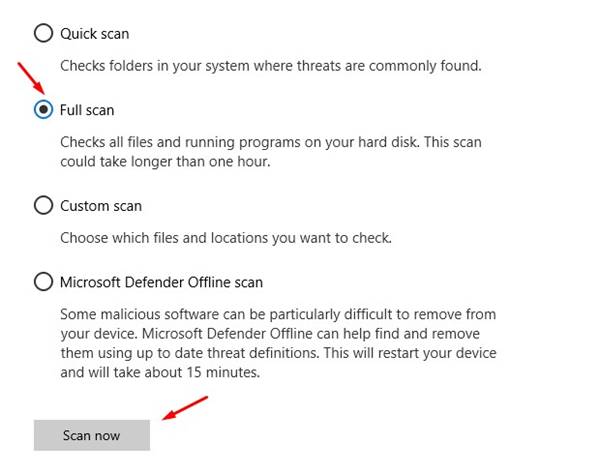
4. Select Full Scan and click Scan Now.
4. Run a Full Scan with Malwarebytes
Even though Windows Security is great, it isn’t as good as Malwarebytes. To reduce the possibility of malware attacks, you should perform a full malware scan with Malwarebytes.
1. Download & install the latest version of Malwarebytes on your PC.

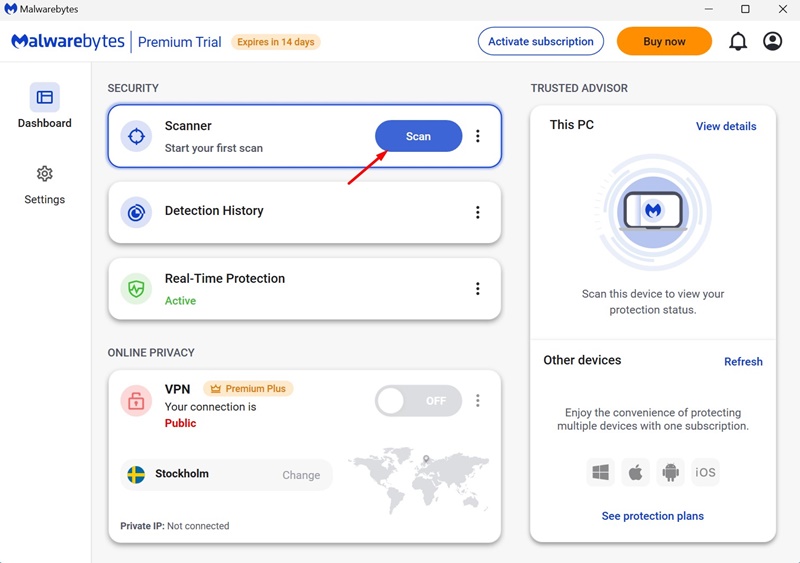
2. Launch Malwarebytes and switch to Dashboard.
3. Click Scan.
5. Run a Rootkit Scan
If you don’t know, once a rootkit has been installed, its controller can remotely execute files and change system configurations on your machine. Chances are that you’re unable to delete the files because of a hidden rootkit. You can run a Rootkit scan with Malwarebytes to find & remove rootkits from your device.
1. Launch Malwarebytes on your computer.
2. Switch to Settings.

3. Switch to Scan and Detections.
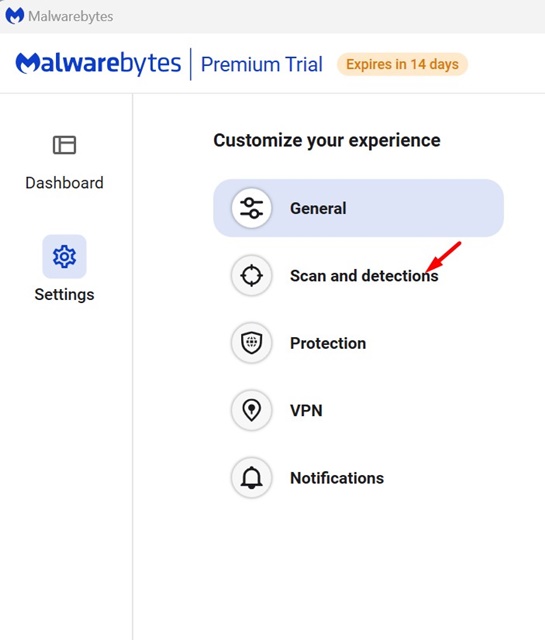
4. Turn on the toggle for ‘Scan for rootkits’.
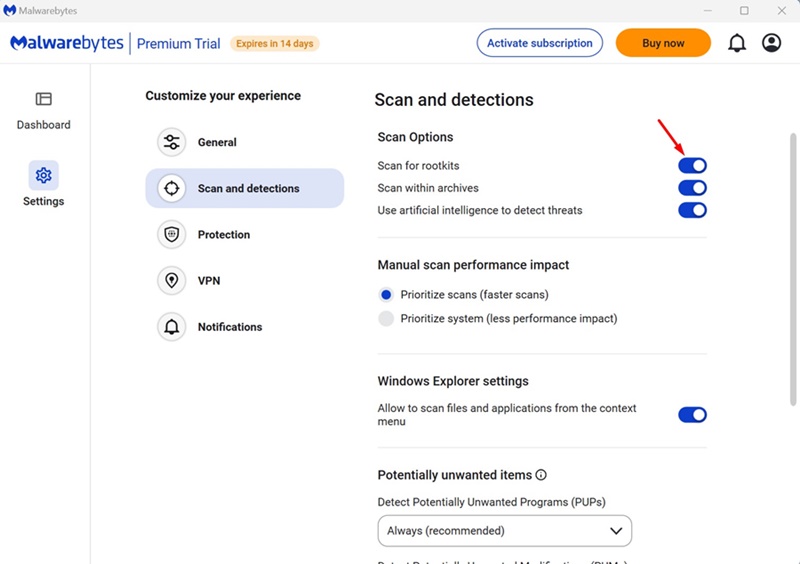
5. Move back to the Dashboard and click the Scan button on the Scanner.
This will run a rootkit scan on your Windows 11 PC.
6. Run the SFC/DISM Commands
Certain files, apps, or games may fail to delete or uninstall due to system file corruption. If you still can’t delete unknown files on your Windows 11, running the SFC & DISM commands is recommended.
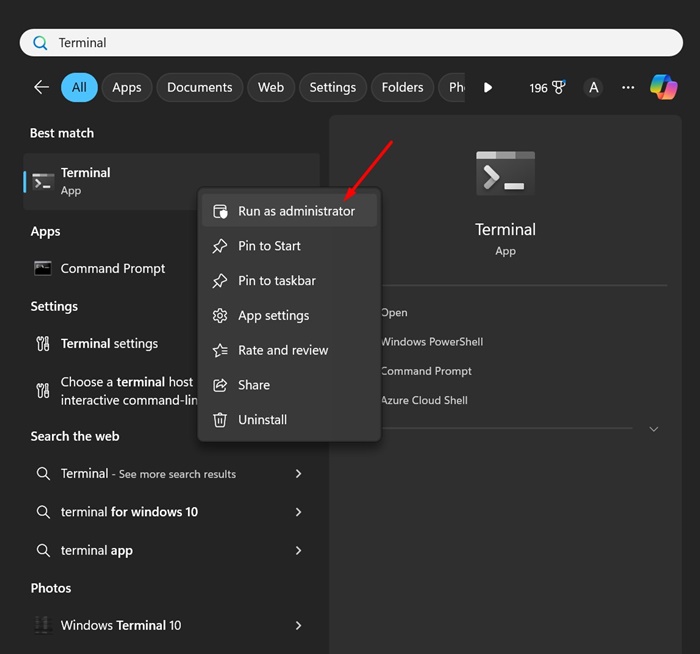
1. Type CMD in the Windows 11 Search box. Right-click on CMD and select Run as administrator.
2. Execute this command:
sfc /scannow

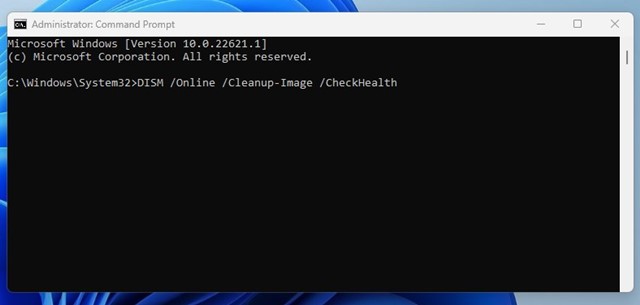
3. If the Command Prompt returns with an error, execute these commands one by one:
DISM /Online /Cleanup-Image /CheckHealth
DISM /Online /Cleanup-Image /ScanHealth
DISM /Online /Cleanup-Image /RestoreHealth
Wait for the scan to complete. This should fix your issue.
7. Clean Boot Windows 11 & Delete the Files/ Programs
If you cannot delete files, you can try performing a clean boot and then uninstalling the program via the Control Panel.
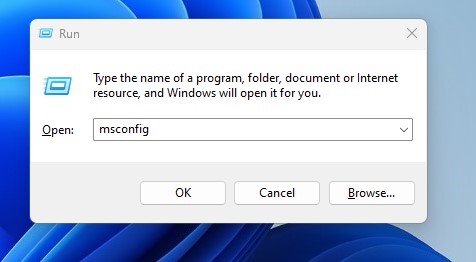
1. Press the Windows Key + R button on your keyboard to open the RUN dialog box. When the RUN dialog box opens, type msconfig and press Enter.
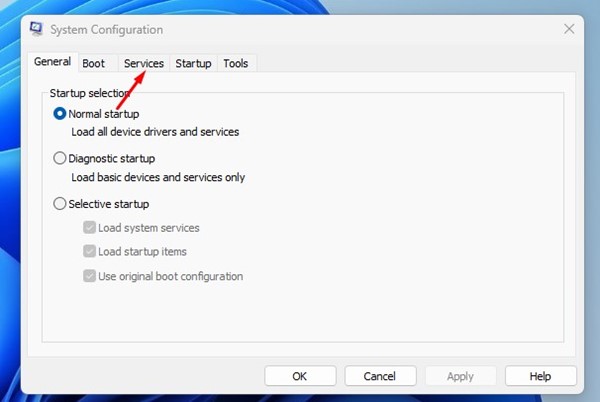
2. This will open the System Configuration; switch to Services.
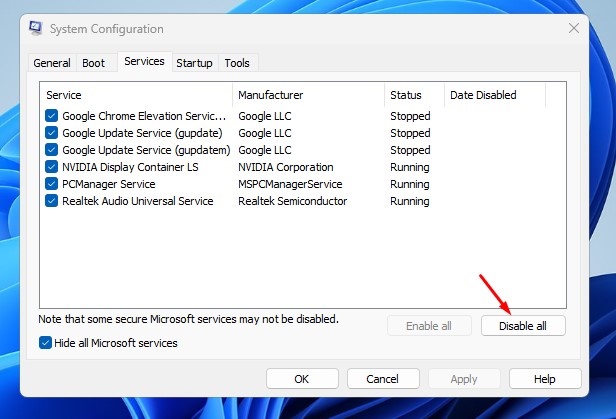
3. Check the Hide All Microsoft Services checkbox. Once done, click Disable All.
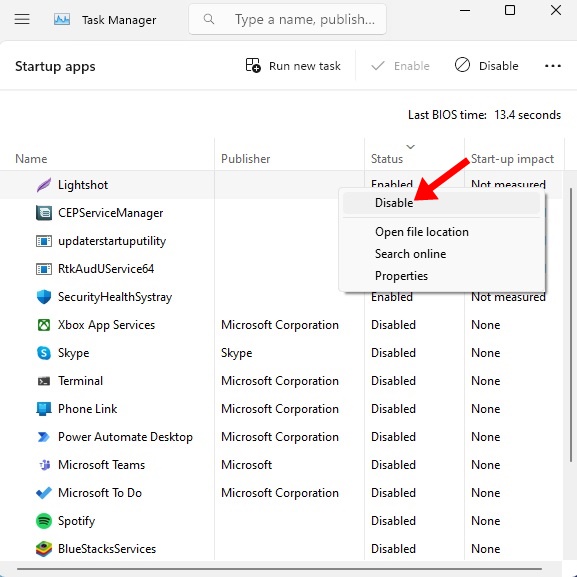
4. Click on Apply and OK. Next, open the Task Manager > Startup. On Startup, disable all third-party apps.
5. Restart your Windows 11 PC. After the restart, uninstall the program or delete the file.
6. After deleting the files, make sure to revert the changes. Head to System Configuration > Services > Enable All to do so. Once done, click Apply, then OK.
8. Use Third-Party Program Uninstallers
Third-party software Uninstallers work by detecting and removing the lock handles that prevent file removal.
Some third-party software uninstallers for Windows 11 can effectively find and remove such locks. They can also reverse the changes in the log made by an app or file.
If you have followed all the methods described, you should now be able to delete the file or uninstall the apps. If you need more help removing unknown files from Windows 11, let us know in the comments.


