Well, if you have been using Windows 10 for a while, you might know that the operating system allows you to create multiple local accounts. It’s pretty easy to set up local accounts on Windows 10.
Also, you can set different passwords for every different account on Windows 10. On Windows, you get the option of two account types. The account types include Standard and Administrator.
Both of the user account types have different sets of privileges. However, the Standard account is more restrictive than the Administrator one. So, if you have a Standard account and wish to convert it into Administrator, you can do it quickly.
Also read: How to Activate Super Administrator Account in Windows
2 Methods to Change Administrator on Your Windows 10/11 PC
Hence, in this article, we will share a detailed guide on how to change Administrator on Windows 10/11 operating system.
We have shared multiple methods; you can use any of them to switch account types. Let’s check out.
Note: We have used Windows 10 to demonstrate the methods. You need to implement the same methods on your Windows 11 PC.
1. Change User Account Type via Settings
In this method, we are going to use the Settings app to change the user account type. Then, you need to follow some of the simple steps shared below.
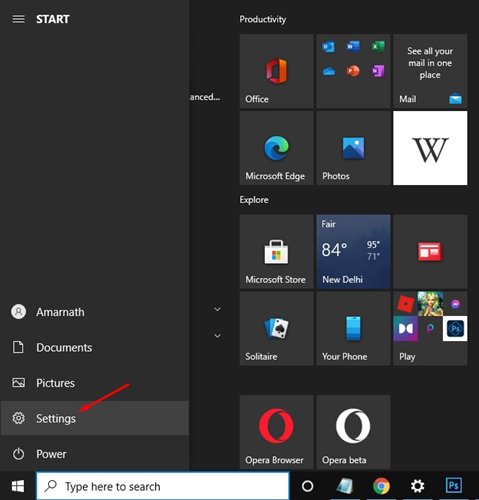
1. First of all, click on the Windows Start button and select Settings.
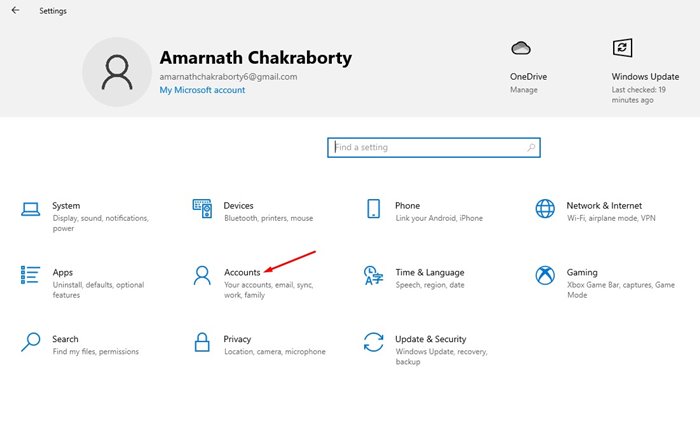
2. On the Settings page, click on the Accounts option.
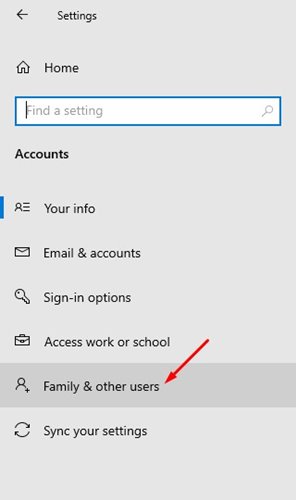
3. On the left pane, click on the Family & other users option.
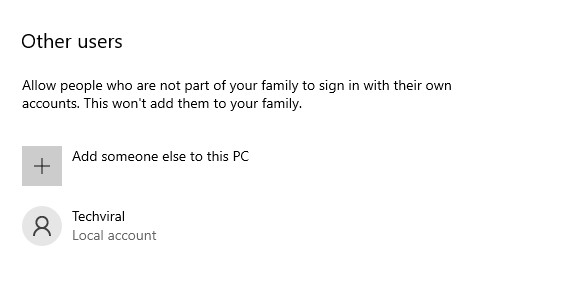
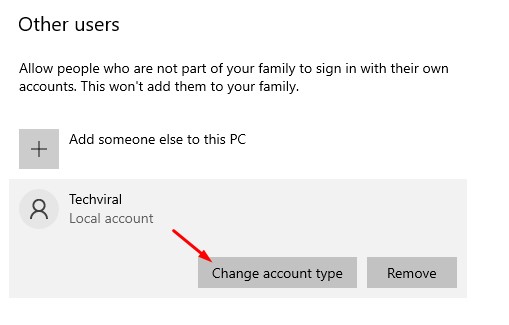
4. On the right pane, click on the Local account.
5. Next, click on the Change account type option as shown below.
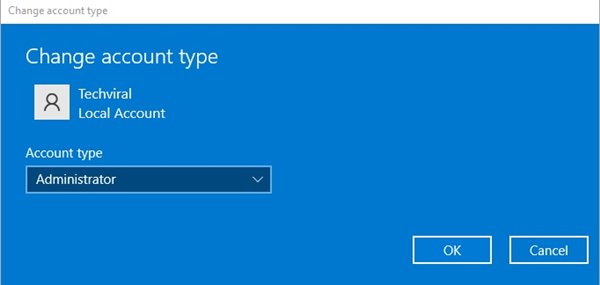
6. Under the Account type, select Administrator and click on the Ok button.
That’s it! You are done. This is how you can change Administrator on Windows 10.
2. Change User Account Type using Control Panel
In this method, we are going to utilize the Control Panel to change the user account type. Here’s what you need to do.
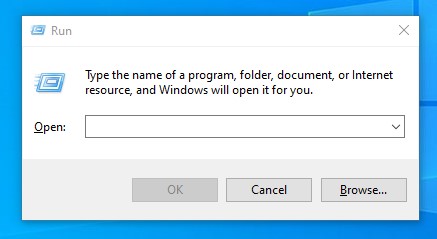
1. First of all, press Windows Key + R button on your keyboard. This will open the RUN dialog box.
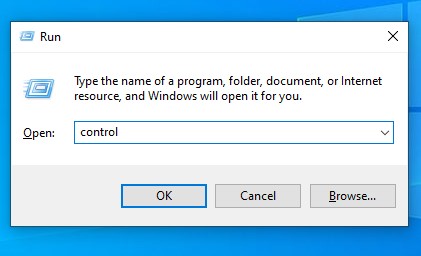
2. On the RUN dialog box, enter control and press the Enter button.
3. On the Control Panel, click on the Change Account type option under the User Accounts section.
4. Now, select the account that you want to make Administrator. On the left side, click on the Change the account type link.
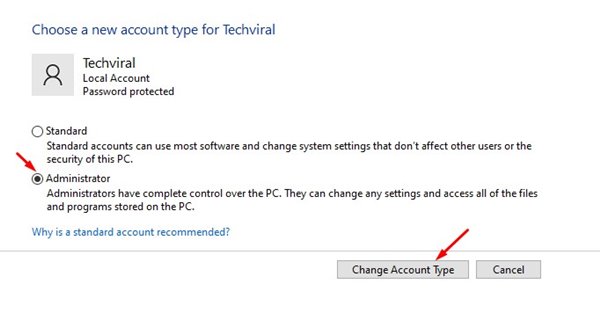
5. On the next Window, select Administrator and click on the Change Account type option.
That’s it! You are done. This is how you can change Administrator on your Windows PC.
So, this guide is all about how to change Administrator on Windows 10 PC. I hope this article helped you! Please share it with your friends also. If you have any doubts related to this, let us know in the comment box below.
