Gmail is undoubtedly the best email service out there. Almost everyone uses it right now, including businesses, companies, and individuals. If you use Gmail, you may know that the email service uses its default text font and size for composing an email.
The default Gmail font looks good, but you may want to change it at times. You may also like to apply some text formatting to your emails to make the text more readable or scannable for the recipient.
Both the web version and the mobile app of Gmail allow you to change the Gmail font and Font size in easy steps. And in this article, we will share a detailed guide on how to change the default font & font size in the Gmail for desktops. Let’s get started.
Change Font & Font Size in Gmail
We will change the default font & font size in Gmail for desktop in this method. Follow some of the simple steps we have shared below.
1. First of all, open your favorite web browser and head to Gmail.com. Next, log in with your Gmail account.
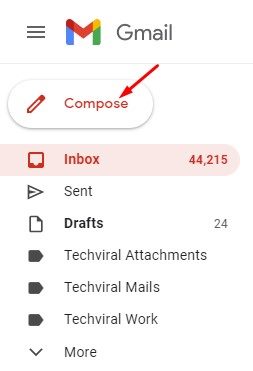
2. On the left pane, click on the Compose button below.
3. On the New Message box, type in the text you want to send. At the bottom, you will find the text formatting options.
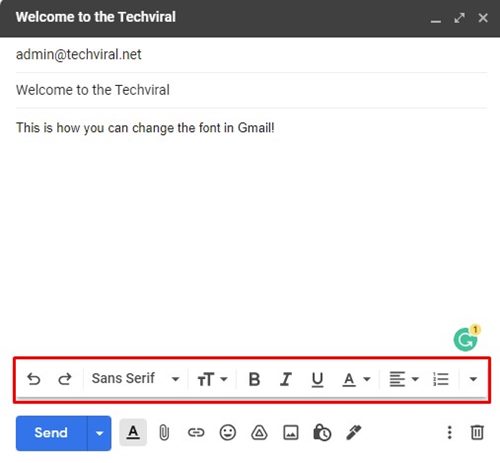
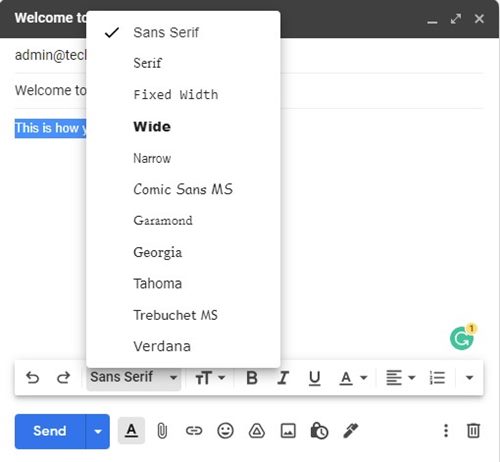
4. If you want to change the font, click on the font drop-down and select the font of your choice.
5. You can also apply text formatting options using the bottom toolbar.
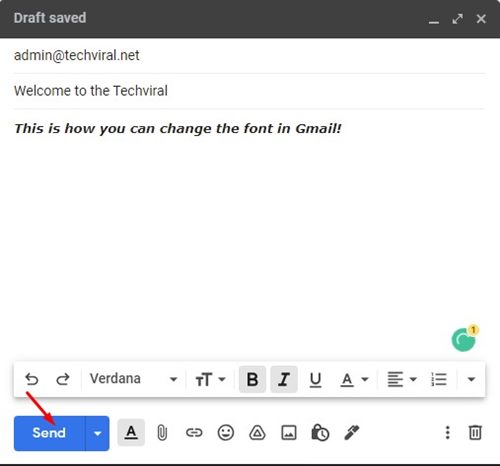
6. Once done, click on the Send button to send the email.
This is the easiest way to change the font in Gmail for desktop. However, this is not the permanent way to change the font in Gmail.
How to Change Font in Gmail (Permanently)
You can make your font changes permanent if you don’t want to manually change the font settings each time you compose a new email. Here’s how to change the font in Gmail permanently.
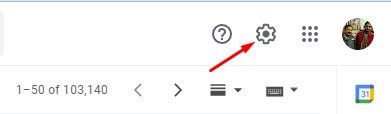
1. First of all, open your favorite web browser and head to Gmail.com. Login with your Gmail icon and click on the Settings icon.
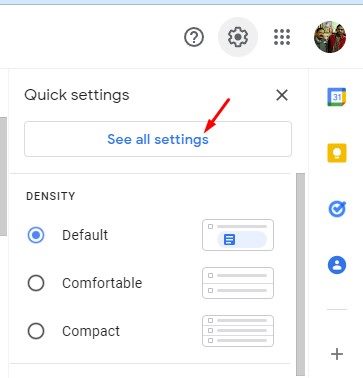
2. On the menu, click on the See all settings.
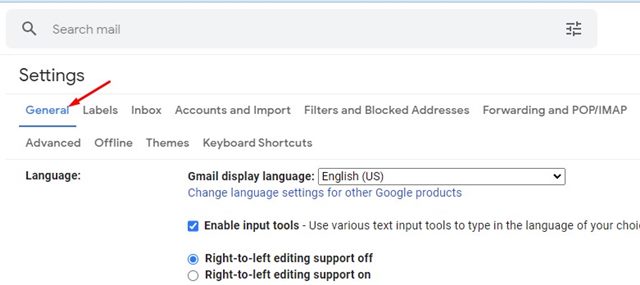
3. On the Settings page, click on the General tab below.
4. On the Default text style, choose the font you want to use.
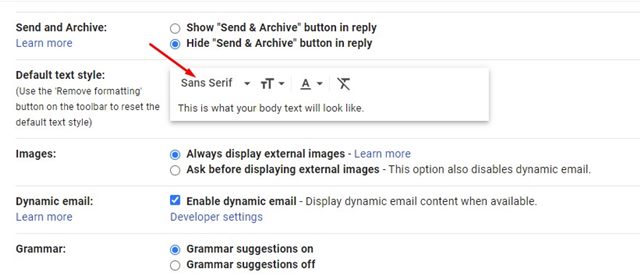
5. You can also use the formatting options to change the text color, style, size, etc.
6. Once done, scroll down and click on the Save changes to apply the new font settings on your Gmail.
This is how you can change the font in Gmail for desktop. The new font style, size & formatting options will appear as you compose a new email.
Also read: 10 Best Chrome Extensions for Gmail
While Google has changed lots of visual elements of Gmail, such as the interface, theme, etc., the one thing that hasn’t been changed for years is the font and the text style. Hence, you can rely on these two methods to change your Gmail’s font and font size.


