Let’s admit it; Windows 10 is right now the best and most popular desktop operating system. From security options to infinite sets of tools, Microsoft’s Windows offers you everything.
The same sets of features were also seen on Microsoft’s latest desktop operating system – Windows 11. If we talk about security, Windows 11 provides you with a built-in antivirus, multiple sign-in options, and more.
While installing Windows 11, Microsoft asks users to create a local account. Although local accounts can be created in easy steps, managing multiple accounts could be complicated.
Also, users should change their login passwords every three months. Just like Windows 10, Windows 11 also lets you change passwords on Windows 11 in easy steps. So, if you have already set a password for your device and want to change it, you are reading the right guide.
2 Methods to Change Local User Account Password on Windows 11
Hence, this article will share some of the best methods to change passwords for a local account in Windows 11. Let’s check out.
1. Change Windows 11 Password via Settings
In this method, we will use the Settings app to change the Windows 11 Local account password. Here’s what you need to do.
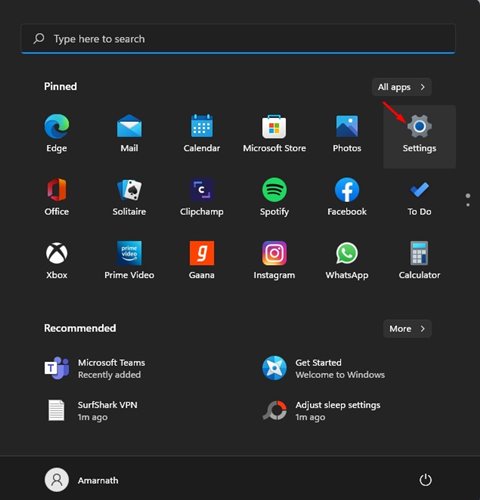
1. First of all, click on the Windows 11 start button and select Settings.
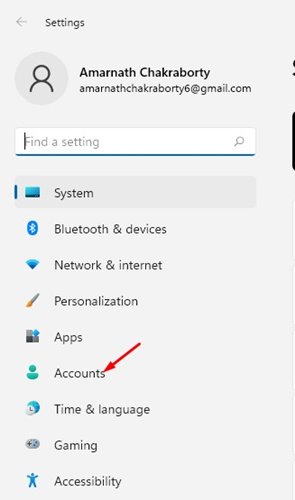
2. On the Settings page, click on the Accounts option, as shown in the screenshot below.
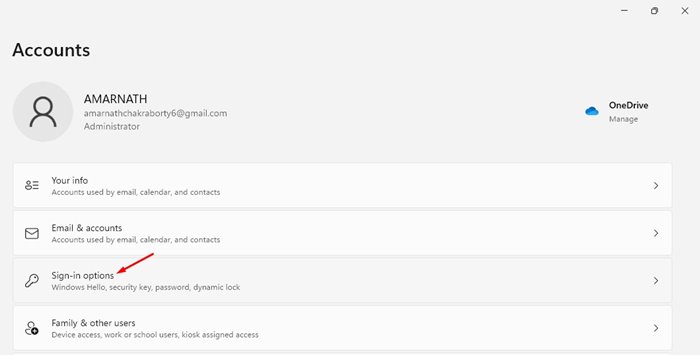
3. On the right pane, click on the Sign-in options as shown in the screenshot below.
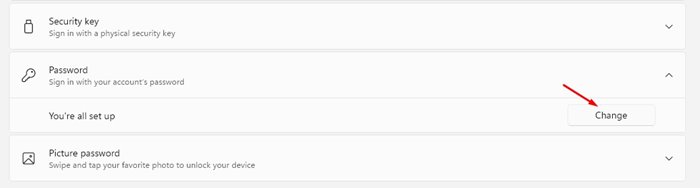
4. Now, under the Ways to log in section, expand the Password option.
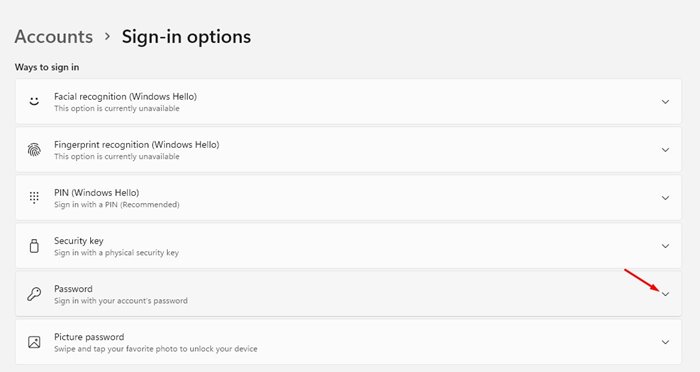
5. Now click on the Change button behind. You’re all set up.
6. On the next page, you will be asked to enter your current password. Enter the password and click on the Next button.

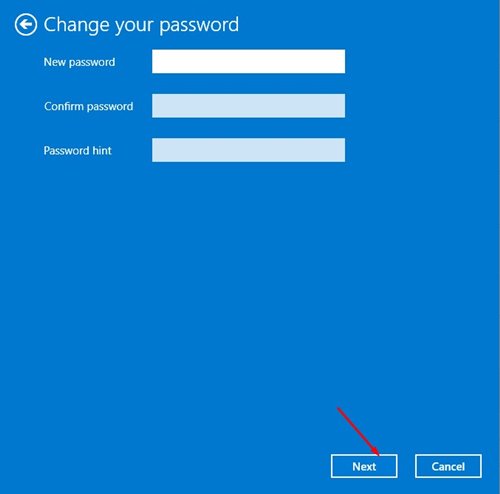
7. On the next Window, enter the new password, confirm the password, and set the password hint. Once done, click on the Next button.
8. On the next page, click on the Finish button.
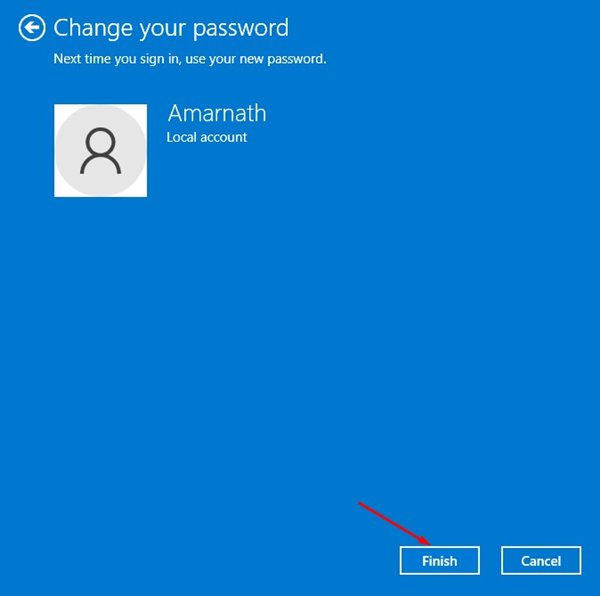
That’s it! You are done. This is how you can change passwords for a local account on Windows 11.
2. Change Password via CMD
You can also utilize the Command Prompt to change the Windows 11 local account password. For that, you need to follow the guide we have shared – How to Change Windows Password via CMD (Command Prompt)
It’s much faster to change Windows 11 passwords through the command prompt; you need to execute the correct commands.
So, this guide is all about how to change the Windows 11 login password. I hope this article helped you! Please share it with your friends also. If you have any doubts related to this, let us know in the comment box below.


