Knowing your current PC’s RAM specifications might help you plan your next PC build. Windows 11 provides you with a few tools to check the RAM information. Here’s how to use those tools.
1. Check RAM information via Settings
One of the easiest ways to grab the RAM information is to utilize the Windows Settings app.
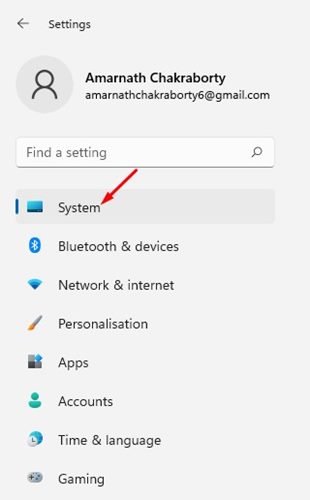
1. Click the Windows 11 Start button and select Settings.

2. Click the System option.
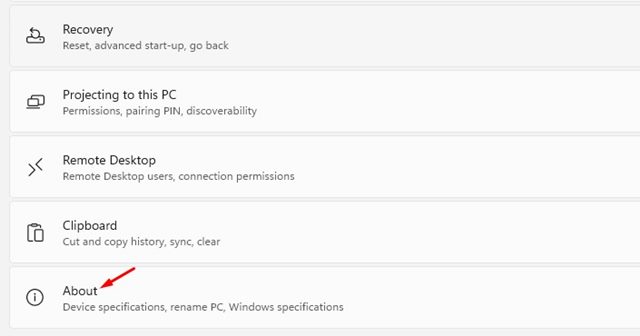
3. Scroll down and click About.
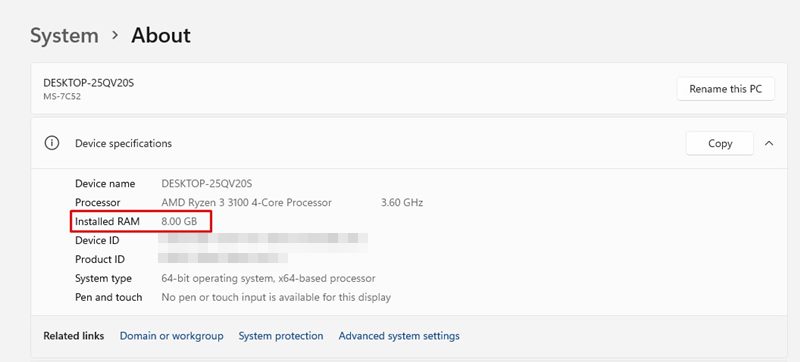
4. Expand the Device specification and check the Installed RAM. This will show you the amount of RAM installed on your PC.
2. Check RAM speed on Windows 11
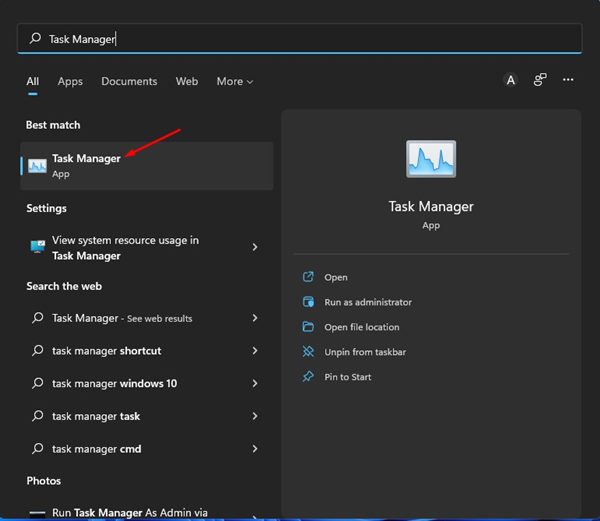
If you want more information about your RAM, such as its speed, you need to use the Task Manager.
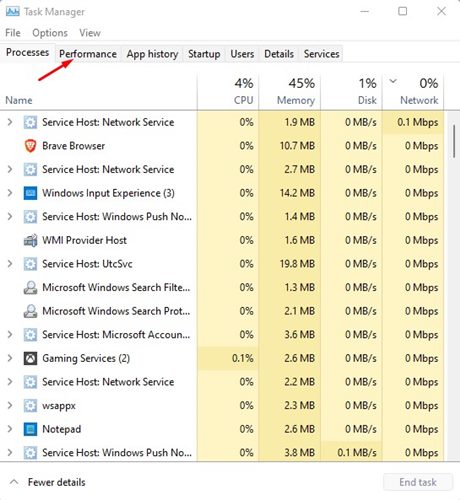
- Click on the Windows 11 Search and type in Task Manager.
2. Switch to the Performance.
3. Select Memory.
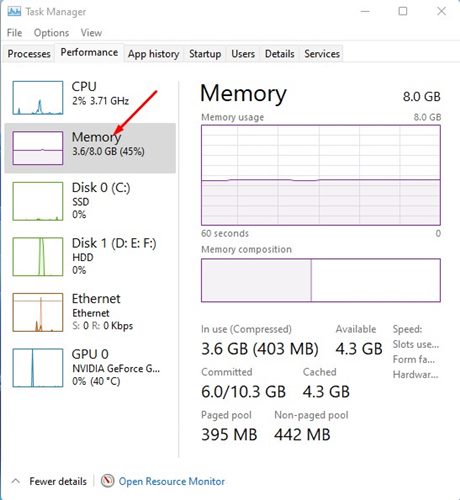
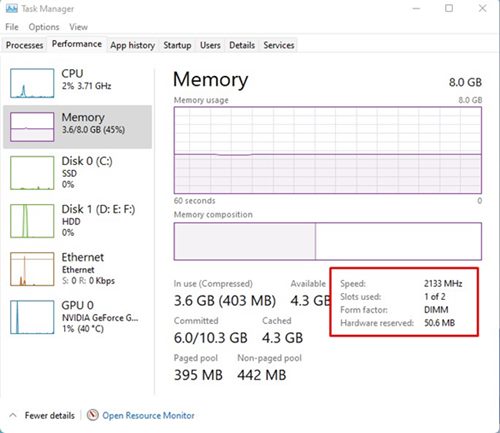
4. You will see the memory speed, the number of slots used, and other details.
3. Check RAM Information via Windows Terminal
You can use the Windows Terminal to check the total availability of system memory and a few other details.
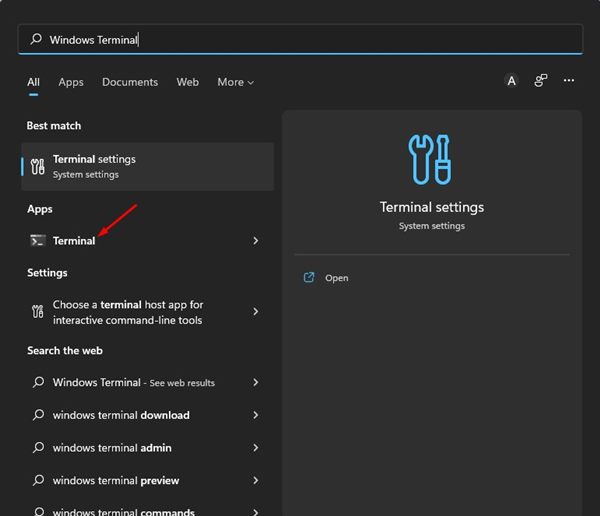
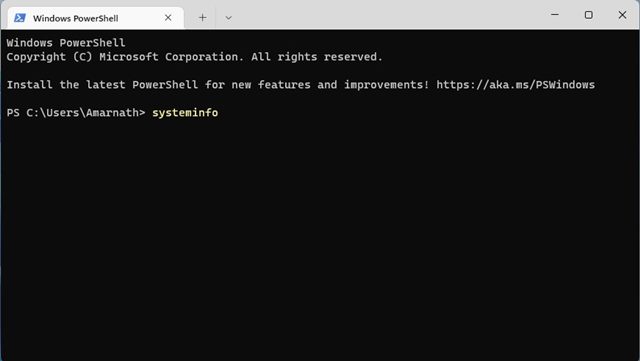
1. Click the Windows 11 search and type in Windows Terminal.
2. Open Windows Terminal from the list of options.
3. Execute the command:
systeminfo
4. Windows Terminal will show you information about your system. Check the Total Physical Memory section to find the total RAM.
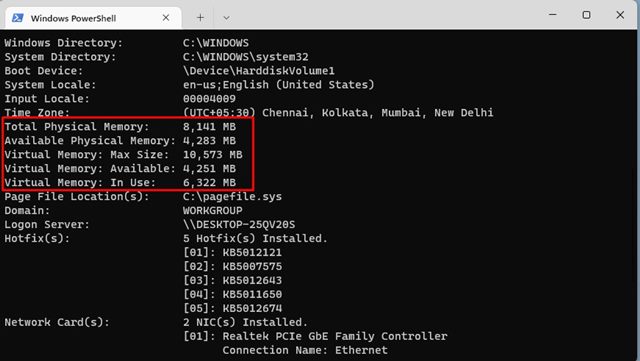
5. It also shows other information such as available RAM, Virtual memory, etc.
4. Check RAM information on Windows 11 via System Information
You can even use Windows 11’s System Information app to check RAM information.
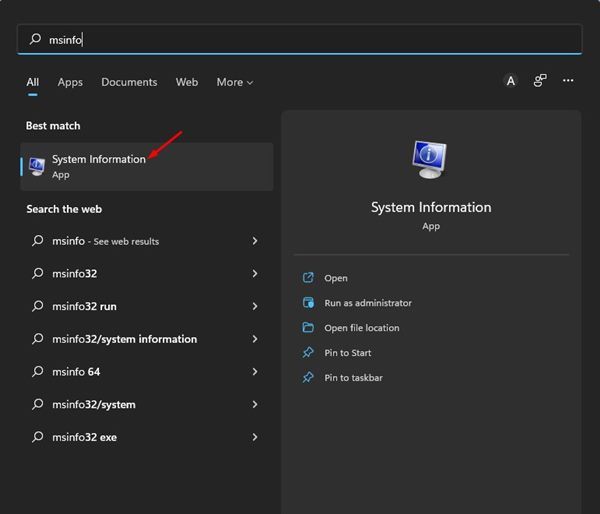
1. Open Windows 11 search, type in msinfo, and press Enter. From the list of options, click on System Information.
2. This will open the System Information app on your Windows 11 PC.
2. On the System Information window, select the System Summary.
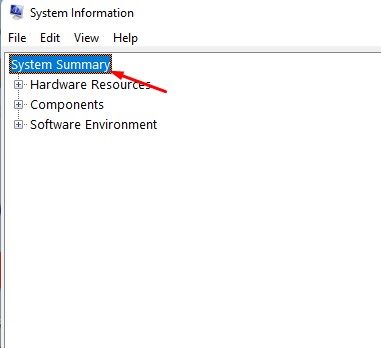
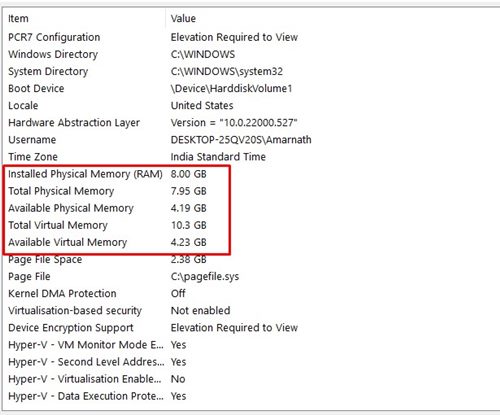
3. Check the Installed Physical Memory and Total Physical Memory options on the right pane. This will list the total amount of RAM installed on your system.
5. Check RAM Information using the DirectX Diagnostic Tool
DirectX Diagnostic Tool holds lots of information related to your PC. You can use it to check the RAM information as well.
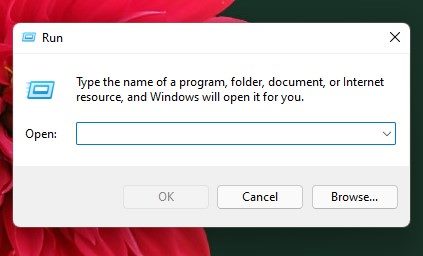
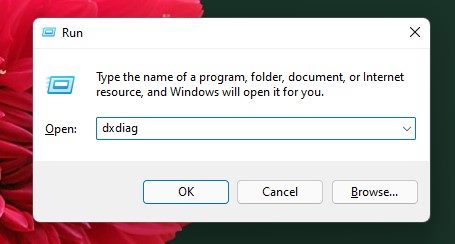
1. Press the Windows Key + R button on your keyboard. This will open the RUN dialog box.
2. Type dxdiag in the RUN dialog box and press Enter.
3. The DirectX Diagnostic Tool will open. Switch to the System tab and check the System Information section.
4. Check the Memory information to find your installed RAM.

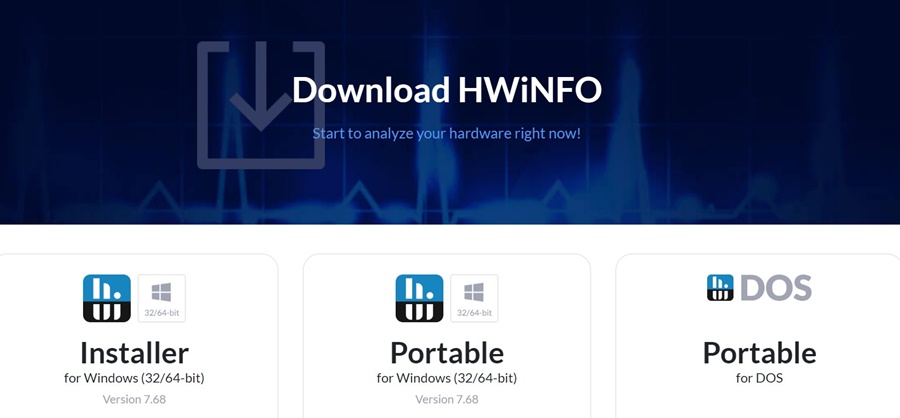
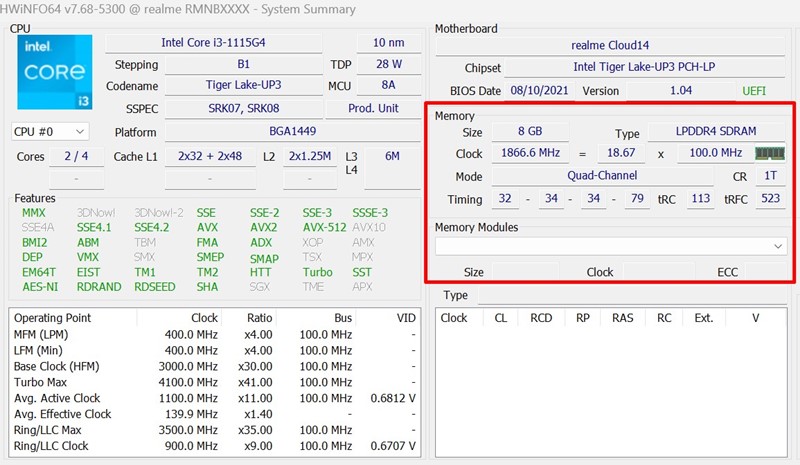
6. Check RAM information on Windows 11 with HWiNFO
HWiNFO is a third-party program that gives a complete overview of your system’s hardware. The app displays CPU information, including temperatures and fan voltages.
You can also use it to check Memory (RAM) information. It will show you the size of the RAM, its type, Clock speed, mode, Memory Modules, etc.
1. Download & install the latest version of HWiNFO on your Windows 11 computer.
2. Open the tool and wait until it grabs all information.

3. Once it gathers all the information, take a brief look at the Memory section. It will have all the RAM information you will possibly need.
These are the best ways to check RAM information on Windows 11. To know more about your PC’s specifications, check out our guide – How to Check Your PC’s Full Specifications in Windows 11.


