Knowing the GPU used in your Windows 11 PC will help you decide whether you can run certain games or if your device can handle premium video editing software. On Windows 11, it’s relatively easy to check the graphics card details. Here’s how to check it.
1. Check Your Graphics Card via Settings
You can easily check your graphics card details via Windows 11 Settings.
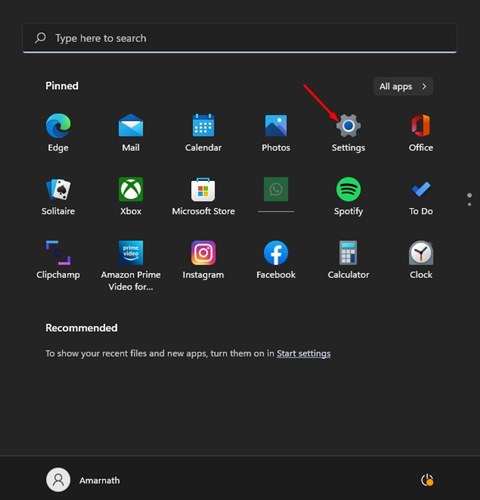
1. Click on the Windows 11 Start menu and select Settings.
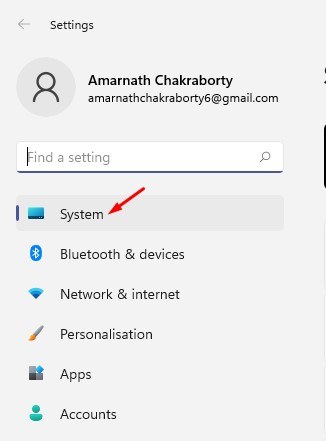
2. Switch to the System.
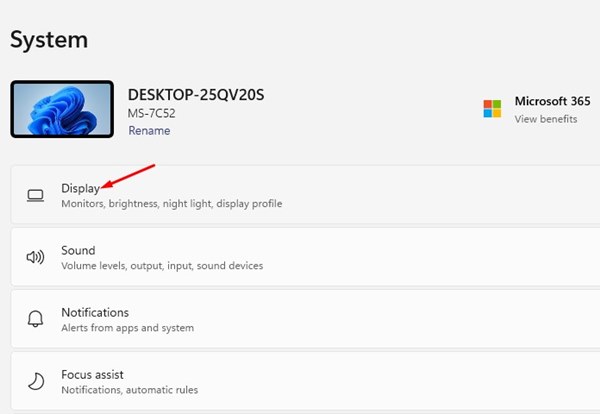
3. Click on Display.
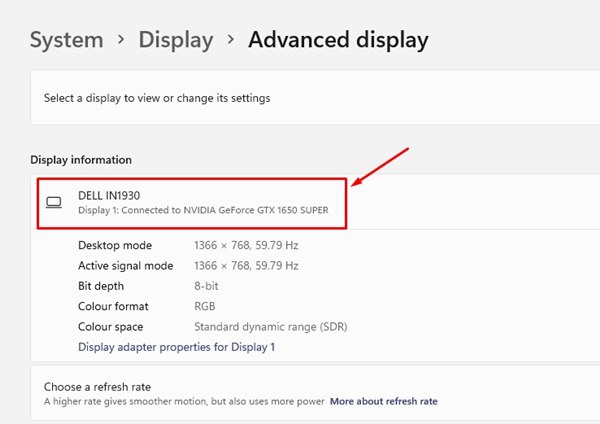
4. Scroll down and click Advanced Display.
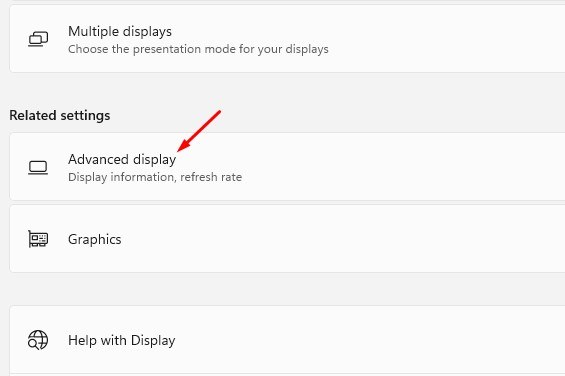
5. Under the Display information, you will see your graphics card.
2. Check Graphics Card Details using the System Information Tool
The System Information tool in Windows 11 provides a lot of information about your graphics card.
1. Press the Windows Key + R button on your keyboard. This will open the RUN dialog box. Type in msinfo32, then hit Enter.

2. On the System Information Window, expand Components.
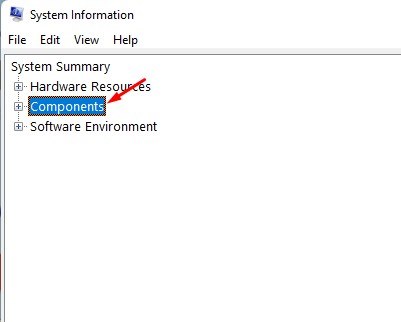
3. Select Display. Check the Name section to find your graphics card on the right.

3. Check Your Graphics Card via Task Manager
You can even use the Task Manager to check the graphics card on Windows 11.
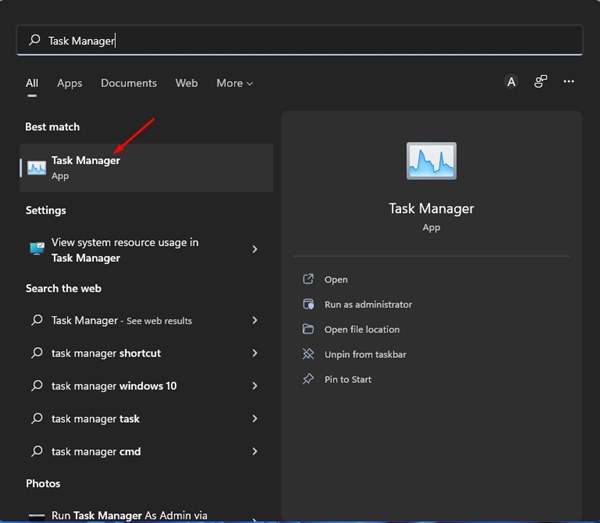
1. Type Task Manager in Windows 11 Search and open it.
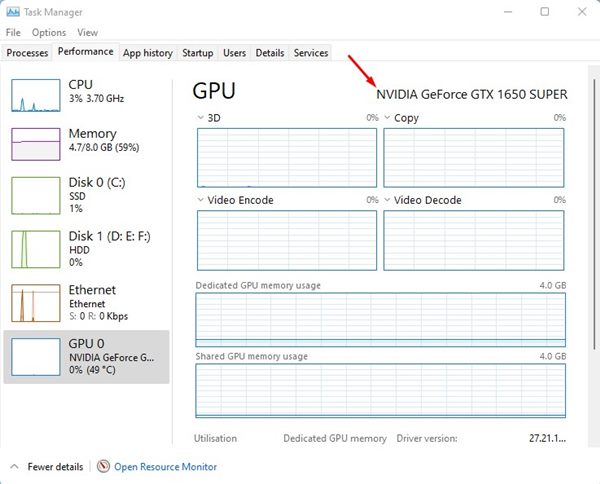
2. Switch to Performance.
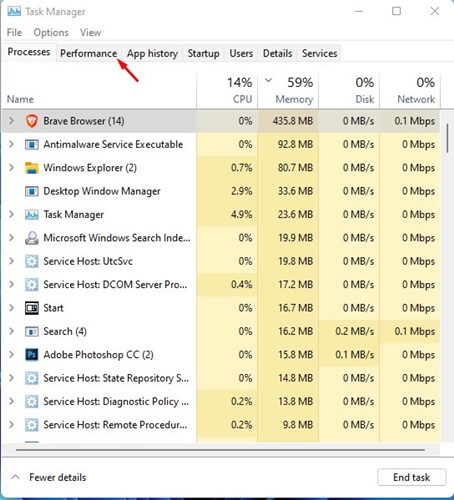
3. Select the GPU unit on the right of the Performance tab.
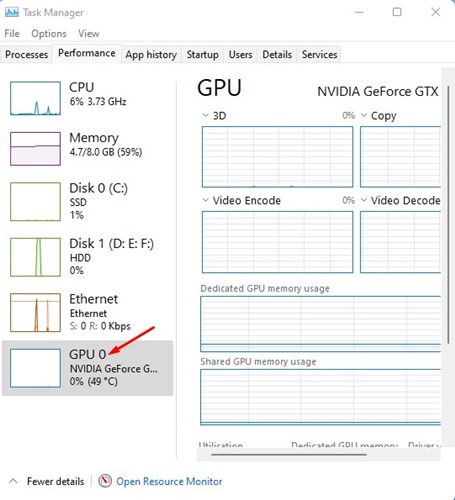
4. On the right, you will find your Graphics card name.
4. Check Your Graphics Card via Device Manager
We will use Windows 11’s Device Manager to find the graphics card (GPU) unit installed.
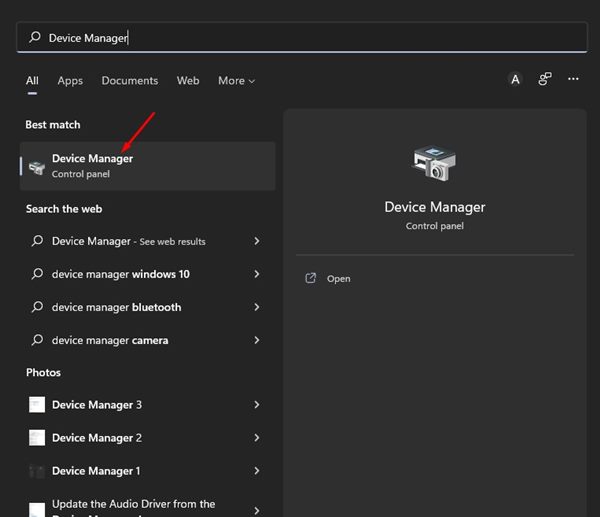
1. Open Device Manager from the Windows Search.
2. Expand the Display adapters.
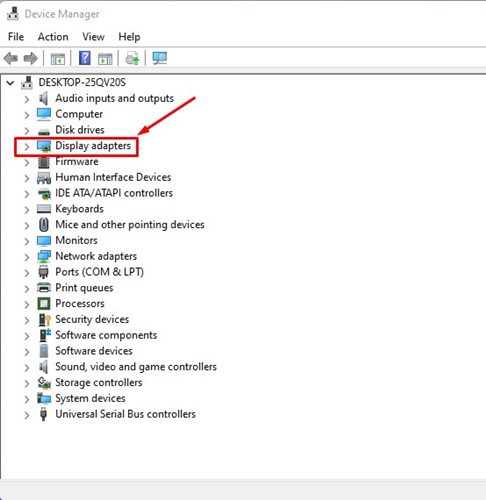
3. This will expand the Display Adapters menu and reveal the graphics card used in your device.
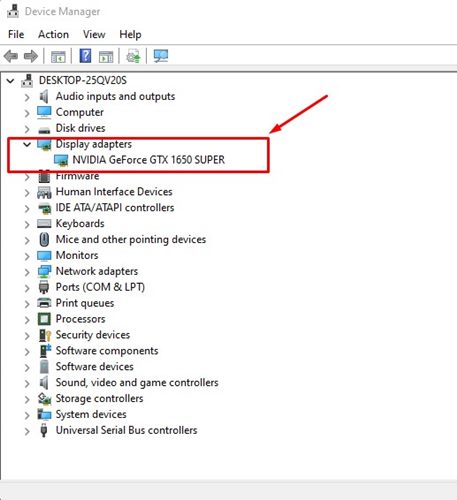
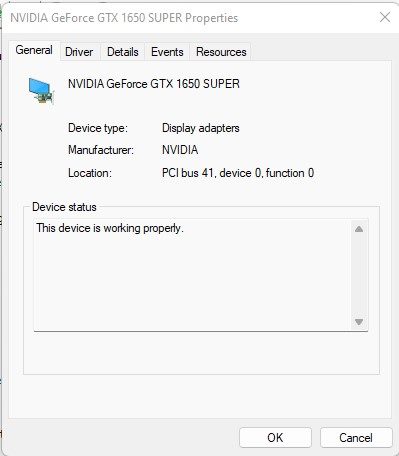
4. If you want more details about the Display adapter, double-click on the Graphics card name.
5. Check Graphics Card details via the DirectX Diagnostic Tool
DirectX Diagnostic Tool is a utility that reports detailed information about the DirectX components and drivers installed on your Windows 11 device. It also tells about the graphics card installed on your device.
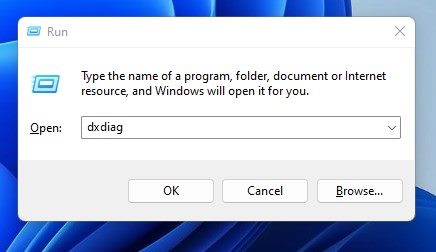
1. Open the RUN Dialog box, type dxdiag, and press Enter.
2. Give the tool a few seconds to fetch the driver information. Once fetched, switch to the Display tab.
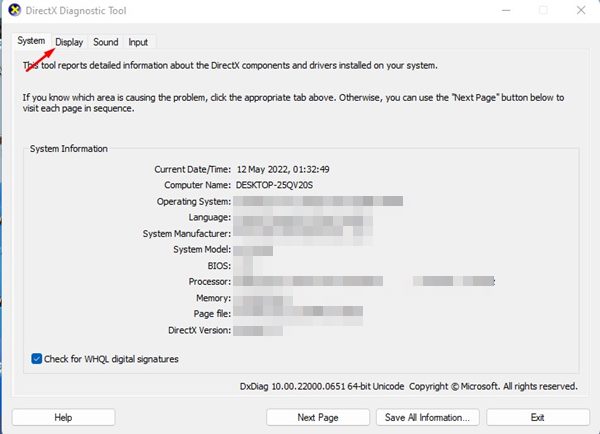
3. The display section lists all the details you will probably need about the GPU, including its name, Manufacturer, Total Memory, Display Mode, Driver version, and more.
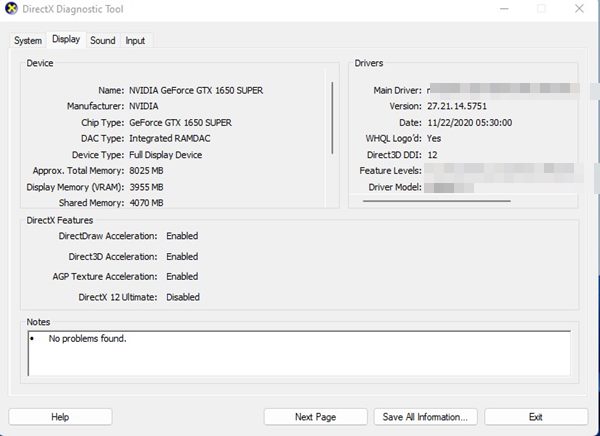
DirectX Diagnostic tool in Windows can tell you other information, such as the total RAM, the Operating system used, the build number, the Processor details, and more.
6. Check the Graphics Card Details using PowerShell
If you’re comfortable handling the PowerShell utility, here’s how you can use it to check the GPU details.
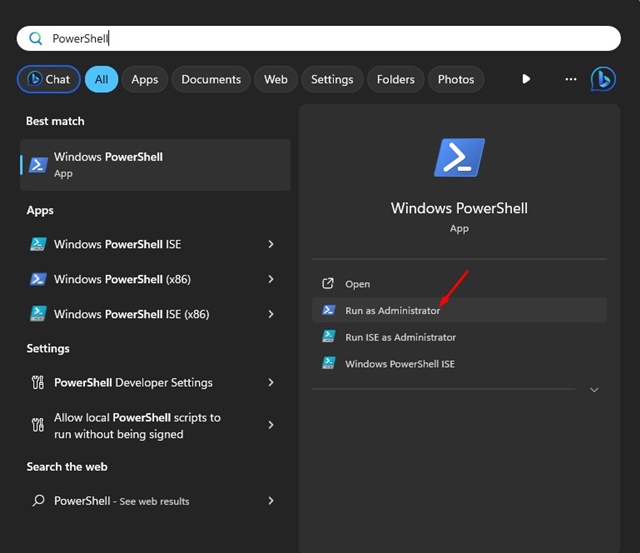
1. Type PowerShell in the Windows 11 search. Right-click on it and select Run as administrator.
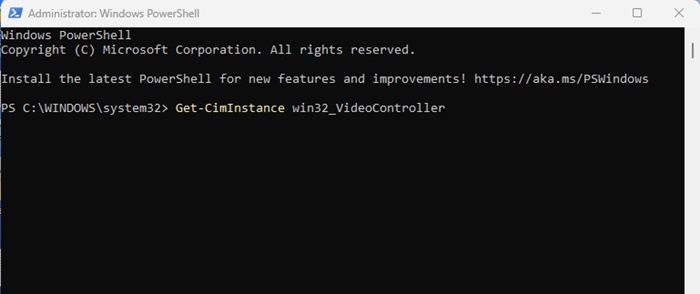
2. Type the following text and press Enter.
Get-CimInstance win32_VideoController
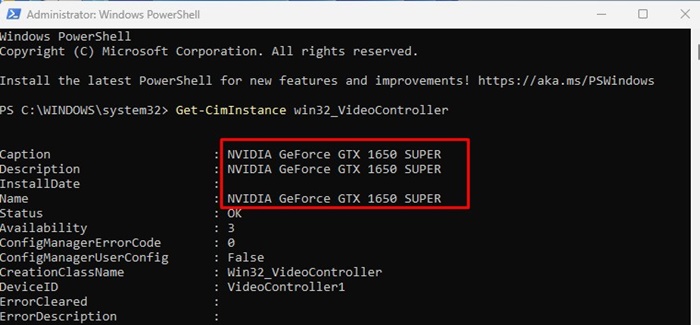
3. The above command will give you various information about your graphics card.
4. You need to pay special attention to the Caption, Description, and Name.
How to Improve Graphics Performance on Windows 11?
You can do a few things to improve the graphics performance on Windows 11. Here are some of them:
- Keep the graphics driver up to date.
- You can try installing the latest graphics driver from the GPU manufacturer’s website.
- Update your Windows 11 PC.
- End task the apps & processes running in the background.
- Turn on Hardware acceleration wherever available.
- Keep the apps/games up to date.
- Reduce the use of animation on Windows 11.
Also Read: How to Check RAM Information on Windows 11
That’s all about checking your Graphics Card in Windows 11. The graphics card name and these methods will also help you fetch all the GPU-related information you will ever need. Let us know if you know other ways to find the GPU details.


