Finding the monitor’s refresh rate is easy on Windows; you just need to know the right methods. Here are a few of the best ways to check your monitor’s refresh rate.
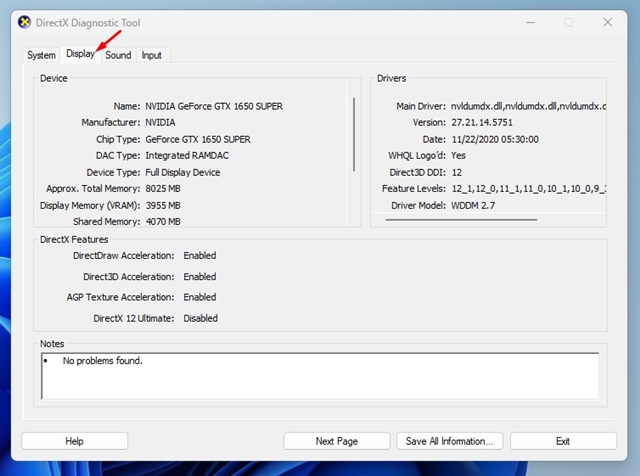
1. Check using the DirectX Diagnostic Tool
You can use the DXDIAG tool to check your PC’s hardware specifications. Here’s how to use the tool.
1. Press the Windows Key + R button on your keyboard to open the RUN dialog box.
2. Type dxdiag and press Enter.

3. Switch to the Display tab.
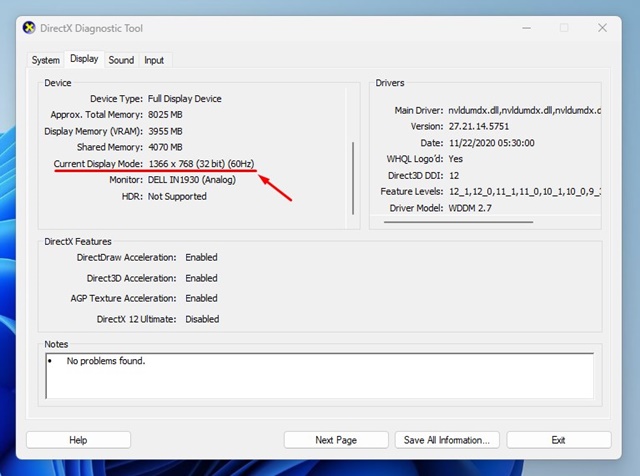
4. Check the Current Display Mode text. The refresh rate is displayed just beside your monitor’s resolution.
2. Check Monitor Refresh Rate via Windows Settings
Windows 11’s Display Settings also show you the monitor refresh rate. Here’s how to find it.
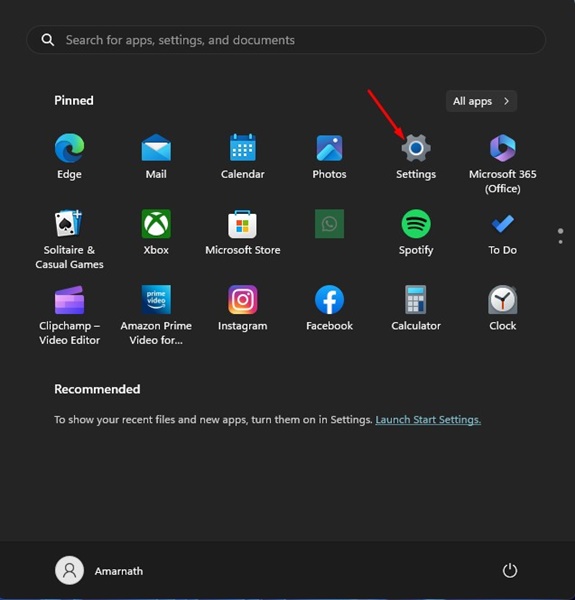
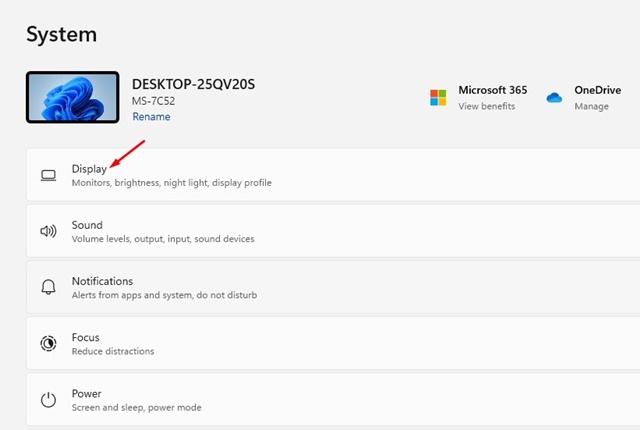
1. Click on the Windows Start button and select Settings.
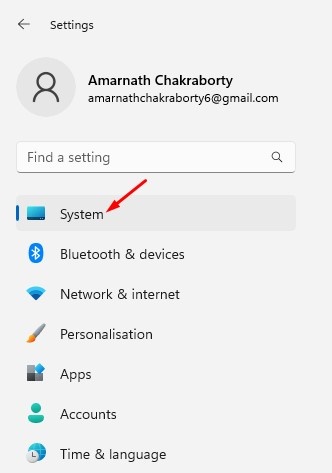
2. Switch to the System.
3. Click Display.
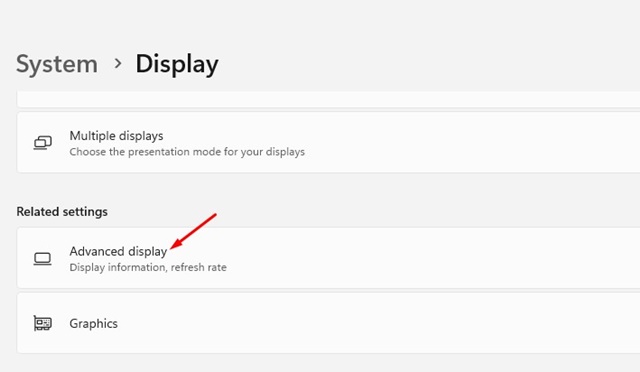
4. Scroll to the Related Settings section and click Advanced display.
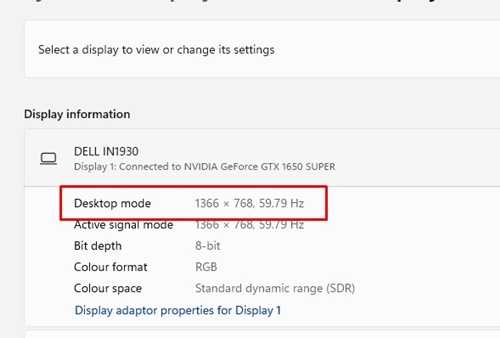
5. Select your display from the drop-down and check the Desktop mode text. The figure displayed at the end is your monitor’s refresh rate.
3. Use the TestUFO website to check your Monitor Refresh Rate
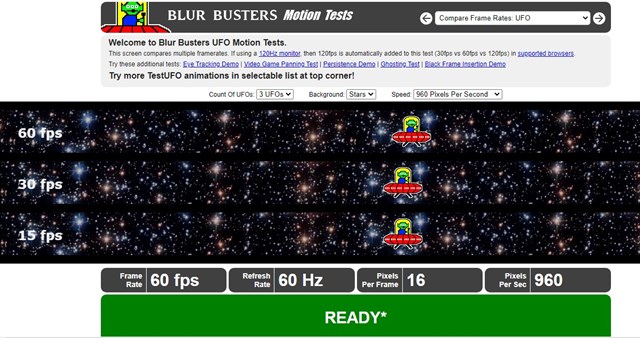
TestUFO is basically a website that displays the frame rate, refresh rate, pixels per frame, and pixels per second.
You don’t need to download & install anything on your computer or create an account. Just open your favorite web browser and visit this webpage.
At the bottom of the page, you will find helpful information and a screen refresh rate.
4. How to Check the Monitor Refresh Rate on Windows 10?

The steps to check the monitor refresh rate vary on Windows 10. Here’s what Windows 10 users should do to check the monitor refresh rate.
- Right-click anywhere on your desktop and select Display Settings.
- On Display Settings, scroll down to find the Advanced display settings link. Click on it.
- On the Choose display drop-down, select your monitor.
- You will see your monitor’s refresh rate in the Display information section.
How to Change Monitor Refresh Rate?
Let’s say you have a gaming monitor that supports a 144Hz Refresh Rate, but it’s set to 60Hz on your Windows 11. In that case, you can adjust your monitor’s refresh rate to 144Hz. If your PC’s monitor runs at the wrong refresh rate, you can easily change it from Settings.
To change the monitor refresh rate, follow our guide – How to Change Monitor Refresh Rate.
It is good to set the refresh rate to maximum if you have a high-end PC and a gaming monitor. Doing this will help you achieve better frame rates in gaming & smoother experience.


