Even though we have many email services these days, Gmail is the most popular and offers better features. If you use Gmail for business purposes, you might already know the importance of email management.
To help you with email management, Gmail offers you a few features like the ability to set filters, labels, and more. One of the less talked about email management features of Gmail is the color-coded labels that allow you to organize emails by color-coding them.
Steps to Color Code Labels in Gmail to Organize Your Inbox
So, if you struggle managing your emails on Gmail, you need to organize your mail by color-coding them. And in this article, we are going to learn how to do it. Here’s a step-by-step guide on using color-coded labels in Gmail to organize the inbox. Let’s get started.
1. Create Labels in Gmail
In the very first step, you need to create a label. Only after creating a label will you be able to color-code it and move emails to the label. Here’s how to create labels in Gmail.
1. First of all, log in to Gmail.com, and on the left pane, click on the More button.
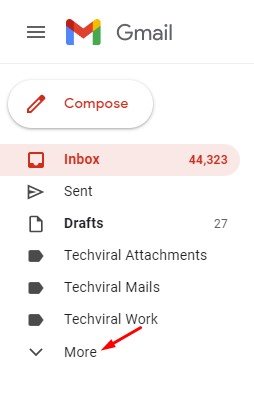
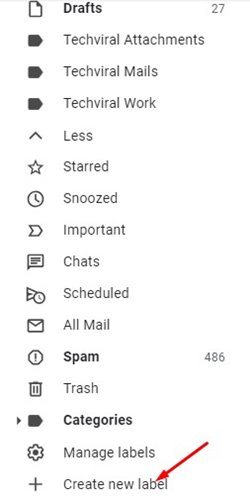
2. This will expand the More Section. You need to scroll down and click on the Create New Label option.
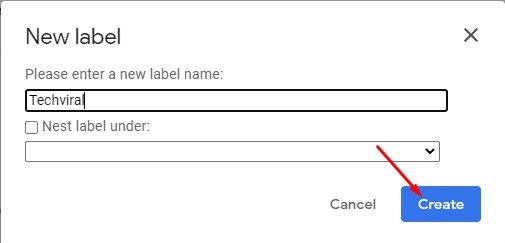
3. On the New Label dialog box, enter the Label name and click the Create button.
That’s it! This is how you can create labels in Gmail. Labels in Gmail are just like a folder where you can store emails. On Gmail, you can create as many labels as you want as per your requirement.
2. Color Code the Label
After creating a label, you will be able to color code it to make it visually stand out from the other email labels. Here’s how to color code the labels in Gmail
1. Click on the three dots beside the label name on the left pane.
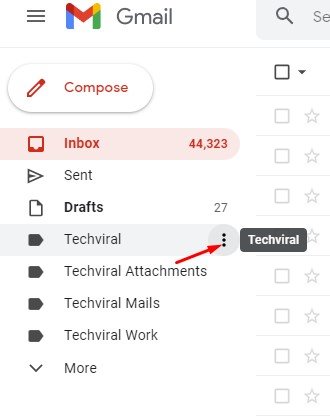
2. From the list of options, click on the Label Color.

3. Now, you need to select a color of your choice.
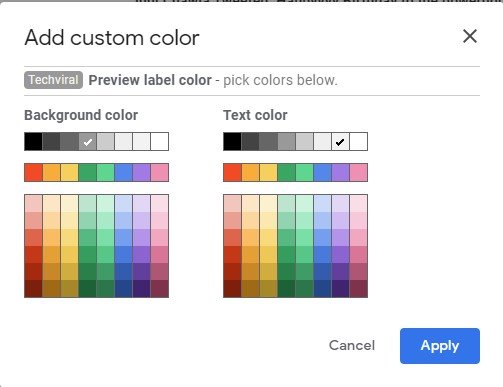
4. If you want to create a custom color, click on the Add Custom color option and pick your color code.
That’s it! This is how you can color code labels in Gmail.
3. Move emails to the Color Coded Labels
After following the above two steps, you are ready to move emails to the color-coded labels. Here’s how you can move emails to the Color Coded labels in Gmail.
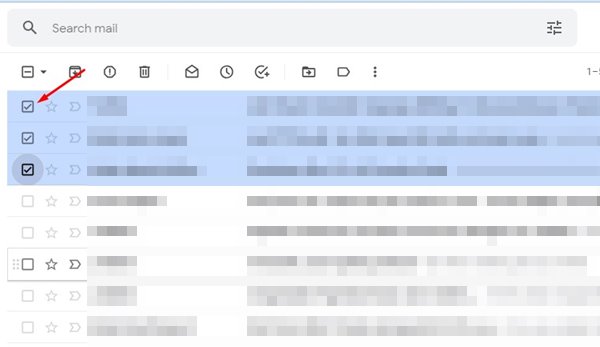
1. First, select the emails you want to move to the label.
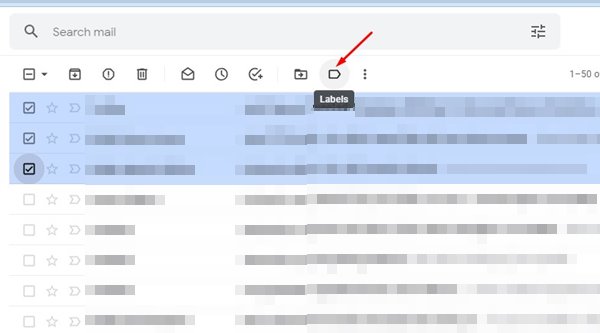
2. Next, click on the label icon on the toolbar and select the color-coded label. Once done, click on the Apply button. This will move your selected emails to the label you have chosen.
3. If you wish to apply a filter to move specific emails to the labels, you must click on the show search options on the search bar.

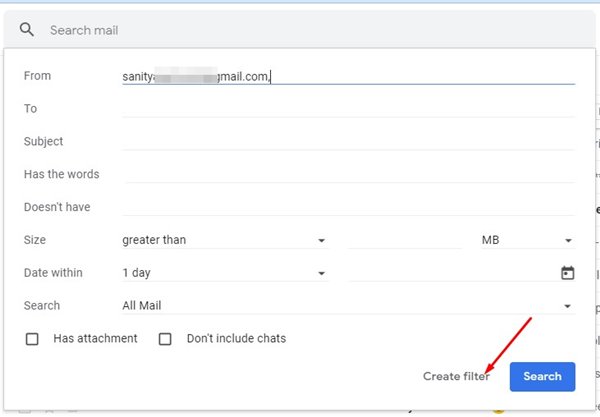
4. Enter the email address on the From: field whose emails you want to move to the color-coded label. Once done, click on the Create Filter option.
5. Next, click the Apply the label and select the color-coded label you have created.
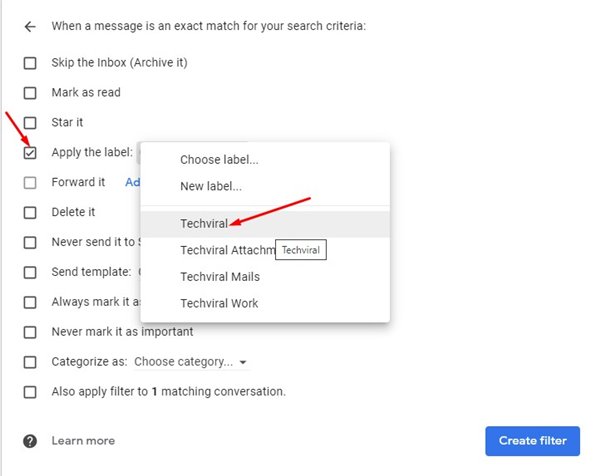
6. Once done, click on the Create Filter button to apply the filter.
That’s it! After making the changes, every email received from the selected email address will automatically be moved to the color-coded label.
You can color-code emails to make them visually stand out. So, this is just another way to organize email in Gmail. You can try third-party email clients for Windows if you want more email management features. If you need any more help regarding color-coded labels in Gmail, let us know.


