If you are using a smartphone, you might have heard something known as ‘APN’ or Access Point Name. Since Android is the operating system that offers users a wide range of options, setting up APN can be a complicated task.
One such setting refers to the Access Point Name or APN. It’s basically something that is important to have an active internet connection.
What is APN?
APN or Access Point Name is basically a bit of information that the phone uses to connect to the network.
It lists the address that the device uses to connect to the network. Once connected to the network, users can make calls, send SMS/MMS, surf the internet, etc.
Steps To Configure APN Settings on Android
Well, usually Android smartphones automatically grab the APN settings from the telecom operator. If for any reason, your phone doesn’t have valid APN settings, then remove the SIM card and insert it again.
Operators might ask you to set up APN settings manually if your device is not supported in their database. If that was the case, then follow some of the simple steps given below to configure APN settings on Android.
Step 1. First of all, open your phone’s settings.
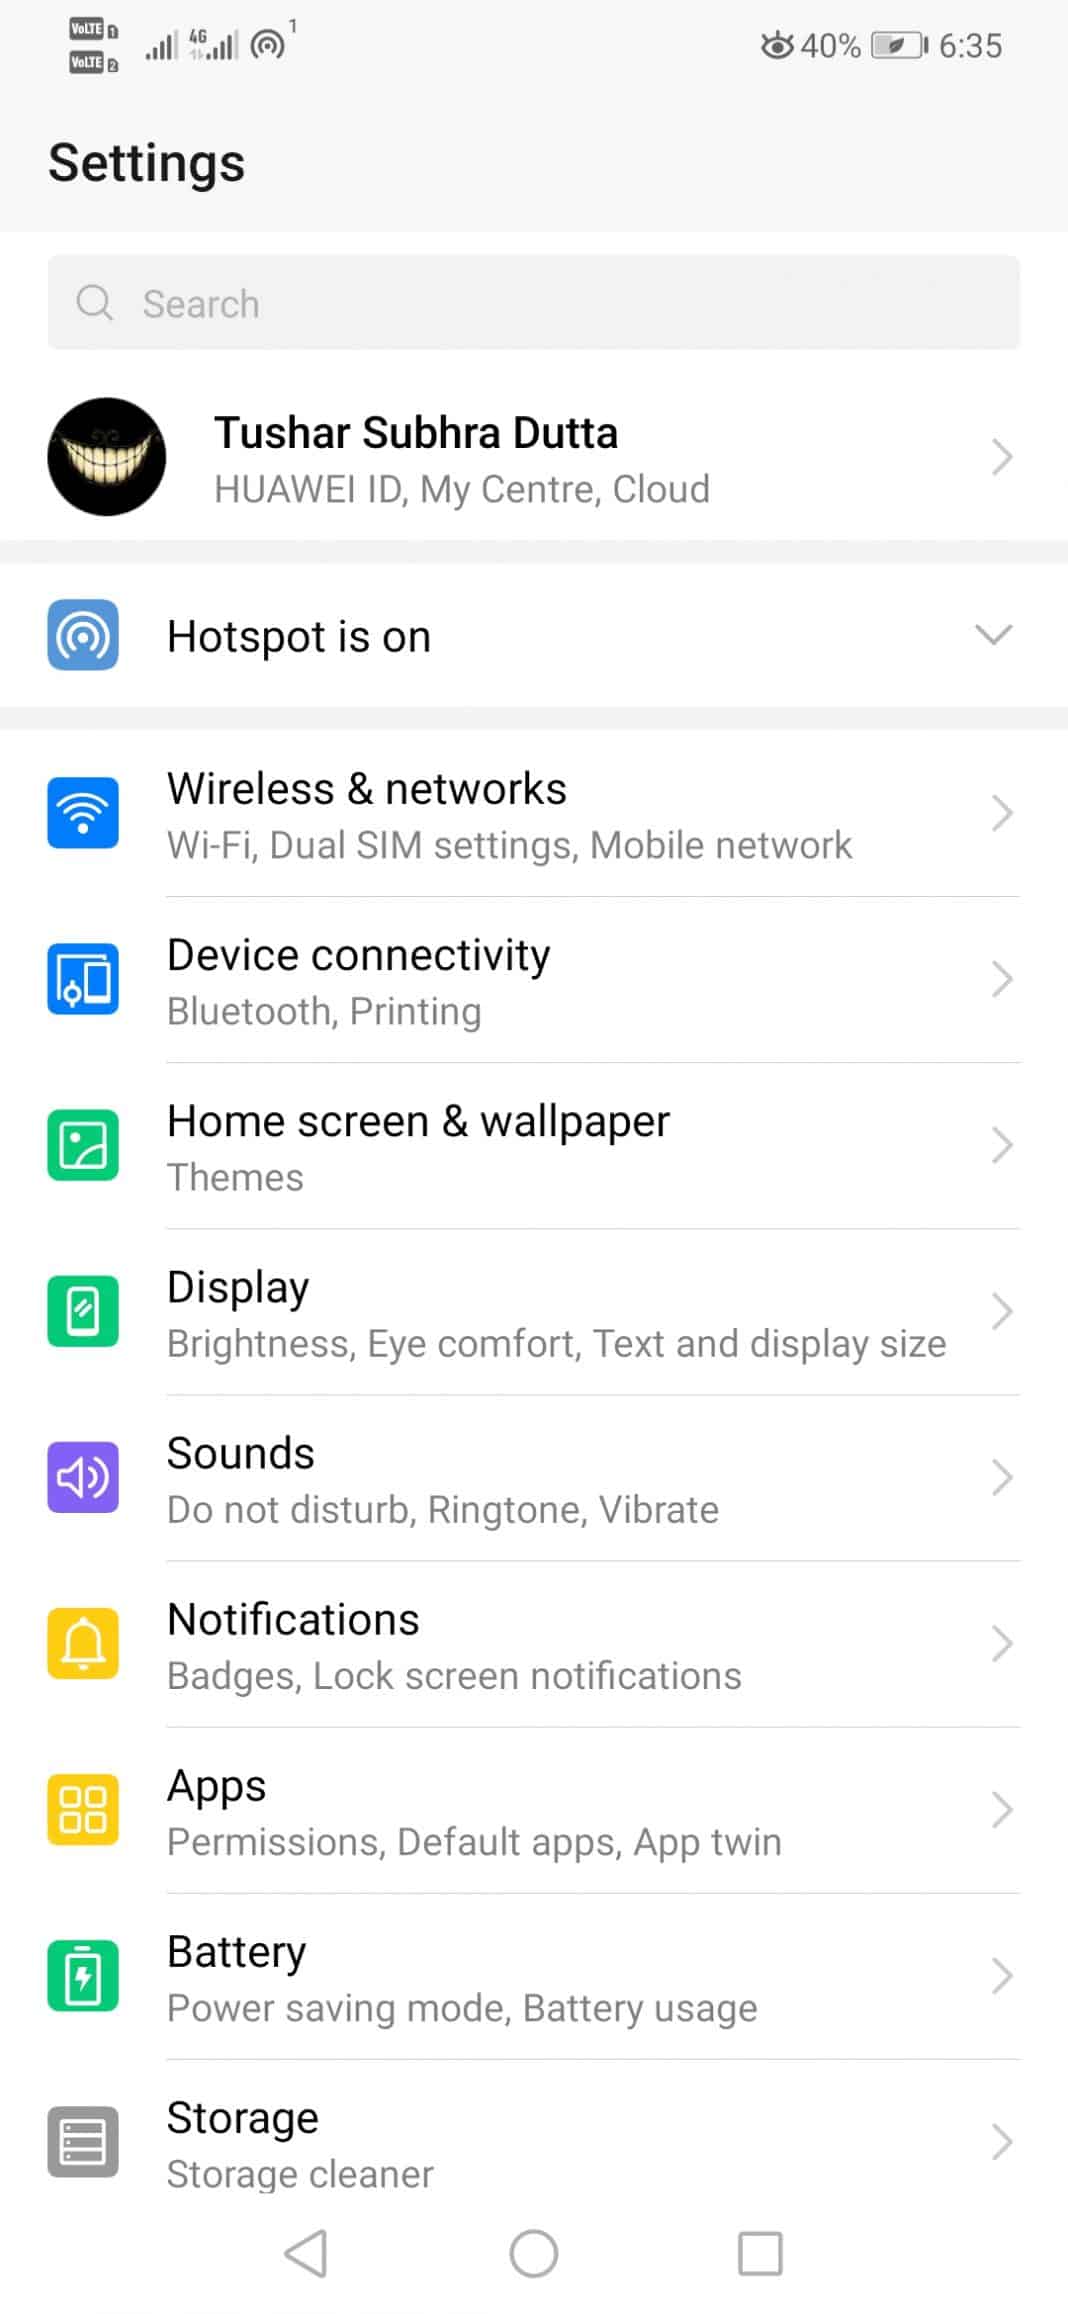
Step 2. Access the Wireless and networks menu (depending on the OS layer with which you work, hence, this may vary slightly).
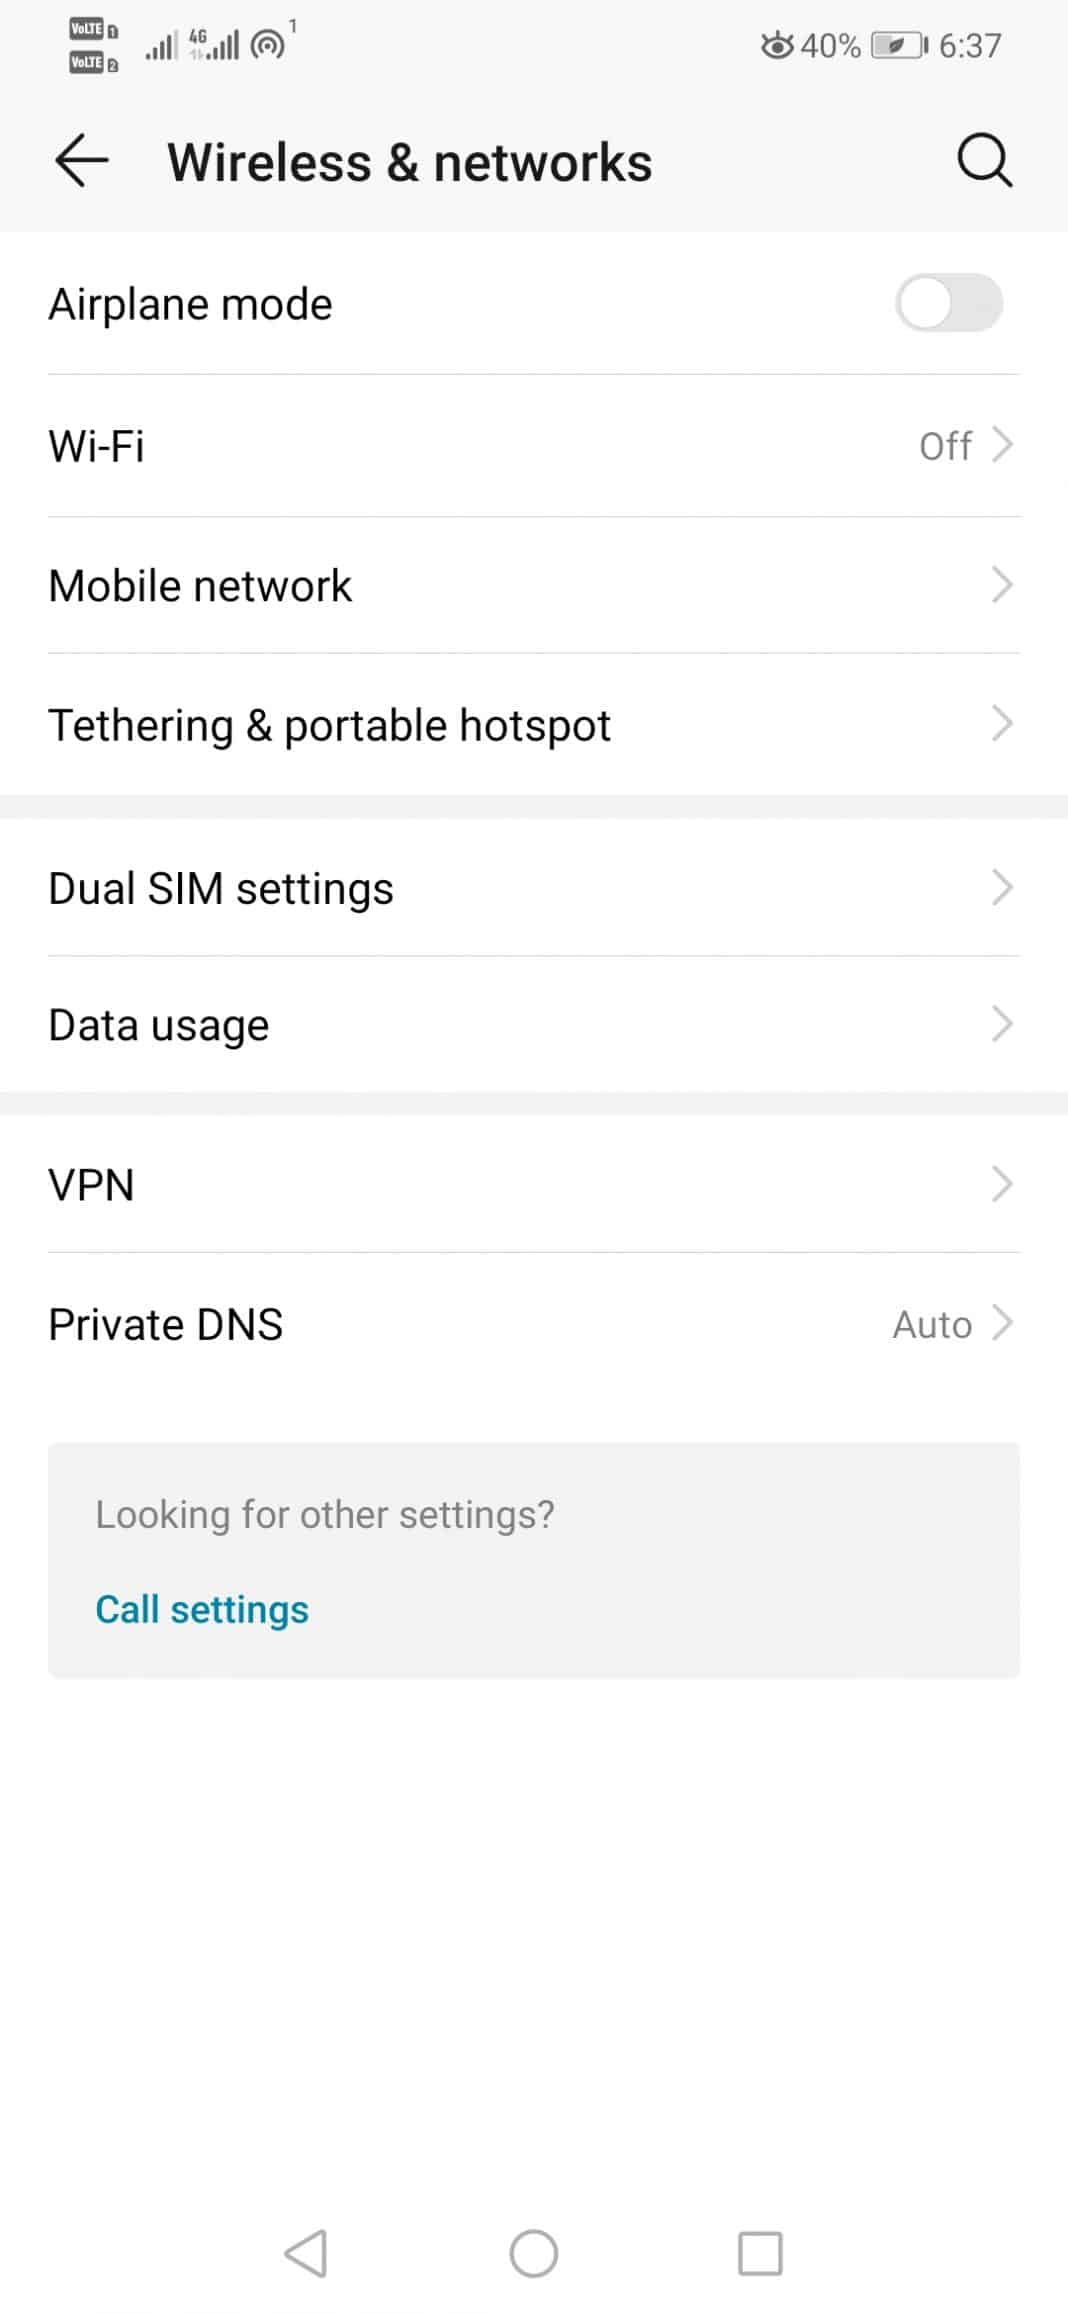
Step 3. Once you get inside it, now simply access or tap the Mobile Networks option.
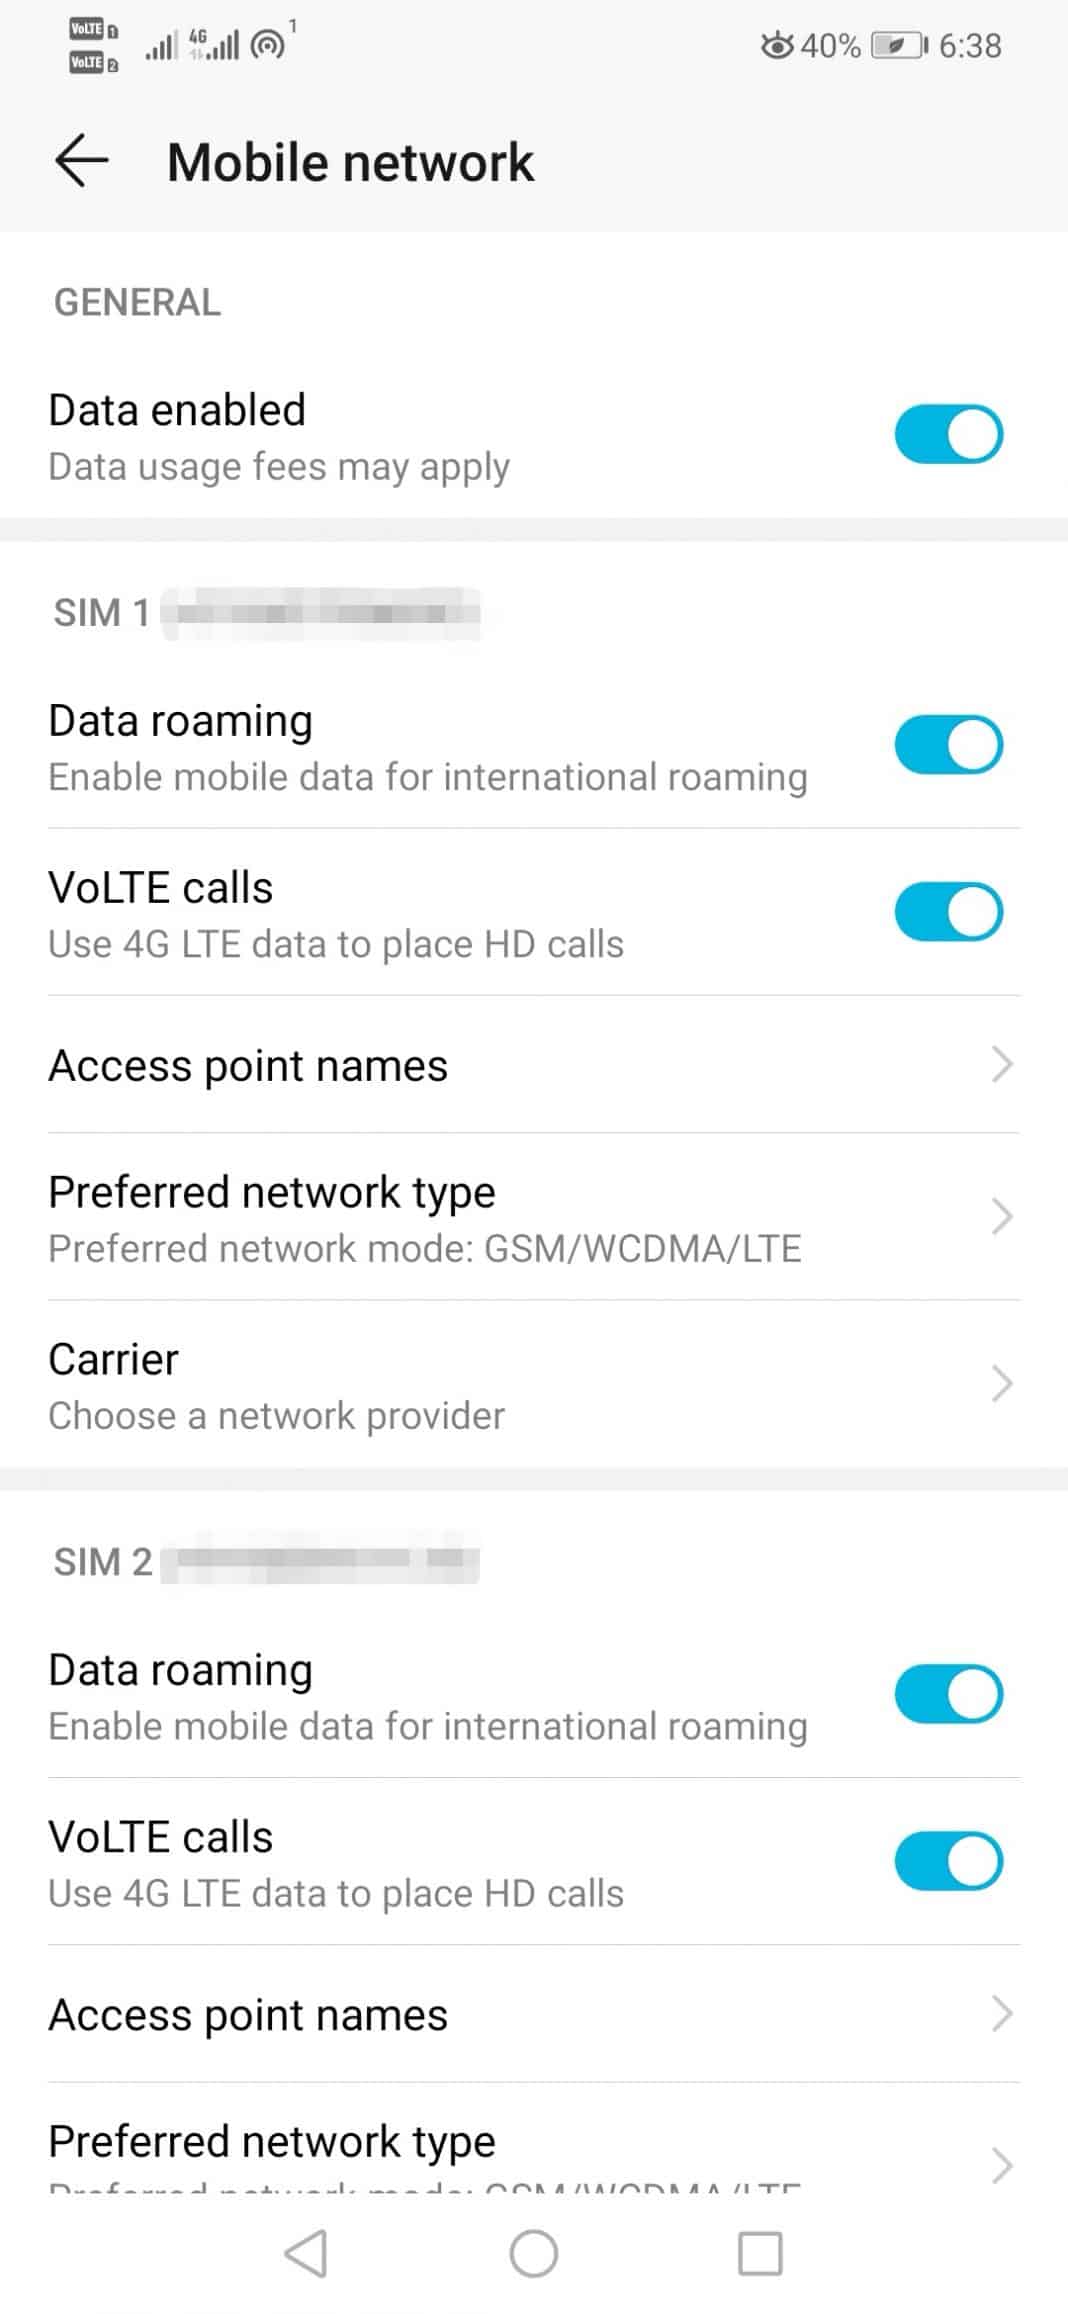
Step 4. Then among all the options, you should locate the option known as “Access Point Name or APN”.
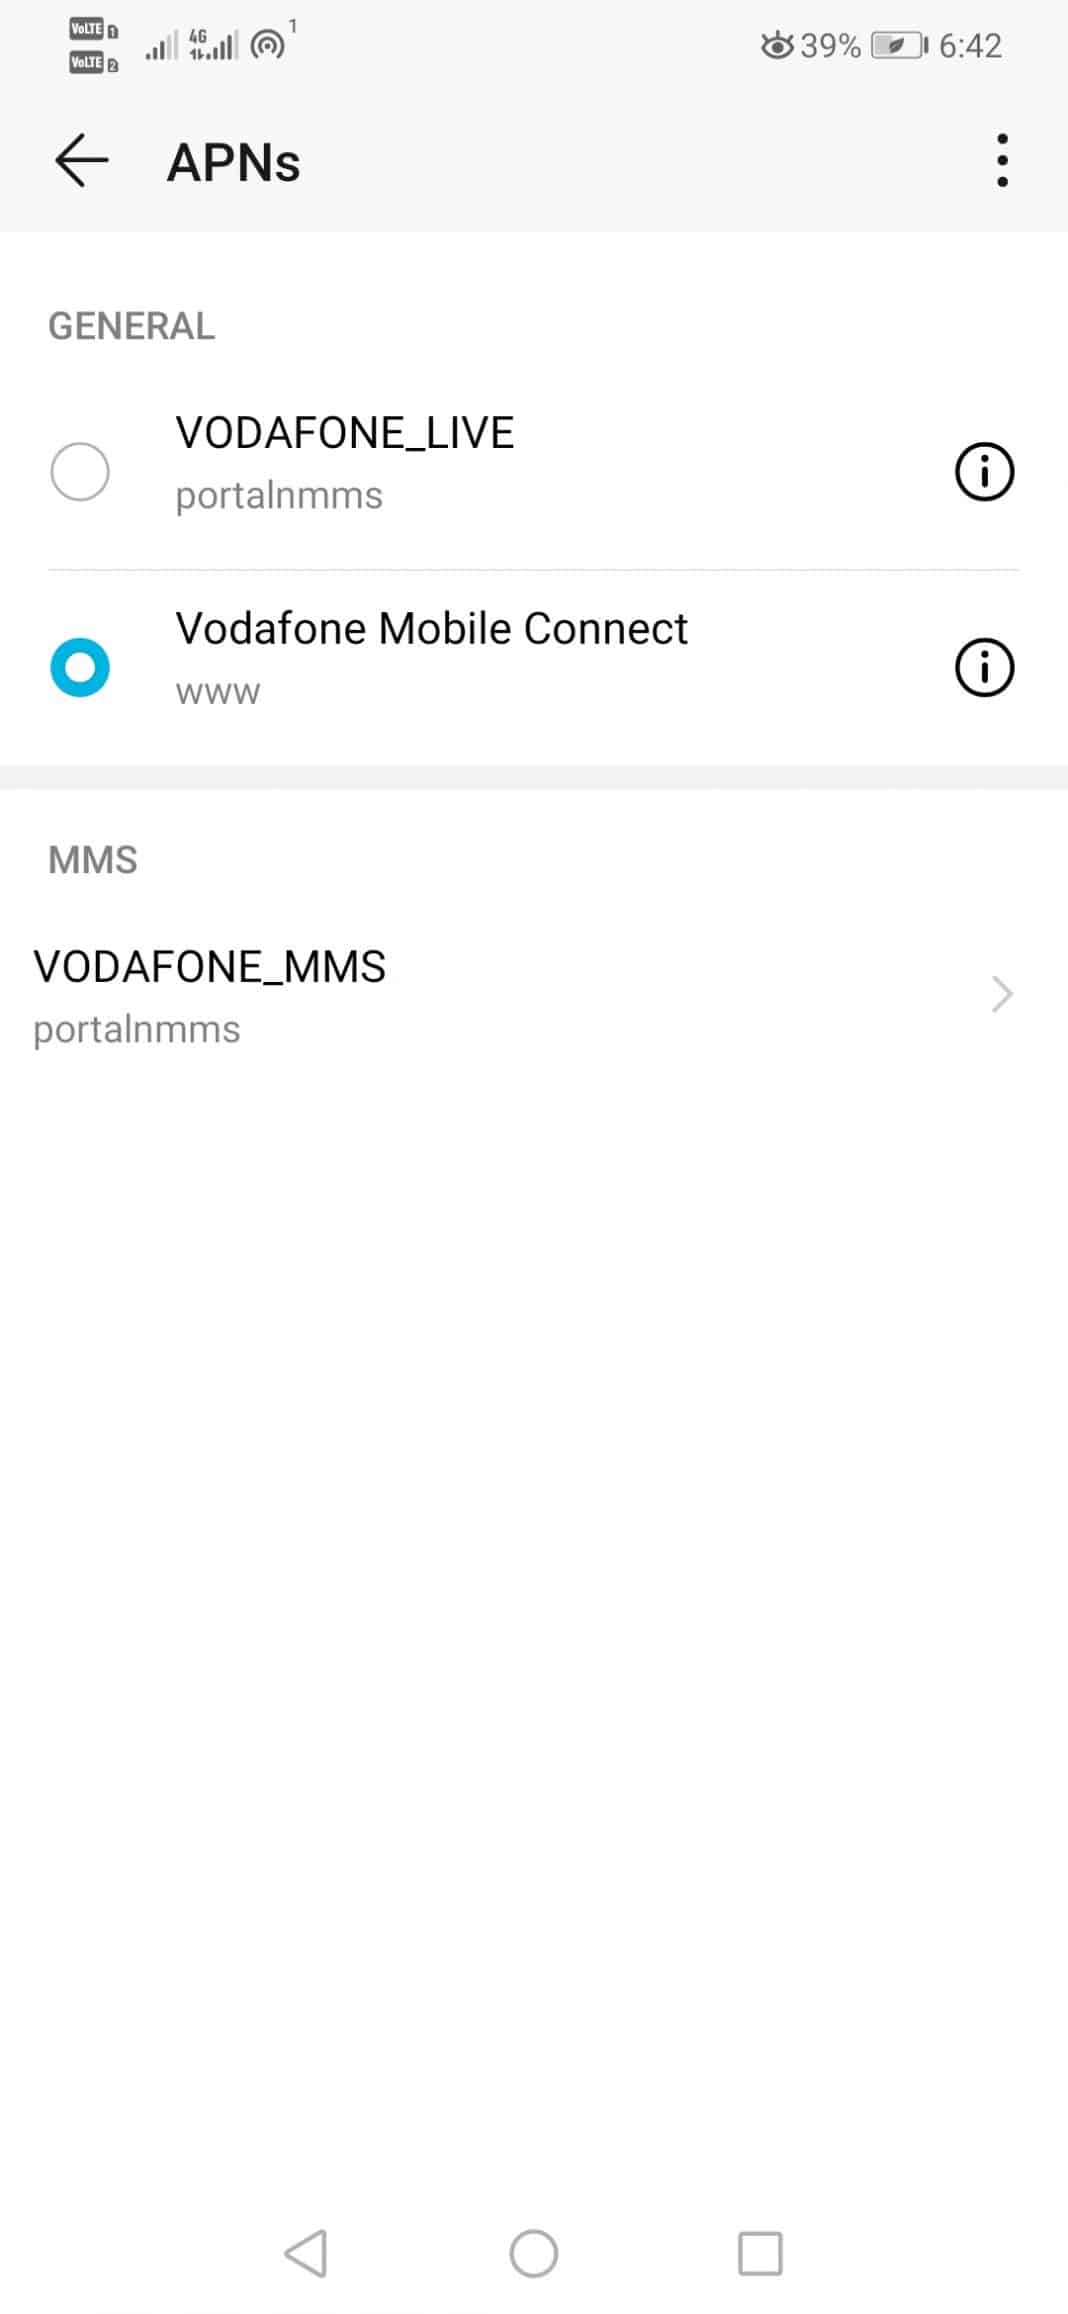
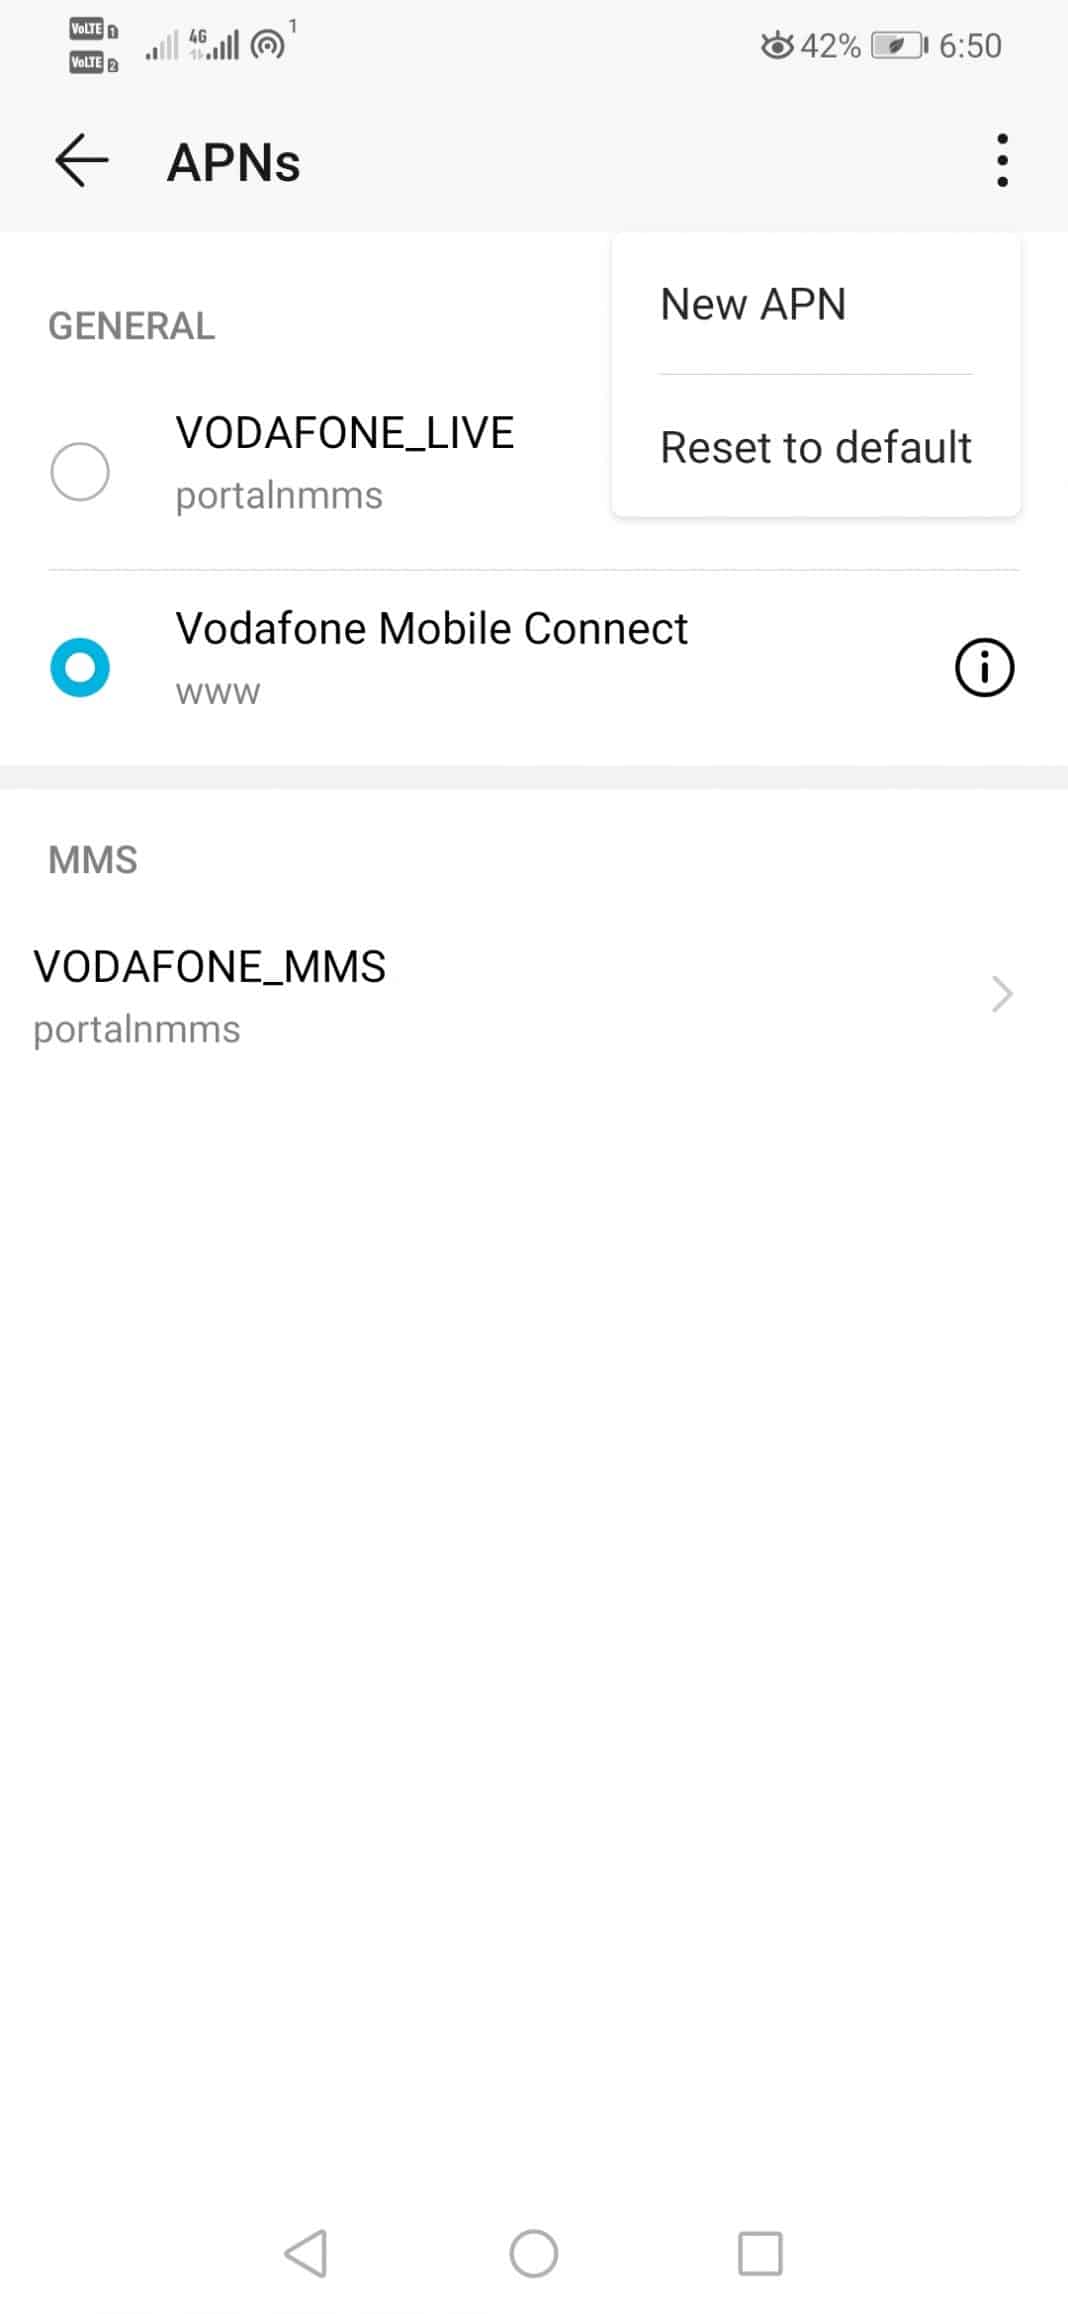
Step 5. Now simply press on the three-dot menu which is located in the upper right corner.
Step 6. After the above step now simply select the “New APN” option.
How to know the correct APN settings?
Basically, the APN settings can be included along with the SIM card, but if you can not find it you can simply contact your mobile phone operator.
You can even search on Google regarding the best APN settings for your telecom operators. For example, you can search APN settings for Airtel. However, before applying the APN, make sure to verify the access point name on multiple websites.
In some cases, your telecom provider might ask you to set up two APNs. This is because some operators use a separate gateway for MMS or other data. You can verify the correct APN settings by calling the customer care number of your telecom provider.
Now simply fill all the fields dictated by the operator of the SIM card. Once done, press the tick button in the upper right corner to “Save” the settings.

That’s it now you are done, like this, you can set up the APN in Android manually.
So, this article is all about how to configure APN settings on Android. If you have any doubts related to this, let us know in the comment box below. I hope this article helped you! Please share it with your friends also.


