Automatic User Content Cleanup is a feature that forces Storage Sense to run when disk space is low. The feature runs Storage Sense on a schedule and cleans up your PC.
After enabling Automatic User Content Cleanup, you need to configure the cleanup schedules for Storage Sense. You can select when Windows 11 will run Storage Sense, when to delete the files stored in the recycle bin, and when to delete the files stored in the Downloads folder.
How to Enable Automatic User Content Cleanup
It’s simple to enable the Automatic User Content cleanup feature in Storage Sense. Just follow these steps.
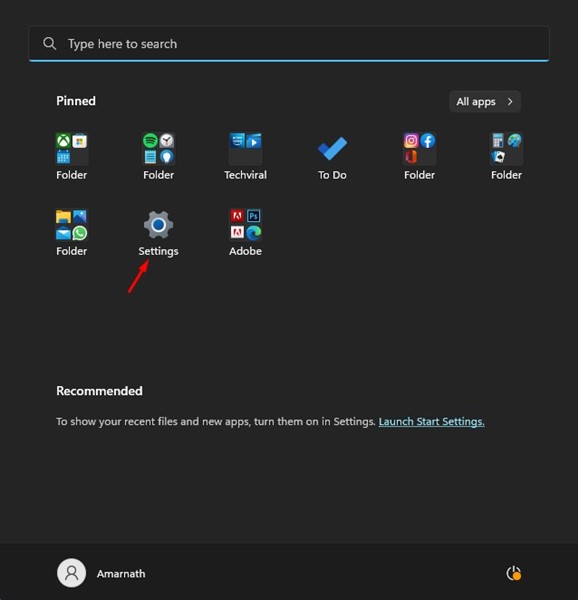
1. Click the Windows 11 Start button and select Settings.
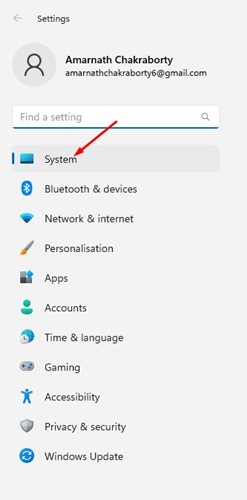
2. Switch to the System.
3. Scroll down and click Storage.
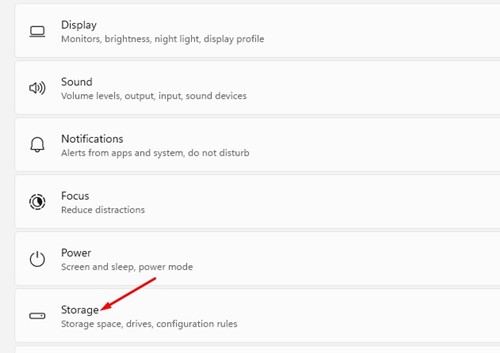
4. Scroll down and click on Storage Sense.
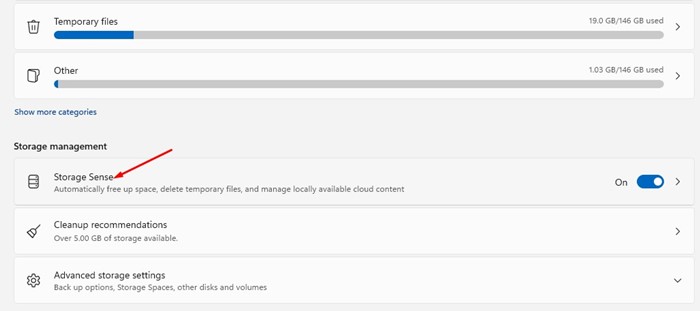
5. Enable the toggle for Automatic User content cleanup

Storage Sense will run whenever it detects low disk space on your device. This will enable the automatic user content cleanup on your Windows 11 computer.
Configure Cleanup Schedules in Storage Sense
If you want, you can configure the cleanup schedules in Storage Sense as well.
1. Open the Settings app.
2. Switch to the System.
3. Scroll down and click on Storage.
4. Scroll down and click on the Storage Sense option.
5. Scroll to the Configure cleanup schedules section. Select when you want Windows 11 to run Storage Sense in the first drop-down.
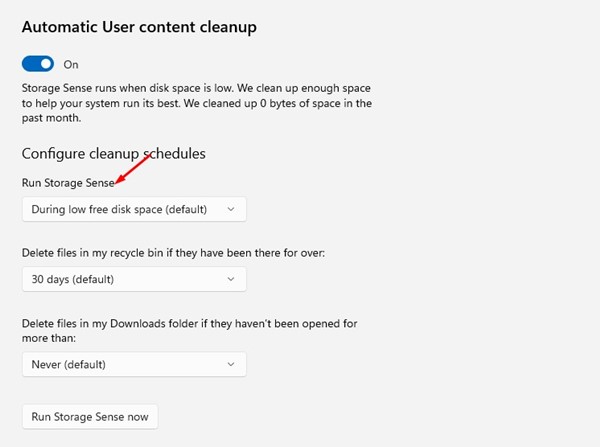
6. Select when you want Storage Sense to delete files stored in the recycle bin.
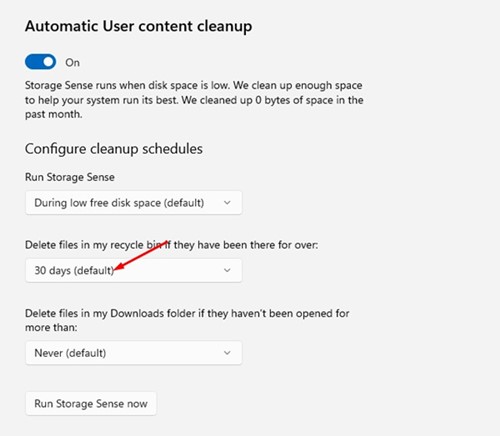
7. Select when Storage Sense should delete files in your Downloads folder in the third drop-down.
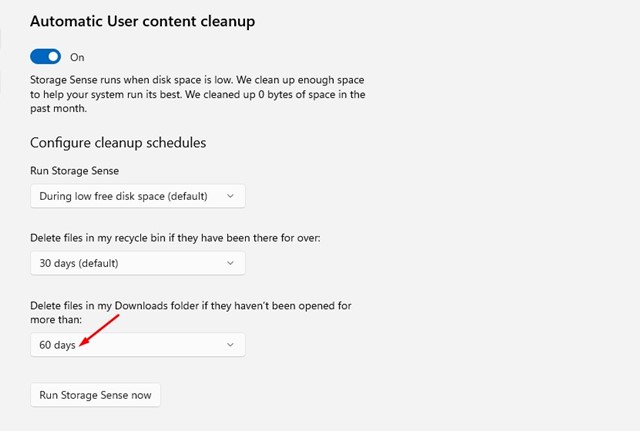
8. If you want to free up space now, click the Run Storage Sense Now button at the bottom of the screen.

Also read: How to Update Drivers on Windows 11
These are the few simple steps to free up storage space on your new Windows 11 computer/laptop. You should configure Storage Sense to run automatically. If you need more help with Windows 11’s storage sense, let us know in the comments below.


