There could be times when the DNS server fails to match the IP Address. At that time, users get various DNS-related errors on the web browser, such as the DNS probe started, DNS Lookup failed, the DNS server not responding, etc.
How to Add a Custom DNS Server on iPhone
The DNS-related problems can be easily fixed by using a custom DNS server. Here’s how you can add it to your iPhone.
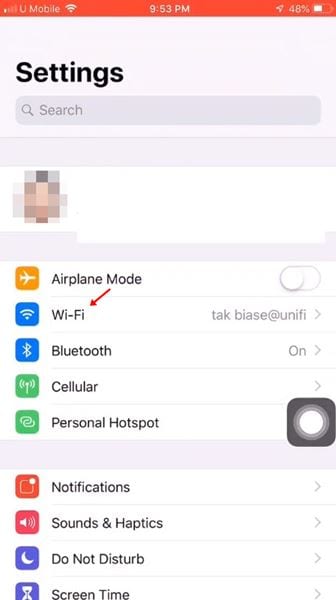
1. Open the Settings app.

2. Tap Wi-Fi.
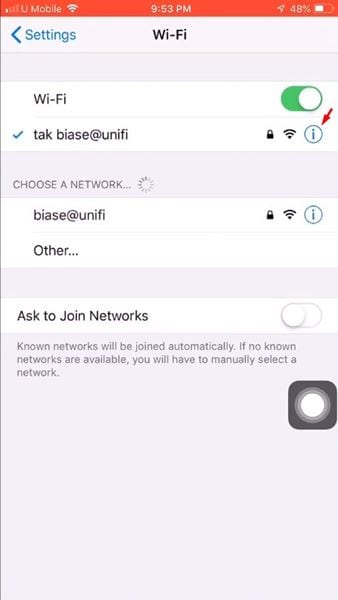
3. On the WiFi page, tap the (i) sign behind the WiFi name.
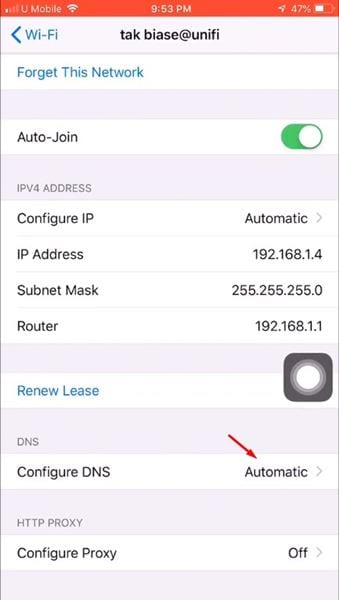
4. Scroll down and find the Configure DNS.
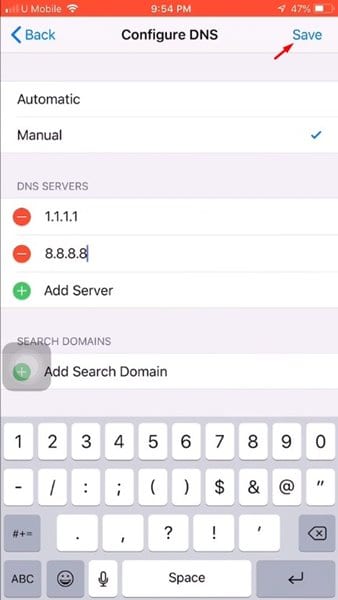
5. Tap on the Configure DNS option and select Manual.
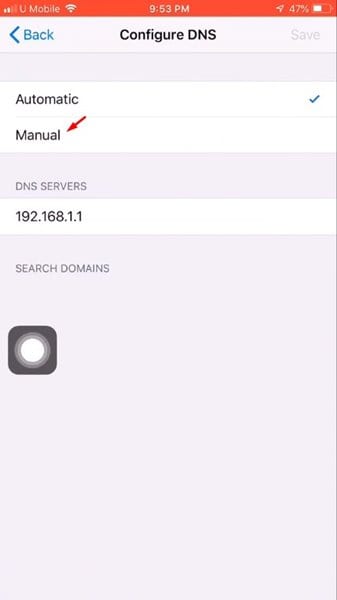
6. Now tap Add Server, add the DNS servers, and tap Save.
7. Once done, the WiFi network will reconnect.
Best DNS Servers for iPhone
It’s always profitable to use a public DNS server address, which is free. The one assigned by your ISP is often outdated and overcrowded. Since you already know how to add a custom DNS server to your iPhone, it’s time to check the best available DNS options.
We have shared a detailed guide on the best free Public DNS servers. You should read that article and pick the one that satisfies your needs.
This article explains how to change the DNS server settings on an iPhone. I hope it helped you, and please share it with your friends.


