If you have been using Windows operating system for a while, you might know about the ‘Send To’ Menu. The option appears on the right-click menu. Selecting the Send to option from the context menu gives you many options.
You can use the Send to option to copy or print an individual file to a specific location, device, application, or other items. This is indeed a great feature that is seen only on Windows operating system.
However, the problem with Send To menu is that it often contains entries that we don’t use or does not include the entries that we want. If you face this problem, you are reading the right guide.
Also Read: 25 Powerful Tools To Customize Your Windows 10
Steps to Customize the ‘Send To’ Menu in Windows 10
This article will share a step-by-step guide on tweaking the Send to menu on Windows 10 to suit your needs. The process is going to be very easy; implement some of the simple steps shared below.
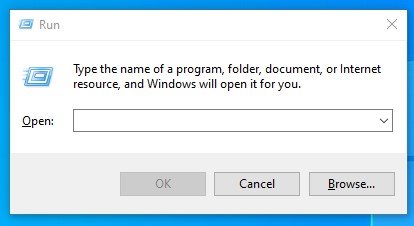
1. First of all, open the Windows 10 search menu and search for RUN. Open the Run Dialog box from the list.
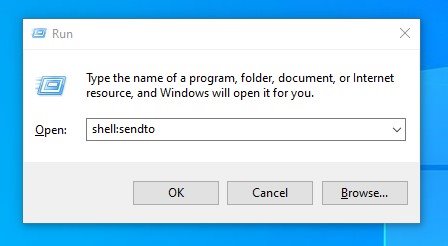
2. On the Run dialog box, type in shell:sendto and hit the Enter button.
3. This will open the SendTo folder located on the system installation drive.
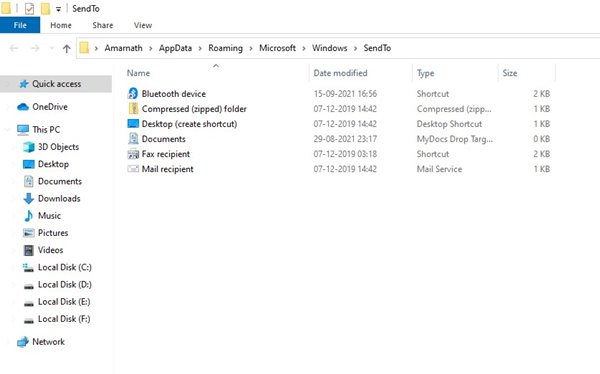
4. You will find many options there. All of those options appear on the Send To menu.
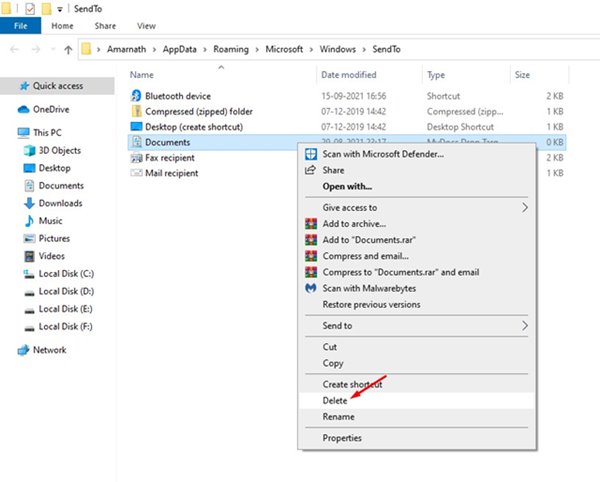
5. If you wish to remove the items you don’t need, delete them from this folder. For example, if you don’t want Documents to appear on the Send To menu, delete it from this folder.
6. You can also add applications to this folder. For example, if you want to add Notepad to the Send to menu, create a Notepad shortcut icon on the desktop and move it to the SendTo folder.
7. You will find a new entry named Notepad on the Send To menu.

Similarly, you can add as many applications or items as you want. That’s it! You are done. This is how you can customize the Send to menu in Windows operating system.
So, this guide is all about how to customize the Send to menu in Windows operating system. I hope this article helped you! Please share it with your friends also. If you have any doubts related to this, let us know in the comment box below.


