You can safely delete the Delivery Optimization files from your computer to free up disk space without affecting performance. However, deleting the delivery optimization files will slow the Windows update process.
Manually deleting the Delivery Optimization files on Windows 11 is not recommended because it can invite trouble, but you can delete them from the Disk Cleanup tool.
Delete Delivery Optimization Files in Windows 11
The Disk Cleanup tool will only delete the unnecessary Delivery Optimization files and free up disk space.
1. Open the Disk Cleanup utility from the Windows Search.

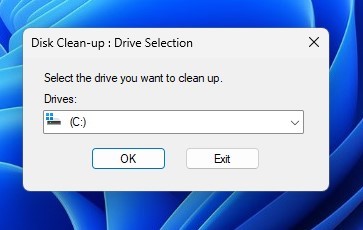
2. Select your system installation drive and click Ok.
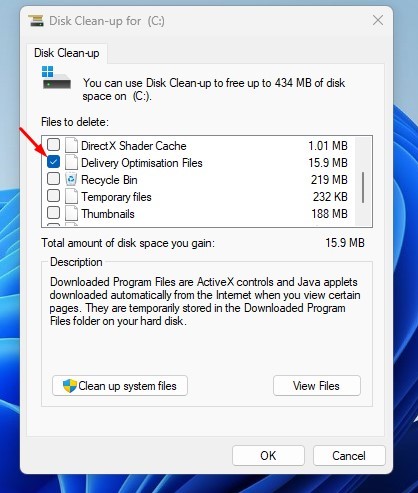
3. Check the Delivery optimization files and uncheck all other options.
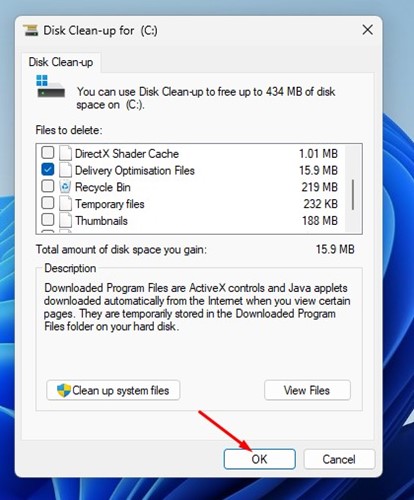
4. Click on Ok.
5. You will see a confirmation prompt. Here, you need to click on Delete Files.
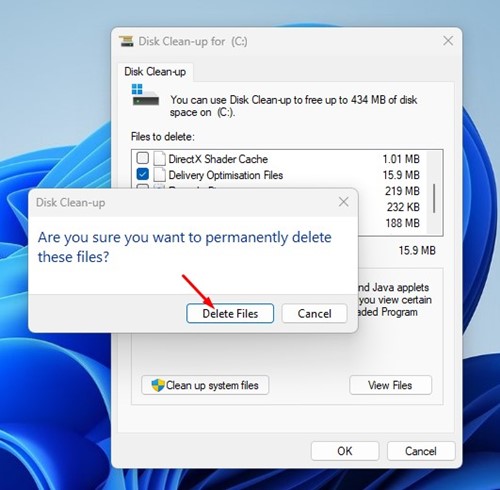
This will delete the Delivery Optimization files on your Windows 11.
How to Turn Off Delivery Optimization on Windows 11
After deleting the Delivery Optimization files, you can turn off the feature entirely.
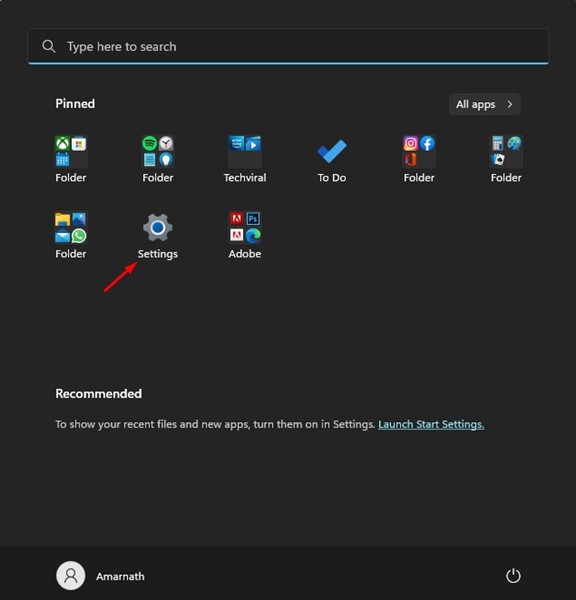
1. Click the Windows 11 Start button and select Settings.
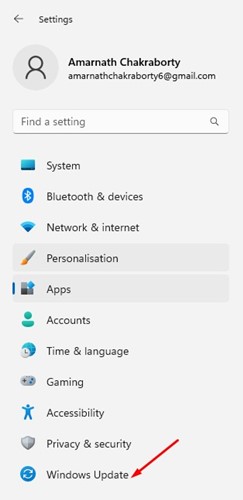
2. Click Windows Update.
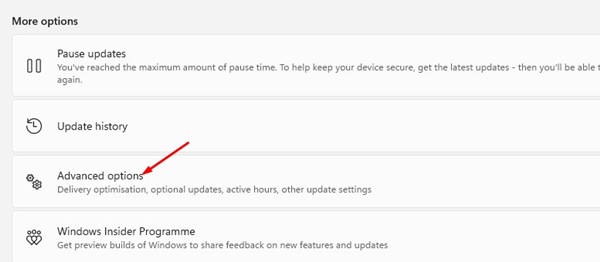
3. Scroll down and click Advanced Options.
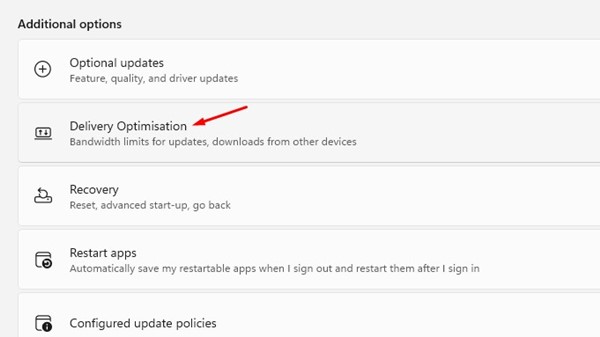
4. Click Delivery Optimisation.
5. On the Delivery Optimisation screen, turn off the toggle for Allow downloads from other PCs.
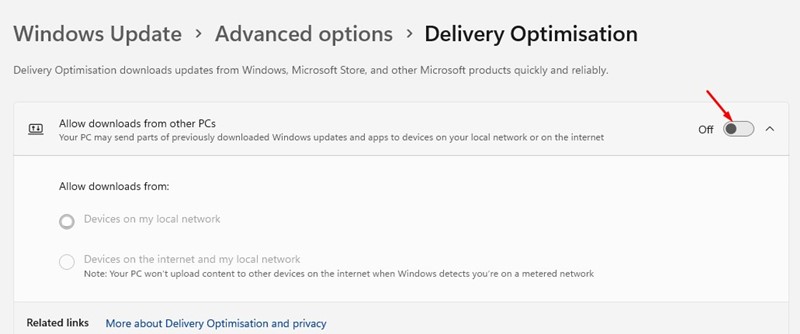
This will disable the Delivery Optimization on your Windows 11 computer.
These are some simple steps for deleting Delivery Optimization files in Windows 11. You can try clearing the Delivery Optimization cache file if your PC runs low on storage space.


