You might run into problems with storage space if you are using Windows 11 on a device with low storage capacity. Actually, Windows 11 needs more disk space for installation and proper functioning than Windows 10.
However, the good thing is that you can take a few appropriate steps to reclaim space on your Windows 11 computer. One of the best ways to reclaim storage space on Windows 11 is by removing the temporary files.
These temporary files don’t do anything; they just sit on your drive and consume storage space. You can easily delete these files to free up some storage space on your Windows 11 computer.
4 Ways to Delete Temporary Files on Windows 11
So, if you are looking for ways to free up storage space on your Windows 11 operating system, you are reading the right guide. This article will list down some of the best ways to delete temporary files on a Windows 11 computer. Let’s check out.
1) Delete Temporary Files via Settings
In this method, we will use Windows 11’s settings app to delete the temporary files. Here are some of the simple steps you need to follow.
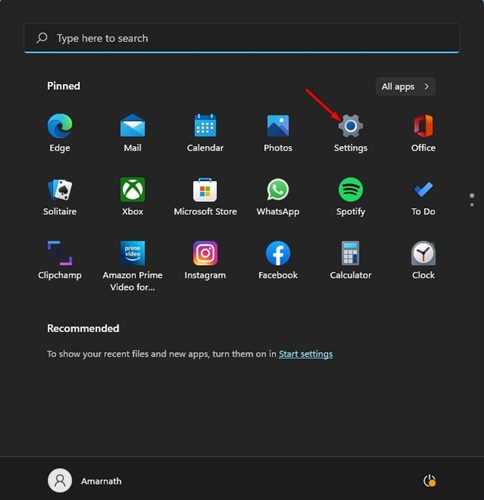
1. First of all, click on the Windows 11 Start button and select Settings.
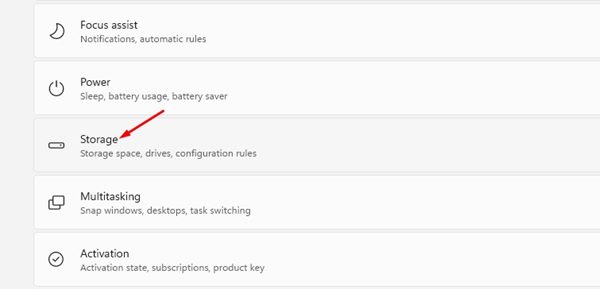
2. On the Settings app, click on the Storage section, as shown in the screenshot below.
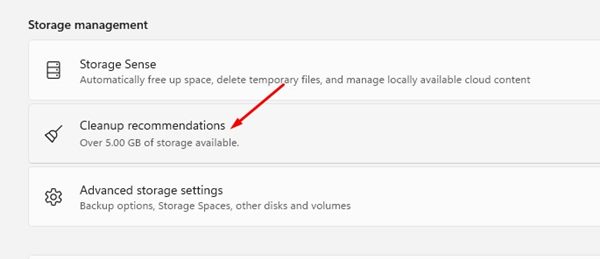
3. On the right, scroll down and click on the Cleanup recommendations section, as shown below.
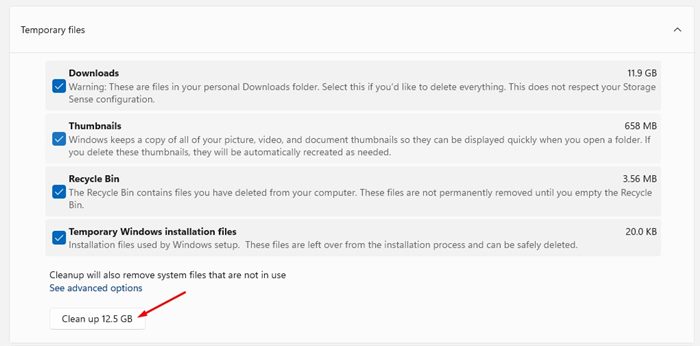
4. Now, you need to expand the Temporary files option and check all options. Once done, click on the Cleanup button to remove those temp files.
That’s it! You are done. This is how you can remove temporary files from your Windows 11 operating system.
2) Remove Temporary Files via Disk Cleanup Utility
In this method, we will use the Disk Cleanup Utility of Windows 11 to clean up the temporary files. Here are some of the simple steps you need to follow.
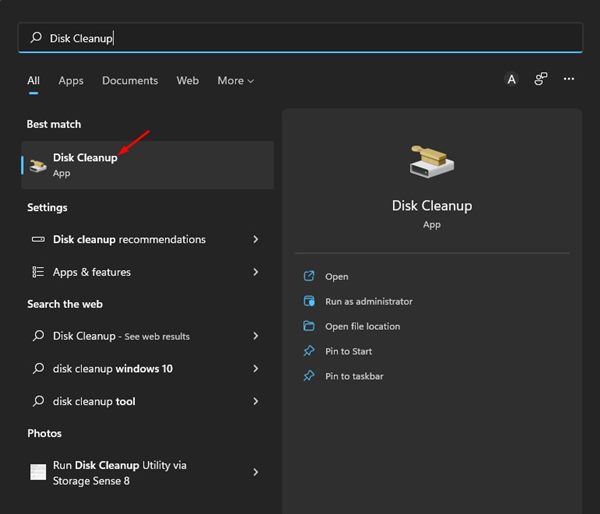
1. First of all, click on the Windows 11 search and type in Disk Cleanup. Now open the Disk Cleanup app from the list. Next, select the drive.
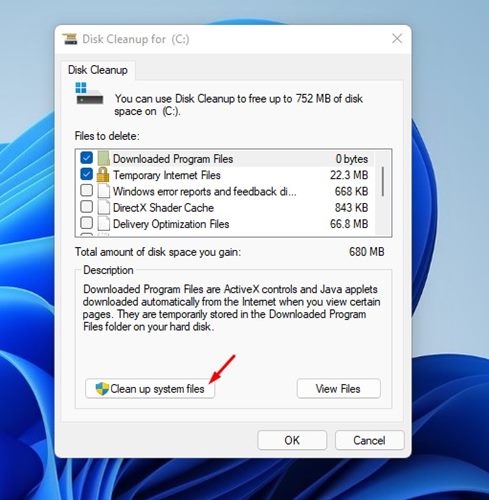
2. On the Disc Cleanup screen, click on the Clean up system files button as shown below.
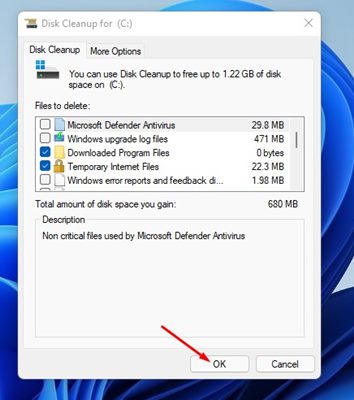
3. Now, Disk Cleanup will return with all the files that can be deleted. Once done, click on the Ok button.
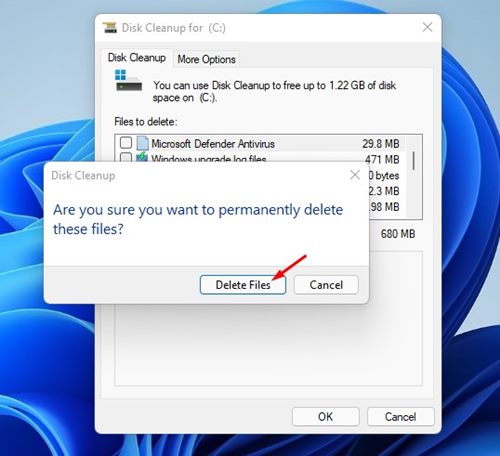
4. On the confirmation prompt, click on the Delete Files button, as shown below.
That’s it! You are done. This is how you can use the Disk Cleanup utility on Windows 11 to remove the temporary files.
3) Manually Delete the Temp Folder on Windows 11
In this method, we are going to delete the temporary files manually. For that, you need to delete all the files stored in the Temp folder. Here are some of the simple steps you need to follow.
1. First of all, press the Windows Key + R button on your keyboard. This will open the RUN dialog box.
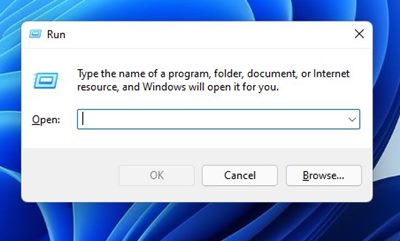
2. On the RUN dialog box, enter %tmp% and hit the Enter button.
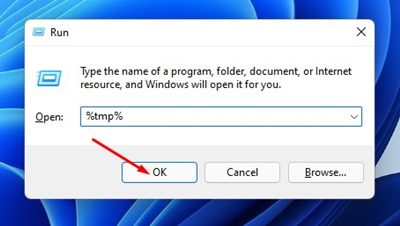
3. This will open the Temp folder on your Windows 11.
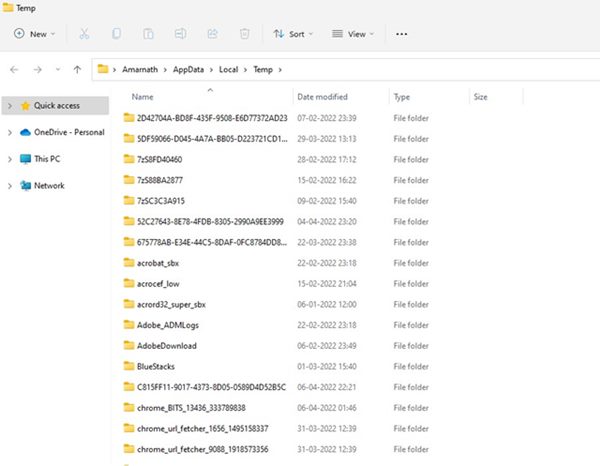
4. You need to press the CTRL+ A button to select all the files. Once selected right click on the file and select the Delete option.
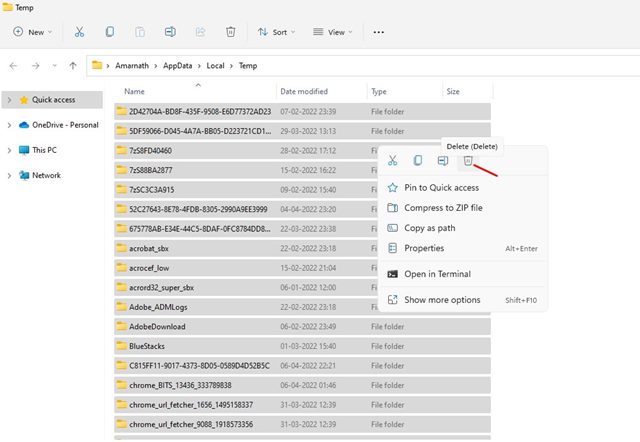
That’s it! You are done. This is how you can manually remove all files from the Temp folder on Windows 11 laptop/computer. After deleting the temp folder, make sure to restart your Windows 11 PC/laptop.
4) Delete Temporary Files via Command Prompt
In this method, we will use the Command Prompt on Windows 11 to delete the temporary files. Here are some of the simple steps you need to follow.
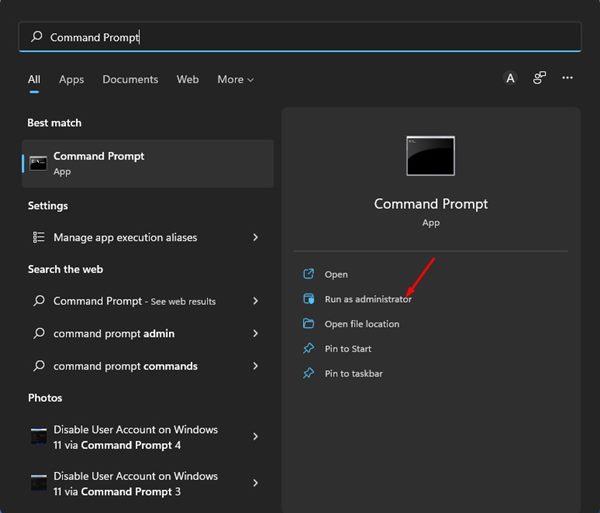
1. First of all, open the Windows 11 search and type in Command Prompt. Next, right-click on the Command Prompt and select the Run as administrator option.
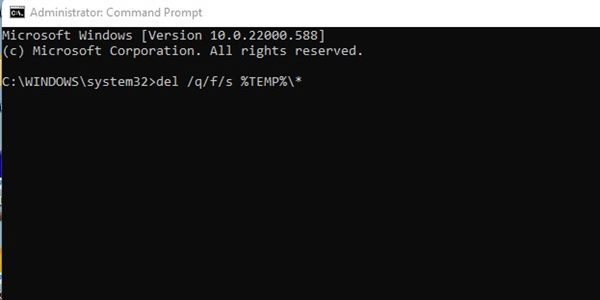
2. This will open Command Prompt with admin privileges. On the command prompt, execute the command:
del /q/f/s %TEMP%\*
3. Upon executing the command, you will see several lines of codes indicating that the temp files have been deleted from the Temp folder of your C drive.
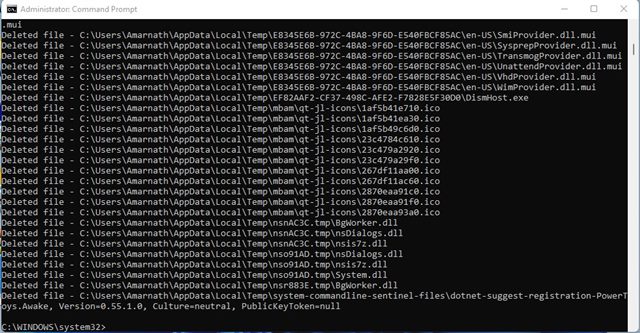
That’s it! You are done. Make to restart your computer after executing the command. This is how you can delete the temporary files on Windows 11 via Command prompt.
Clear the Cache in Windows 11 to free up more space
If you are still running a sort of storage space even after cleaning all temporary files, you need to clear the cache file of Windows 11. We have already shared a detailed guide on how to clear cache in Windows 11 operating system.
Make sure to follow that guide to know the best methods to clear up the cache in Windows 11. The article includes how to clear the Microsoft Store cache, app cache, and more.
It’s pretty easy to delete all temporary files on Windows 11. You can use any method to remove the temp files & to free up storage space. I hope this article helped you! Please share it with your friends also. If you have any doubts related to this, let us know in the comment box below.


