As we all know, the Windows 10 free upgrade was earlier available to everyone, and many of you might have already installed Windows 10 on your computer.
Therefore, today we have stated a great tip that you will surely love to try on your windows 10 PC. Here we will tell you how to delete Windows.old folder from your PC as this folder appears when you reinstall the windows OS and the files of the previous windows installation, and this only takes up the extra memory in your current OS.
So, when you try to delete this folder, the system gives errors, and you are unable to delete that folder. That is why we are here to guide you in this, as the method we will discuss here will allow you to easily delete Windows.old folder and free up space. So have a look at the complete guide discussed below to proceed.
Steps To Delete the Windows.old folder from Windows 10
The method is quite simple and easy, and you don’t need any third-party tool for this as you will just need to use the system’s inbuilt cleanup feature, and with that Windows.old will get deleted. For that, follow the below steps.
1. First, you need to open your windows file explorer by pressing the keys Window + E, and there you need to click on My PC. Right-click on Local Disk C and then choose Properties.
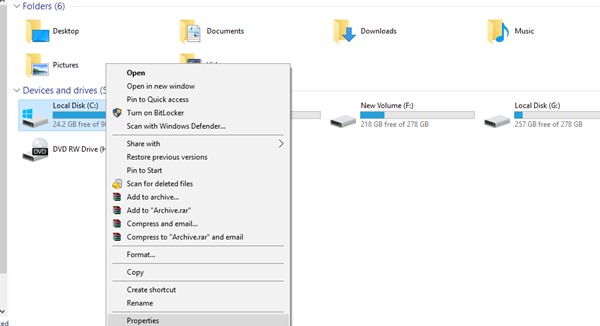
Now, you need to click on the option Disk Cleanup. Under the disk cleanup dialog box, select the button Clean up system Files.
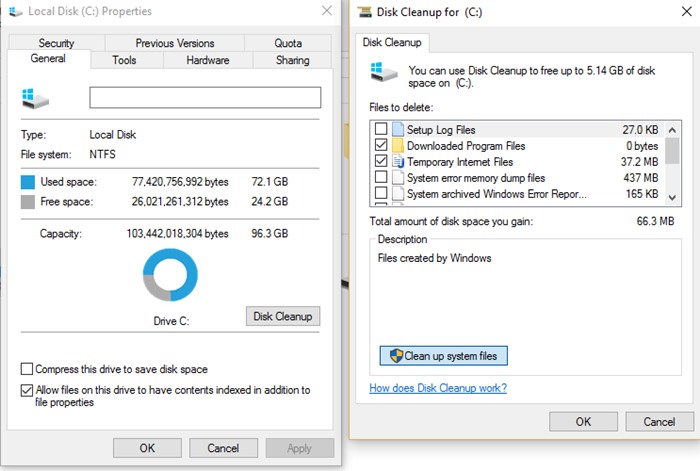
You need to select the option Previous Windows Installations to delete the Windows.old folder, and you can choose other installation-related files like Windows upgrade log files and Temporary Windows installation files. Now click on the Ok option.
A popup will appear to confirm the file deletion process, and you must choose the option Delete files.
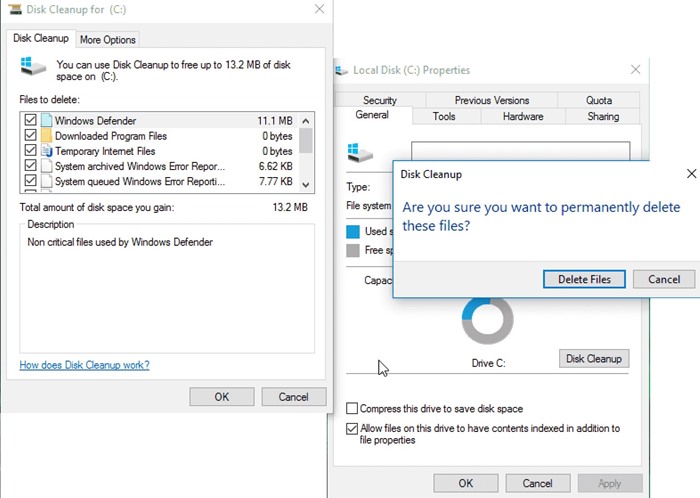
Thats it! Now click on ok, and the process will start.
So the above discussion is all about deleting the Windows.old folder from Windows 10. Use the above guide and easily delete the extra files from your windows OS to free up lots of space in your PC. I hope you like the direction; keep on sharing it with others. Leave a comment if you face any problems with the abovementioned steps.


