Chrome’s automatic updates can slow down the internet connection and raise CPU usage. If you’re on a metered connection, turning off the Automatic Chrome update is important.
1. Rename the Google Chrome Update Folder
The easiest way to turn off Chrome’s automatic updates is by renaming the Chrome update folder.
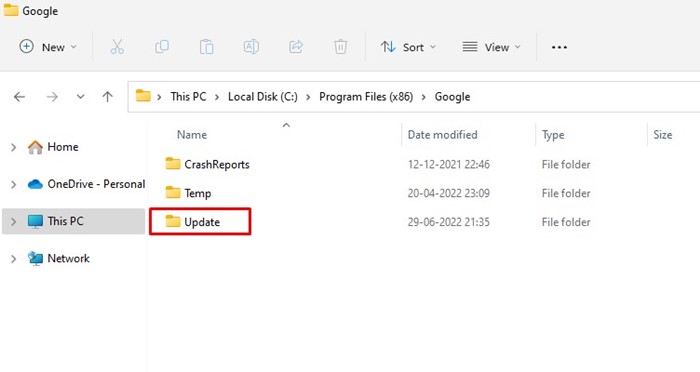
1. Navigate to the path where Chrome is installed. The path is usually found on "C:\Program Files (x86)\Google\Update"
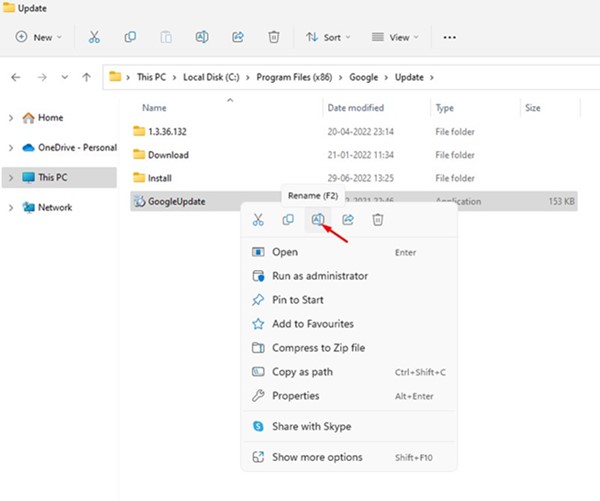
2. Right-click the GoogleUpdate executable file and select Rename.
3. Rename the GoogleUpdate executable file to something like GoogleUpdate123, NoUpdate, etc.
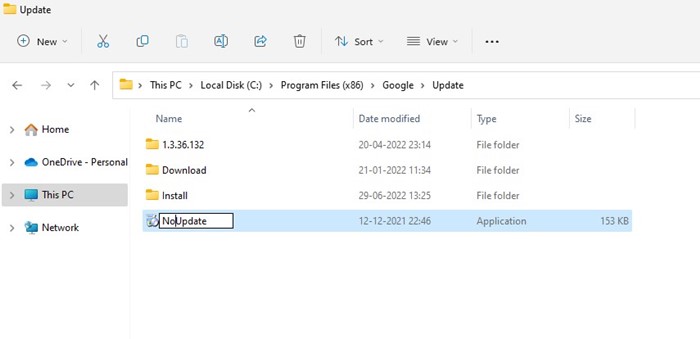
Whenever Google Chrome attempts to download the updates, the update will fail.
2. Disable Chrome Updates from System Configuration
You can also use the System Configuration utility to disable automatic Chrome updates.
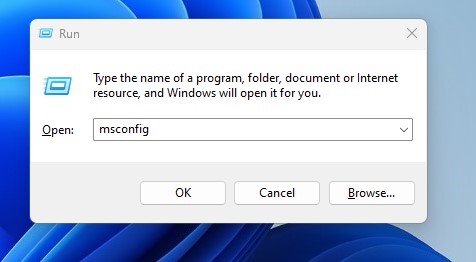
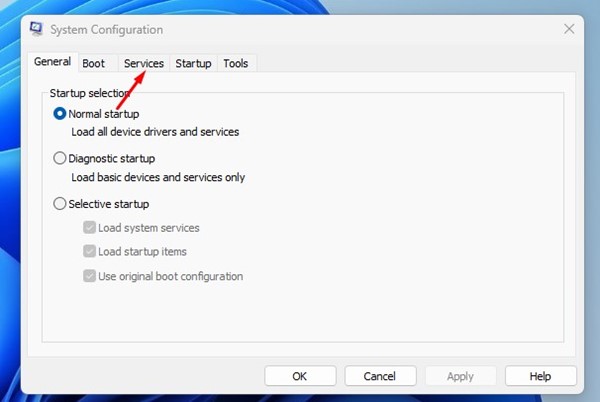
1. Press the Windows Key + R button on your keyboard. This will open the RUN dialog box. On the RUN dialog box, type in msconfig and press Enter.
2. Switch to Services.
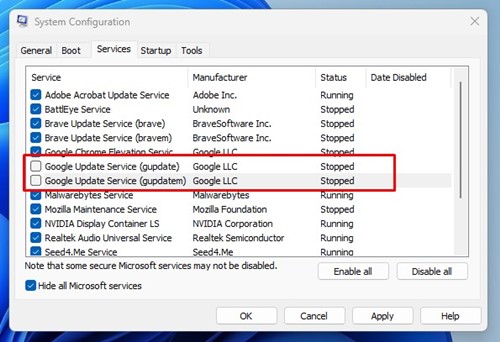
3. Scroll down and uncheck the Google Update Service (gupdate) and Google Update Service (gupdatem).
4. Click on Apply and then Ok.
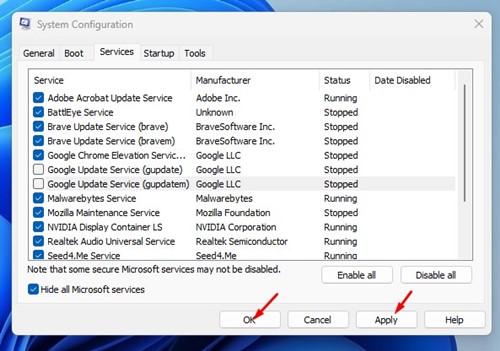
After making the changes, restart your Windows 11 PC to turn off the automatic Chrome updates.
3. Disable Automatic Chrome Updates via Windows Services
You can turn off the Chrome update services from the Windows Services Manager. This will disable the Chrome updates completely.
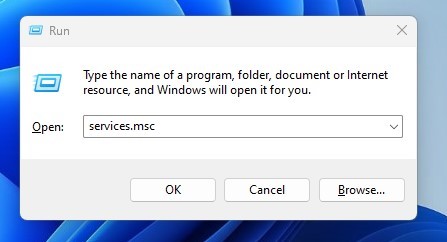
1. Press the Windows Key + R button. In the RUN dialog box, enter services.msc and press Enter.
2. Search for Google Update (gupdate) on the Windows Services. Double-click on it and select Disabled on the Startup type. Once done, click OK.
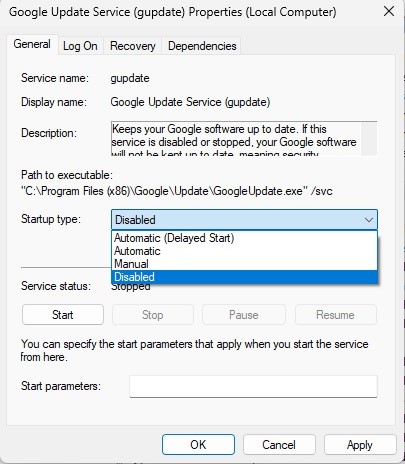
3. Search for Google Update (gupdatem) and double-click on it. On the Google Update Service (gupdatem) Properties, select Disabled on the Startup type and click Ok.

Restart your Windows PC.
4. Disable Automatic Google Chrome Updates via Registry Editor
If Google Chrome is still searching for available updates, you must make a few changes to the Windows Registry file.
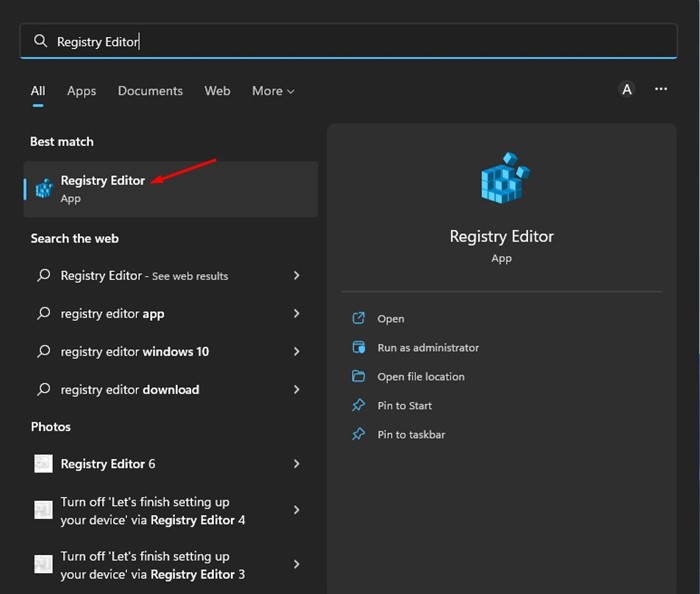
1. Open the Registry Editor from Windows Search.
2. Navigate to the following path:
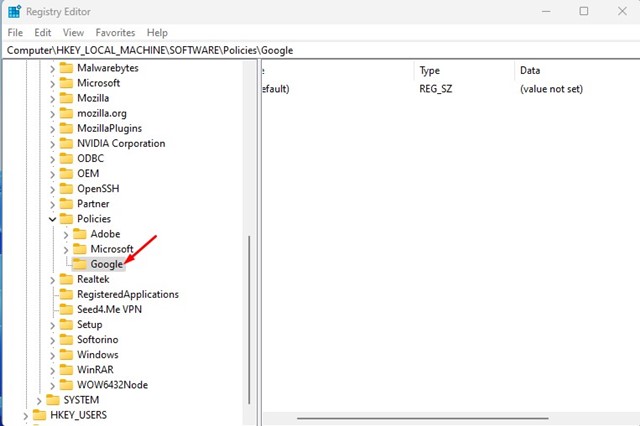
Computer\HKEY_LOCAL_MACHINE\SOFTWARE\Policies
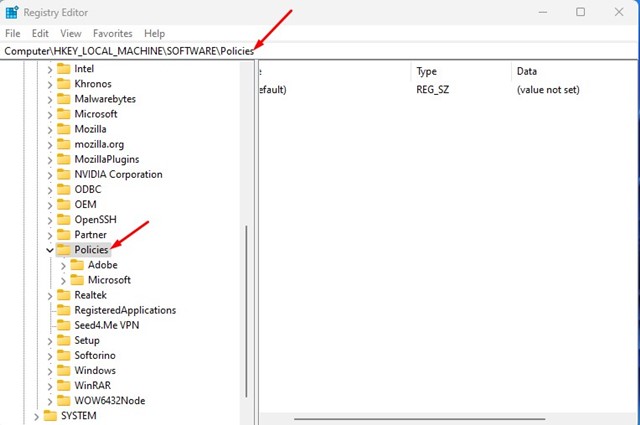
3. Right-click on the Policies folder and select New > Key.
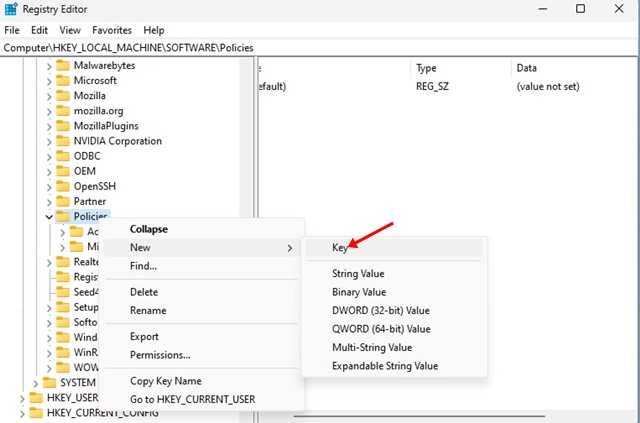
4. Name the newly created key as Google.
5. Right-click on the Google folder and select New > Key.
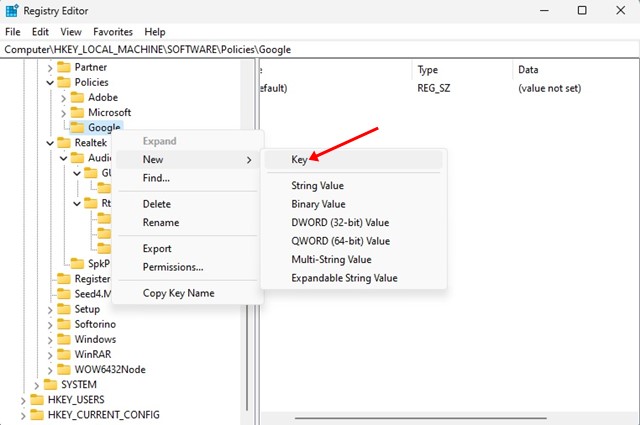
6. Name the newly created key as Update.
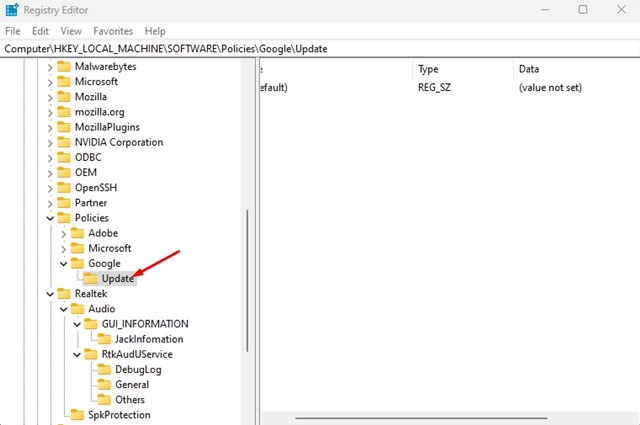
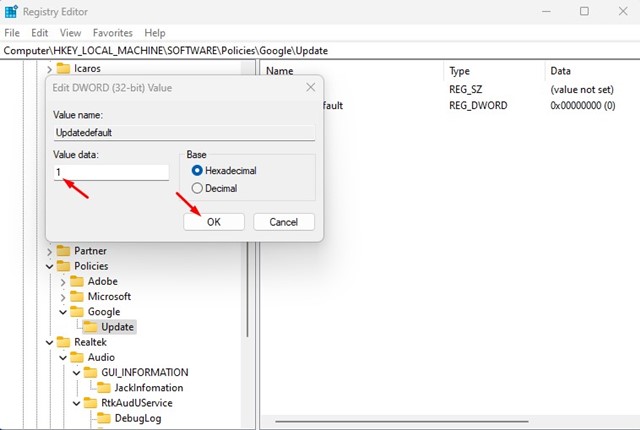
7. Right-click and select New > DWORD (32-bit) Value.
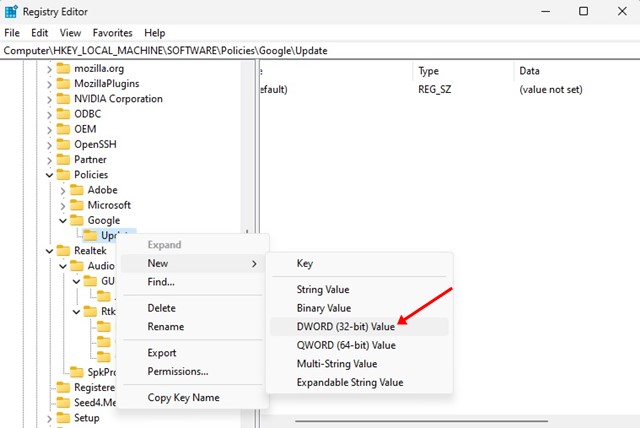
8. Name the new key as Updatedefault.

9. Double-click the Updatedefault key and type 1 in the Value Data field. Then click Ok.
This will automatically disable the automatic Chrome updates on your Windows computer.
5. Block Chrome Update URLs from the Host File
To download the updates, the Chrome browser accesses several domains. You can block those domains on your computer by editing the host files.
The problem with this method is that if Google changes the URL for the update, your browser will continue to auto-update. You can try blocking these domains using the host file on Windows and Mac.
- google.com/dl/*
- google.com/*
- com/dl/*
- *.gvt1.com
- google.com/service/update2
- google.com
- googleapis.com/service/update2
- google.com
To edit the hosts file on Windows, follow our guide – How to find and edit the hosts file in Windows.
Frequently Asked Questions:
Does Chrome automatically update on Windows?
Yes, by default, the Google Chrome browser is set to auto-update in the background. Whenever an update is available, Google Chrome will automatically check and install it in the background.
How to disable Chrome extension auto update?
The steps to disable Chrome extension auto-update are a bit different. You need to edit the extension’s manifest.json file and replace the update_url properly with something invalid.
How do I stop Chrome from automatically downloading?
You can follow the methods shared in the article to stop Chrome from downloading automatically in the background. There’s no direct way to stop auto updates in Chrome.
How to turn on Auto Updates in Chrome
You can manually turn on Auto Updates in Chrome by opening the Chrome Menu and selecting Help > About Google Chrome.
These are the best ways to disable automatic Chrome updates in the Windows operating system. The shared methods work on every version of Windows, including the latest Windows 11.


