If you have been using Windows operating system for a while, you might know that the operating system offers different policies for external storage devices that are connected to the computer via USB port. Each of the connected devices has its policy settings.
By default, your system’s internal hard drives use disk write caching to improve the system performance. The disk write cache feature of Windows 10 temporarily queues write commands to the system memory until the storage device is ready.
The feature dramatically improves the performance as the software doesn’t have to wait for the internal drives to continue operating. By default, the feature is enabled for all internal hard drives, but it’s disabled for the external hard drives or removable disks like SD Card, Pendrive, etc.
Users can even enable or disable the disk write cache feature for individual drives through the device manager. In this article, we will share a detailed guide on how to enable or disable disk write caching in Windows 10 computers.
Also Read: How to Change Monitor Refresh Rate in Windows 10 PC
Enable or Disable Disk Write Caching in Windows 10 PC
Important: Enabling or disabling disk write caching is pretty easy on Windows 10. However, it’s meant for advanced users only who know what they are doing. Any wrong configuration might lead to data loss. To be on the safe side, make sure to create a system restore point before making changes to the device policy settings.
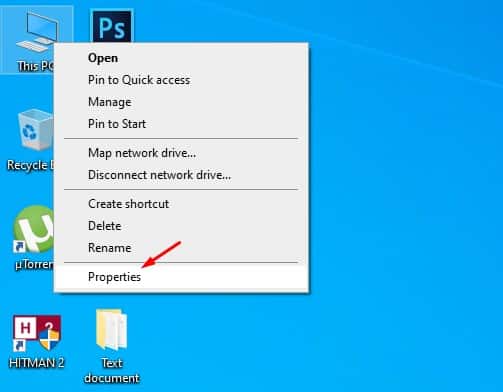
Step 1. First of all right click on the ‘This PC’ icon on your desktop and select ‘Properties’
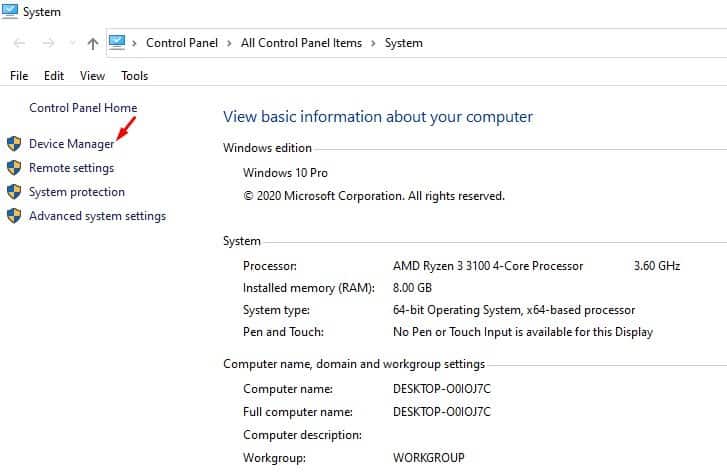
Step 2. On the System Properties page, click on the ‘Device Manager’
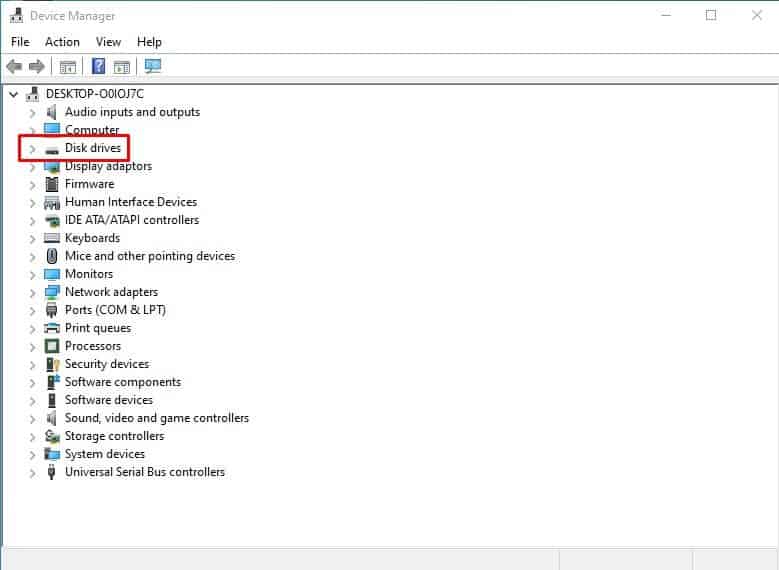
Step 3. On the Device Manager, expand the ‘Disk Drives’
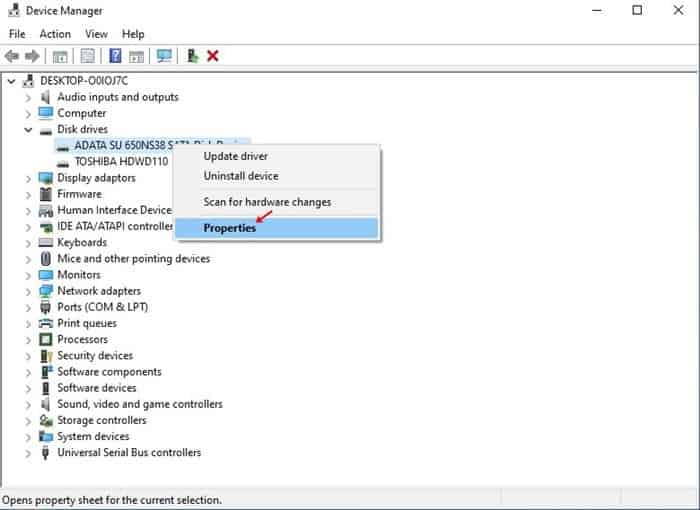
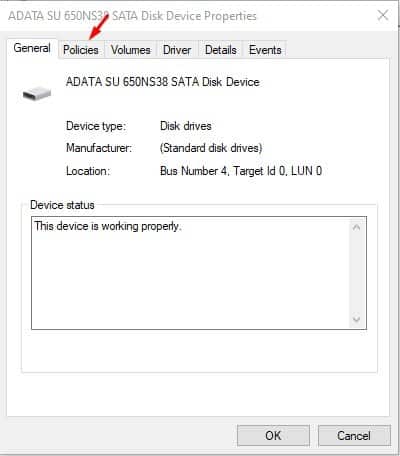
Step 4. Now right click on the drive on which you want to enable the disk write caching and select ‘Properties’
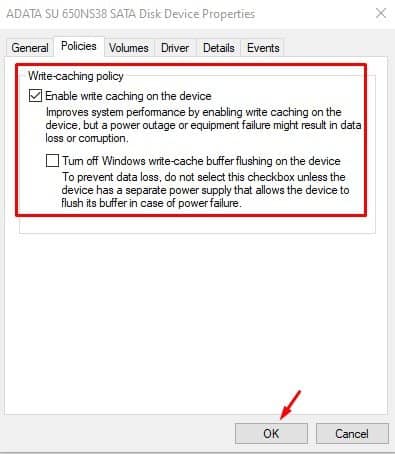
Step 5. On the Properties page, click on the ‘Policies’ tab.
Step 6. Under the Policies, you can enable or disable the disk write caching feature.
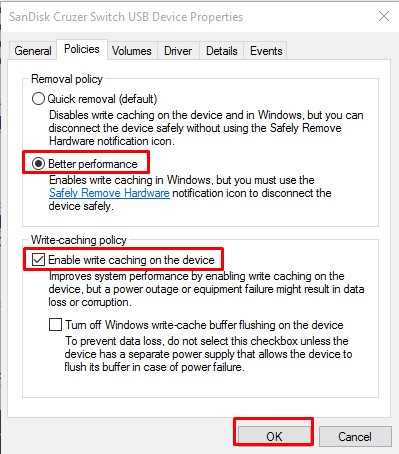
Step 7. If you want to enable the disk write caching in a removable device, select ‘Better Performance’ and then enable the ‘Write caching’ option.
That’s it! You are done. Once you enable the feature, make it a habit to use the Safely remove hardware feature from the taskbar.
So, this article is all about how to enable or disable disk write caching in Windows 10 computers. I hope this article helped you! Please share it with your friends also.


Great Post, by techviral. Always provide solution to problems. Great work. Thanks