Hibernation mode is introduced in Windows 10, and it’s even available on the new Windows 11 operating system. Both Hibernate and the Sleep mode do the same thing, but the main difference is in the Hibernate mode, which saves all open documents and apps to a file on your hard disk instead of RAM.
The feature is useful as it allows users to take a quick or short break from their work without stressing about any data loss. Another thing is that the Hibernate mode consumes less power than the Sleep mode; hence it can also save your laptop’s battery life.
Although the feature is good, it has one major flaw – it saves your data to the hard disk, resulting in the PC taking more time to wake up than the sleep mode. So, if you don’t prefer using the Hibernation mode in Windows 11, it’s best to turn off the feature entirely.
3 Best Methods to Disable Hibernate Mode in Windows 11
Hence, this article will share some of the 3 best methods to disable Hibernate mode in Windows 11 operating system. The plans will be straightforward; follow them as we have mentioned.
1) Disable Hibernation Mode via Power Plan Settings
We will use the Power Plan Settings of Windows 11 to disable the Hibernate Mode in this method. Here are some of the simple steps you need to follow.
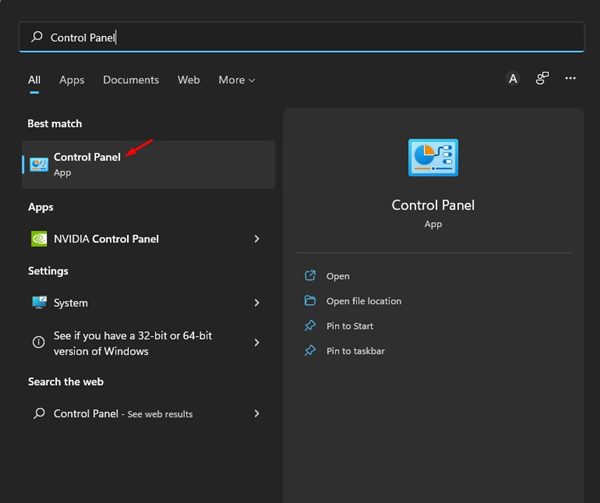
1. First, click on the Windows 11 search and type in Control Panel. Next, open the Control Panel from the list of options.
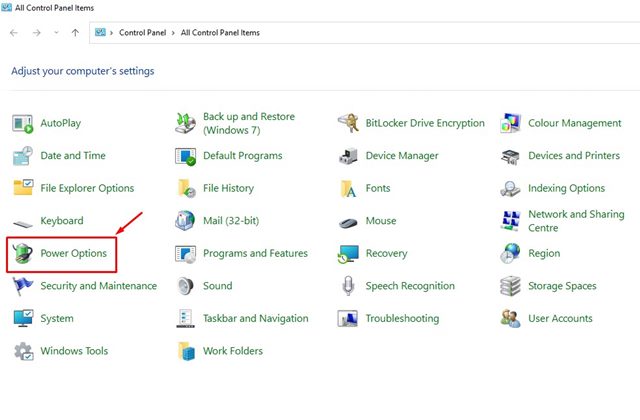
2. On the Control Panel, click on the Power Options.
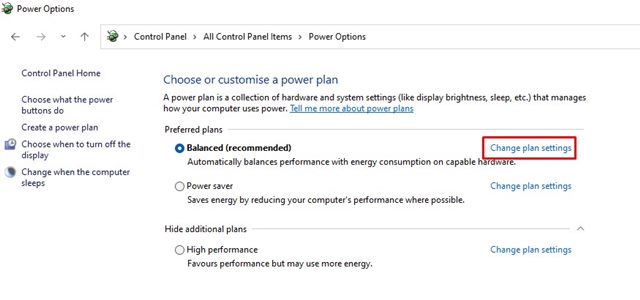
3. On the Power Options, click on the Change plan settings link beside the active plan.
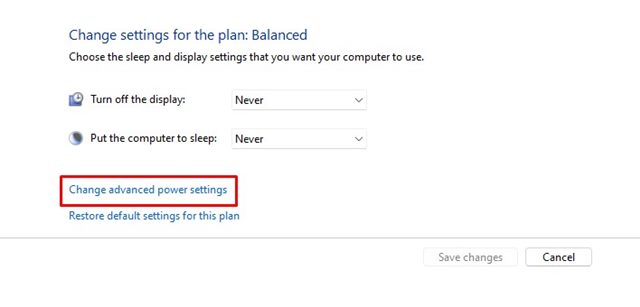
4. On the next screen, scroll down and click on the Change advanced power settings link.
5. This will open the Power Options Advanced Settings options. Here you need to expand the Sleep option and then expand the Hibernate after.
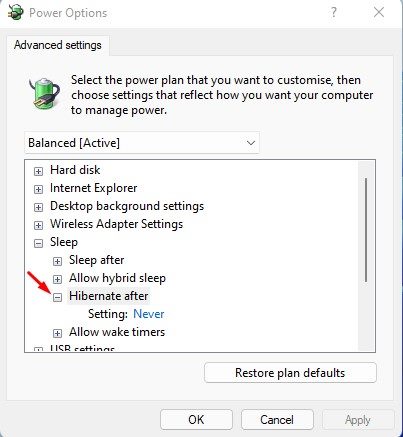
6. To disable the hibernate mode, select ‘Never’ for both On Battery and Plugged in. Once done, click on the Ok button.
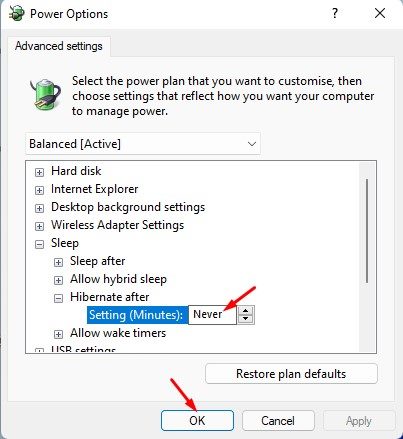
That’s it! This will disable the Hibernate mode on your Windows 11 computer.
2) Disable Hibernate Mode via Registry
We will use the Registry Editor to disable the Hibernate mode in this method. Here are some of the simple steps you need to follow.
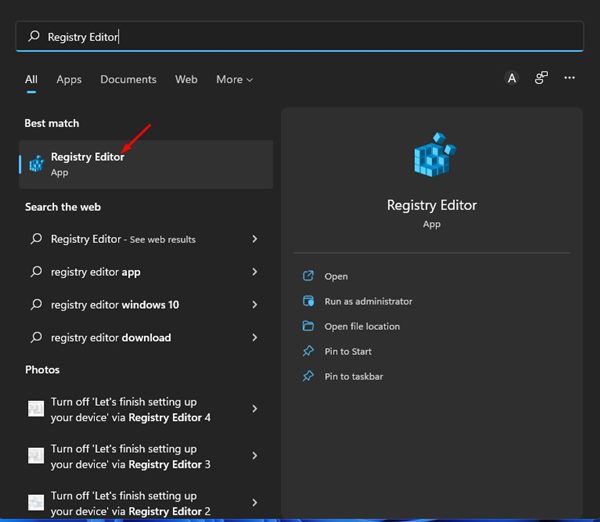
1. First, click on the Windows 11 search and type in Registry Editor. Next, open Registry Editor from the list.
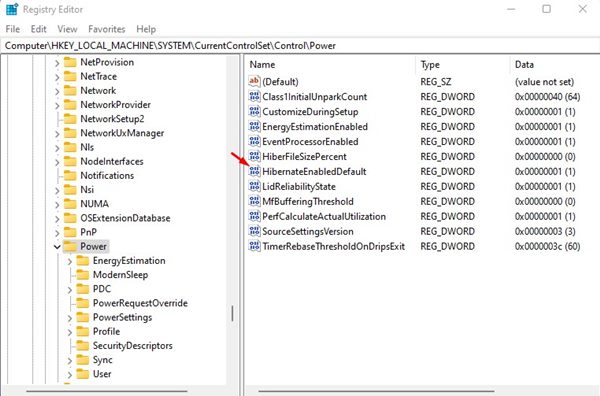
2. On the Registry Editor, navigate to the following path:
Computer\HKEY_LOCAL_MACHINE\SYSTEM\CurrentControlSet\Control\Power
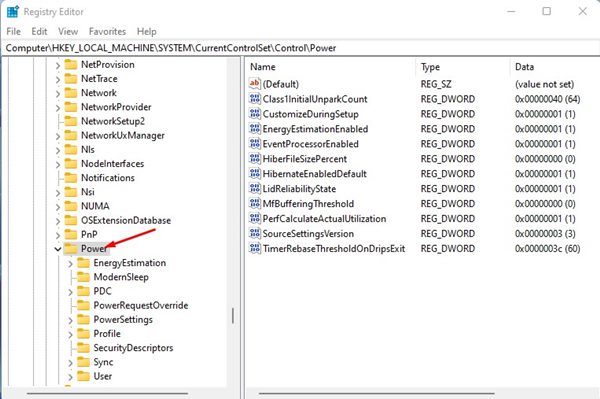
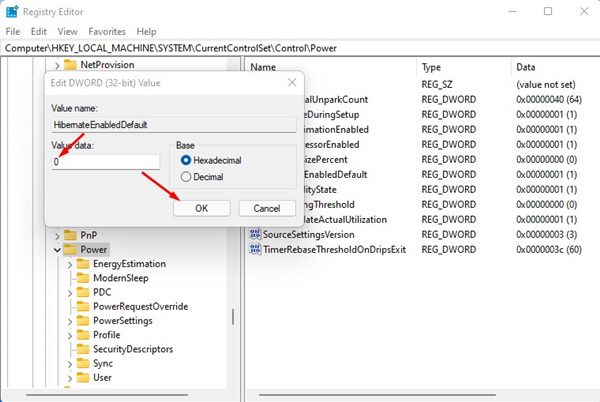
3. On the right pane, double click on the HibernateEnabledDefault key.
4. Next, enter 0 on the Value data field and click on the Ok button.
That’s it! You are done. After making the above changes, restart your computer. After the restart, you won’t find the Hibernate option in the Power menu of Windows 11.
3) Disable Hibernate Mode on Windows 11 via Command Prompt
You can even use the Command Prompt utility on Windows 11 to disable the Hibernate mode. You need to follow some of the simple steps we have shared below.
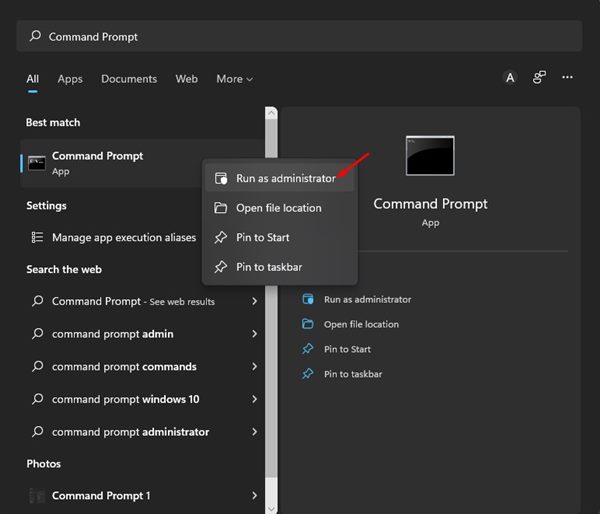
1. First, click on the Windows 11 search and type in Command Prompt. Next, right-click on the Command Prompt and select Run as administrator.
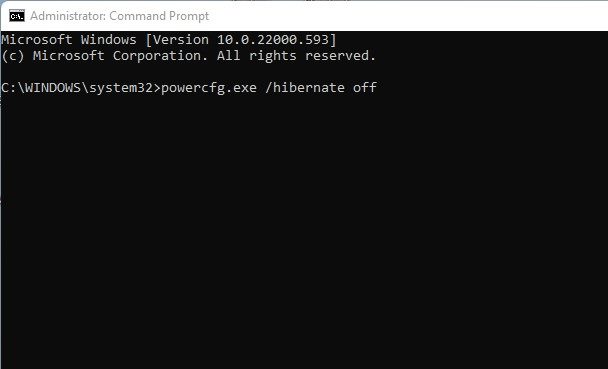
2. On the Command Prompt, type in powercfg.exe /hibernate off and hit the Enter button.
That’s it! This will disable the Hibernate mode in your Windows 11 device.
All you need to do is disable the Hibernation mode on your Windows 11 computer/laptop. We have shared the easiest methods to turn off Hibernation mode entirely on a Windows 11 device. If you want to enable it back, follow our guide to Enable Hibernate Mode in Windows 11.


hibernate does not appear in sleep option in win11 22H2