Early this year, researchers found a new Windows Exploit that allowed hackers to take remote control over PC through the Print Spooler service.
If you don’t know, Print Spooler is a Windows service that’s meant for the proper functioning of printing and fax machines.
Although Microsoft has fixed the PrintNightmare vulnerability that lets hackers access your system, you can still disable the service if you don’t have a Printer or faxing machine.
Also Read: How to See Print History On Windows 10
2 Methods to Disable Print Spooler Service on Windows 10
So, if, for any reason, you want to stop the print spooler service from running on your PC, you can do so in easy steps. In this article, we will share a step-by-step guide on how to disable the Print Spooler Service on Windows 10. Let’s check out.
1. Disable Print Spooler Service from Windows Services
You can use the Windows Services panel to turn off the Print Spooler service. Here are some of the simple steps you need to follow.
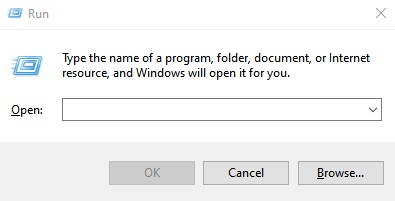
1. First of all, press the Windows Key + R button on your keyboard. This will open the Run dialog box.
2. On the RUN Dialog box, enter services.msc and hit the enter button.
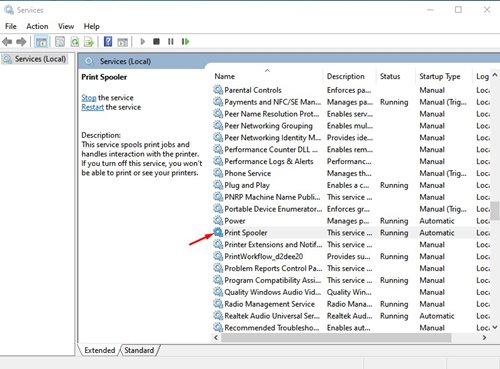
3. On the Services page, find the Print Spooler option. Double click on it.
4. On the next Window, select the drop-down next to Startup type and pick Disabled.

5. Once done, click on the Apply button and then on OK.
That’s it! You are done. This is how you can disable the print spooler service in Windows 10 operating system. Make sure to restart the PC after making the changes.
2. Disable Print Spooler via Group Policy Editor
In this method, we will utilize the Local Group Policy Editor to disable the Print Spooler service in Windows 10. Here’s what you need to do.
1. First of all, press Windows Key + R button on your keyboard. This will open the Run dialog box.
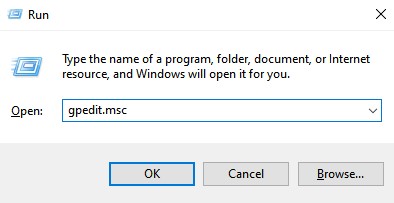
2. On the Run dialog box, enter gpedit.msc and hit the Enter button.
3. Now navigate to the Computer Configuration > Administrative Templates > Printers.
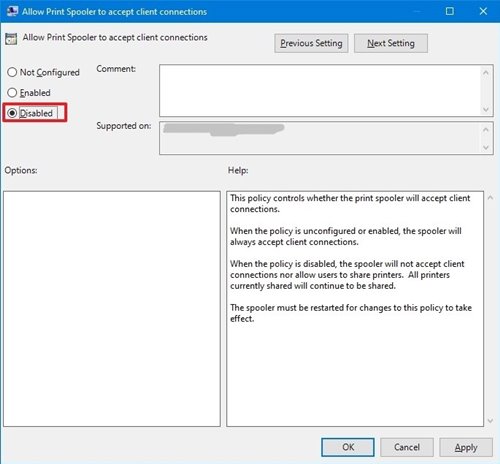
4. On the right pane, double click on the Allow Print Spooler to accept client connections.
5. On the next Window, select Disabled and click on the OK button.
That’s it! You are done. Now close the Group Policy Editor and restart your PC.
So, this guide is all about how to disable the Print Spooler service in Windows 10. I hope this article helped you! Please share it with your friends also. If you have any doubts related to this, let us know in the comment box below.


