On Windows 11, it’s pretty easy to disable a user account. You can do it via Settings or by editing the Registry File. The disabled user profile won’t appear anywhere on the Windows 11 PC. Here’s how you can disable it.
1. Disable User Account via Computer Management
The user account can be enabled or disabled via the Computer Management utility.
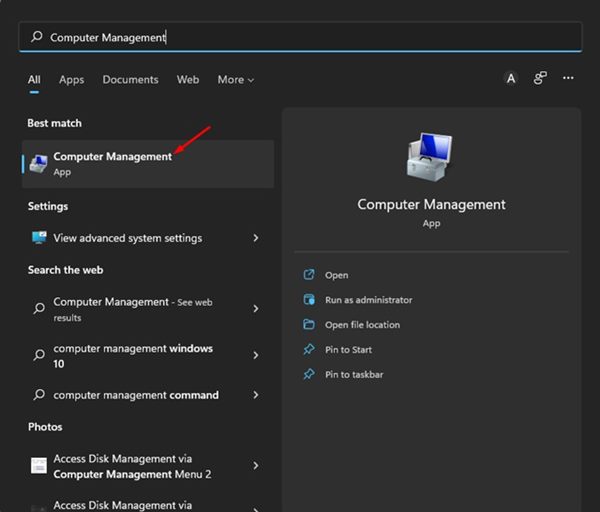
1. Open Computer Management from the Windows 11 Search.
2. Navigate to the following path:
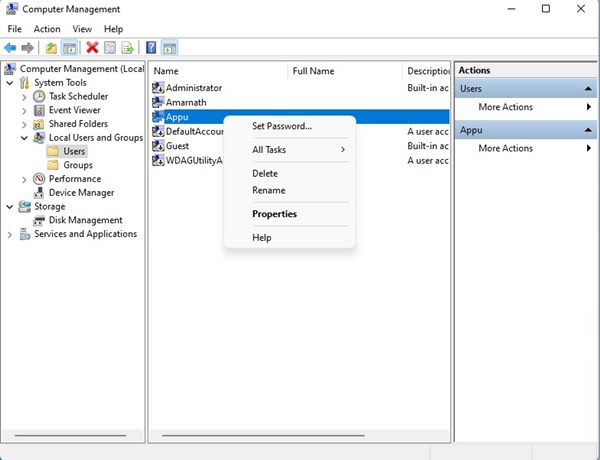
Computer Management > System Tools > Local Users and Groups > Users

3. Right-click on the user account you want to disable and select Properties.
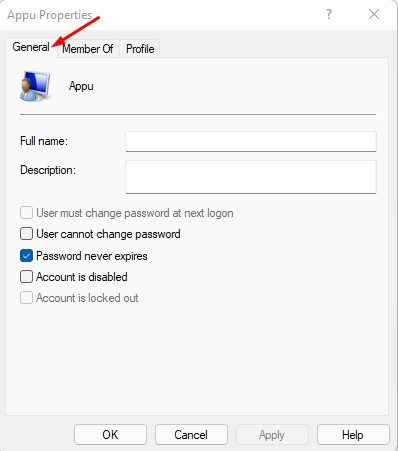
4. Switch to the General.
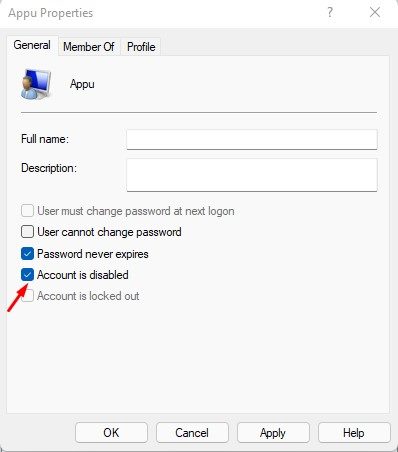
5. Check the option ‘Account is disabled’ and click Apply.
2. Disable User Account on Windows 11 via Command Prompt
If you’re comfortable handling the command line utility, you can use it to disable user accounts.
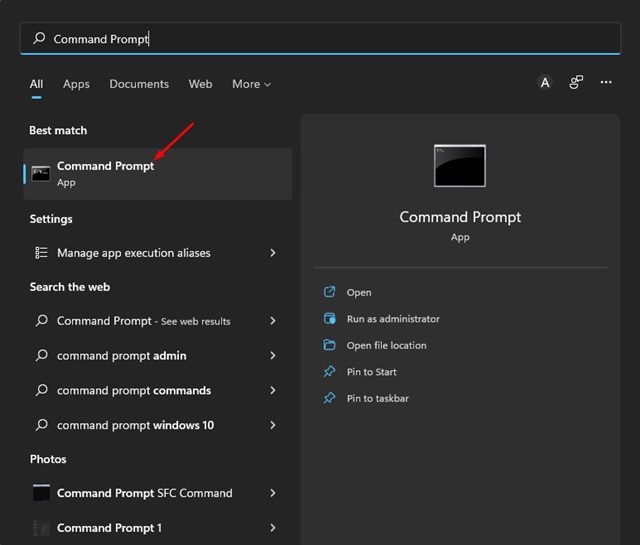
1. Click the Windows 11 search button and type in Command Prompt. Right-click on the Command Prompt and select Run as administrator.
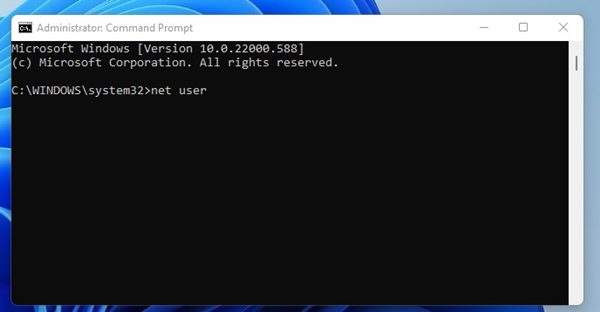
2. Type in net user and press Enter.
3. You will now see all user accounts available on your device. Enter the following command and press Enter.
net user ACCOUNT-NAME /active:no
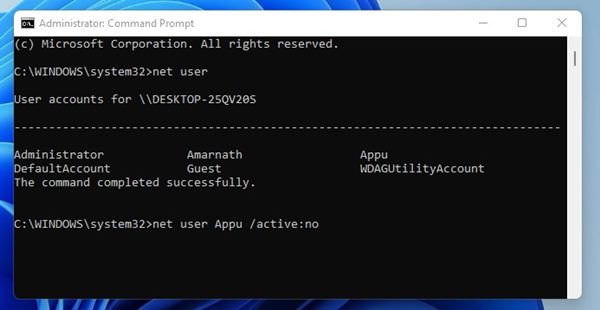
Important: Replace ‘ACCOUNT-NAME’ with the profile name you want to disable.
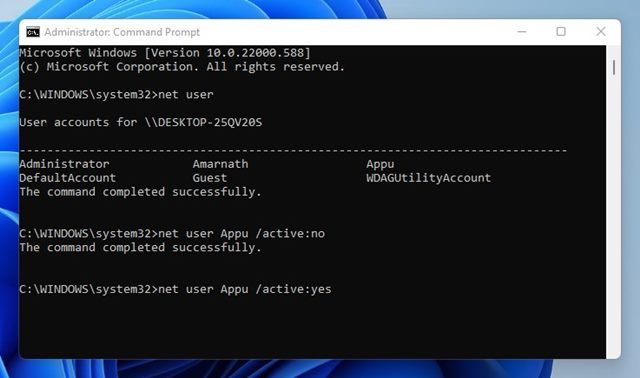
4. If you wish to enable the account again, enter the command:
net user ACCOUNT-NAME /active:yes
3. Disable A User Account from Windows 11 Settings
You can also utilize the Settings app of Windows 11 to disable a user account.
1. Click on the Windows 11 Start button and select Settings.

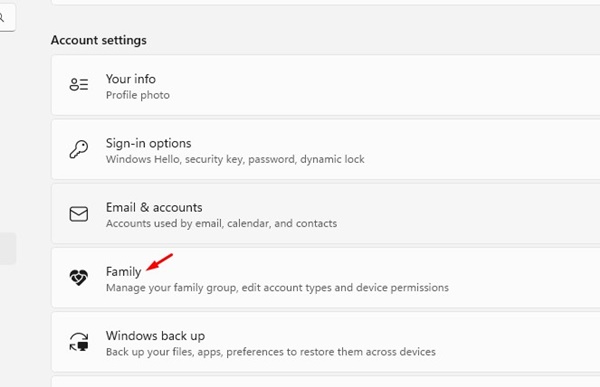
2. Navigate to Accounts > Family and Other users.
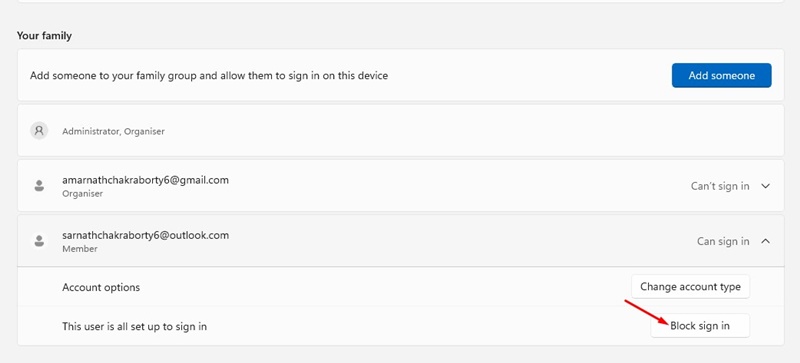
3. Click on the family account you want to disable and select Block Sign in.
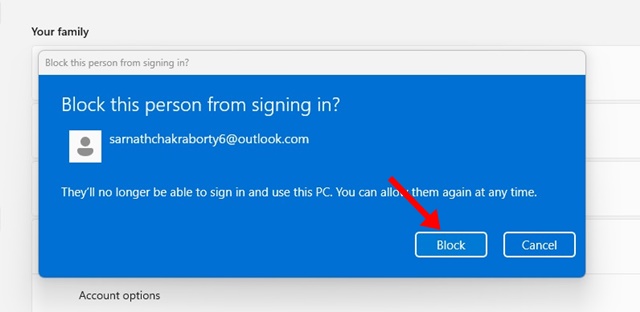
4. On the confirmation prompt, click on the Block button.
4. Disable User Account using PowerShell
Like the Command Prompt, you can use another command-line utility, PowerShell, to disable the user account on Windows 11.
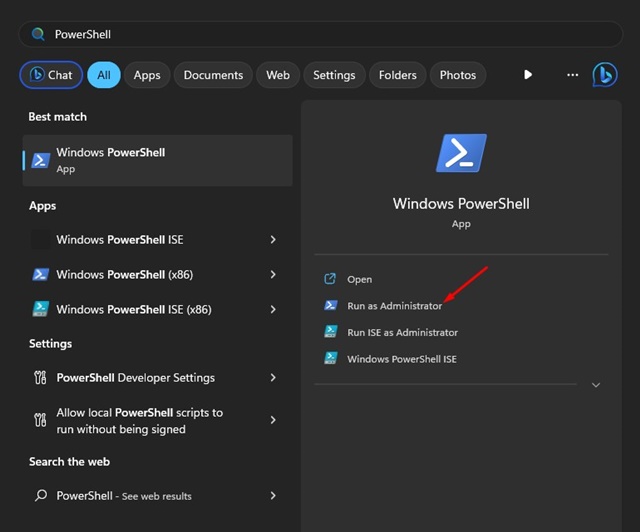
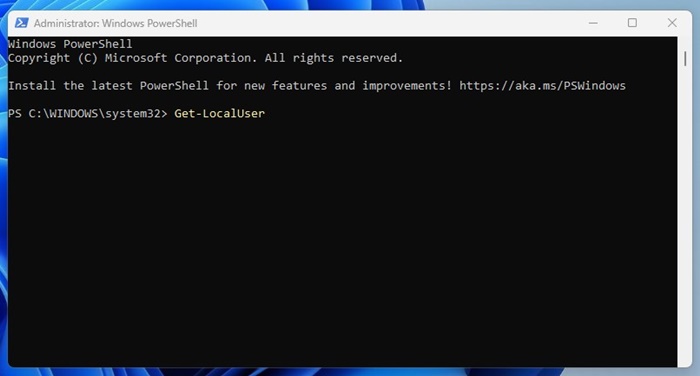
1. Open Windows search and type PowerShell. Right-click on PowerShell and select Run as administrator.
2. Execute the command:
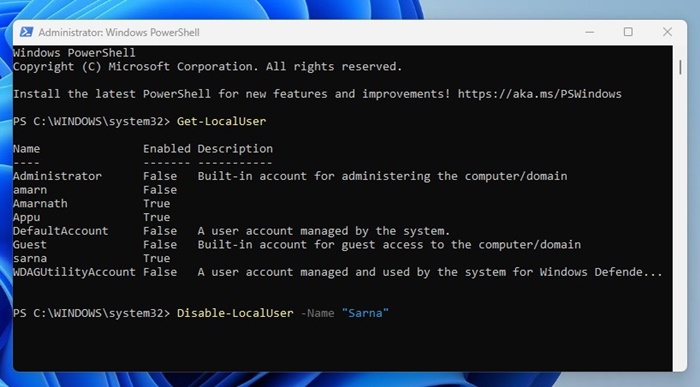
Get-LocalUser
3. Execute another command after that. Make sure to replace the Username with your account’s name.
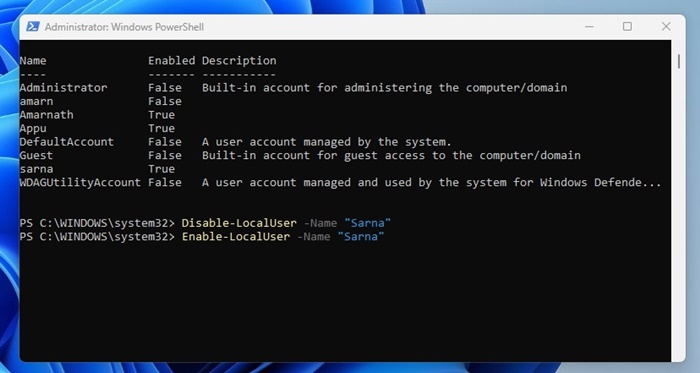
Disable-LocalUser -Name "Username"
4. Executing the command will disable the user account. If you wish to enable the user account, try this command:
Enable-LocalUser -Name "Username"
Note: Make sure to replace Username with the account name you want to enable.
Disabling a user account on the Windows 11 operating system is pretty easy. If you have any doubts, let us know in the comment box below.


