If you want to track your internet speed and usage actively, use an internet speed meter tool. There are plenty of internet speed meter tools available for Windows.
With internet speed meter tools, you can easily track download and upload speeds and check internet bandwidth usage. This article will share a working method for displaying the internet speed meter on the taskbar.
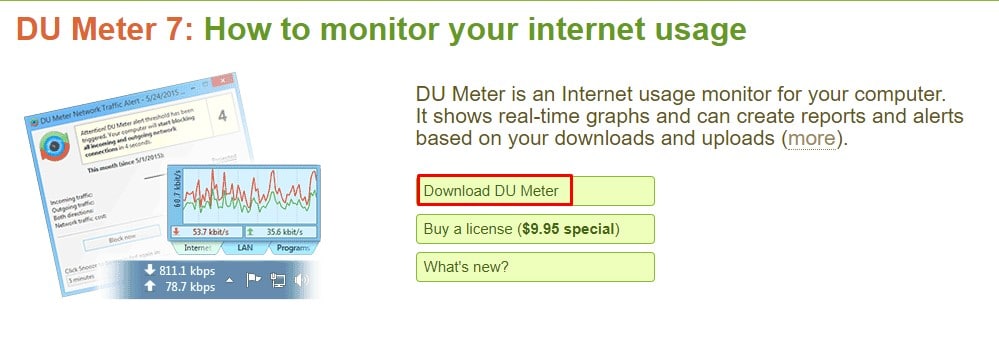
1. Visit this link and download the DU Meter on your PC.
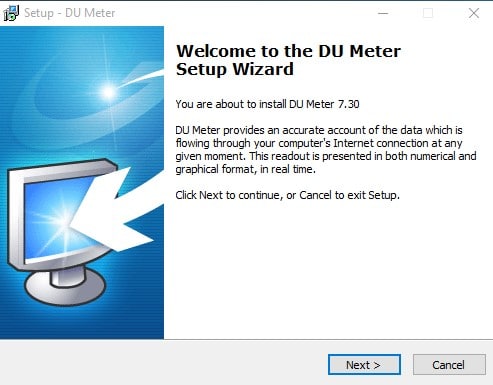
2. Now open the installation file and go through the setup wizard.
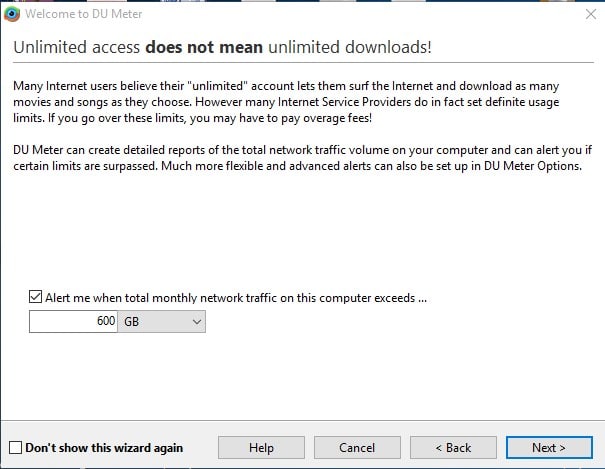
3. Next, limit your monthly usage (Optional).
4. Now, it will ask you to link your computer to the dumeter.net account. Here, you need to click on Skip

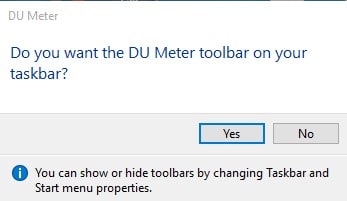
5. After configuring the DU Meter, a popup will ask you to enable it on the taskbar. Click on Yes.
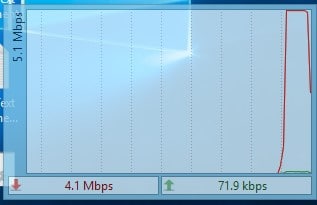
6. You will now see the upload and download speed on the Windows taskbar.
![]()
7. The floating bar will show you the network graph and other information.
This article explains how to show the internet speed meter on the Taskbar on a Windows PC. I hope this article helps you. Please share it with your friends. If you have any doubts, let us know in the comment box below.


Netspeed monitor is best and free to use.
By making app run with previous version of windows, you can run it on windows 10 freely. Using it since last 2-3 years.
Opt for it, instead of using trial of du meter and then paying them.
Definitely use Netspeed monitor instead. It’s completely free and works perfectly with no trial period garbage. Just run the installer in compatibility mode for previous version of windows to get it to work on Windows 10.
Yuor comment and the others about Netspeed are saviour, seriously it is not wise to use this new product for trial, let them collect our info and then make payment for this stupid activity. Hail to netspeed and thank you Mr. Jimbob and Akash.
Netspeed guys.. don’t go for this new thing.
Please give me the installation tutorial .
sure sir
Netspeed Monitor is the best one. It have lots of customize option. And totally free.
let me check if this is working for me or not ?