Android Studio is an IDE (Integrated Development Environment) developed and managed by Google. It’s mainly used to create Android apps and games. So, if you are a mobile app developer, Android studio might be everything that you will need. It’s a framework with every tool you need to build an Android app from scratch.
Well, Android Studio can be used to test and develop Android apps. We have already shared a detailed guide on how to download & install Android Studio on Windows 10 computers. If you are a developer, we recommend you check that article.
Recently, we have received many messages from our users asking how to run Android on a Windows 10 PC. Well, you can experience Android on PC via emulators, but you can’t get the exact touch and feel of Android. What about running a full-fledged Pixel device on Windows 10?
With Android Studio, you can run a virtual Pixel smartphone on your computer. This way, you will experience the stock Android on your desktop operating system.
Also Read: How To Download Paid Android Apps & Games For Free
Download & Install Android 11 on Windows 10 PC
In this article, we will share a step-by-step guide on how to install Android 11 on a Windows 10 computer via Android studio. The process will be very lengthy, so follow every step carefully. Also, if you have a low-end PC, it’s best to skip this, as the process requires a huge amount of system resources. So, let’s check out.
1. Head to this webpage and download Android Studio on your computer. The installation file would be around 900MB in size.
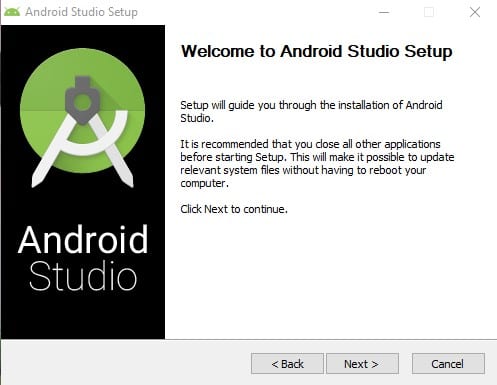
2. Once downloaded, launch the Android Studio Installer and click on the ‘Next‘ button.
3. On the next page, select both ‘Android Studio’ and ‘Android Virtual Devices’ and click on the ‘Next‘ button.
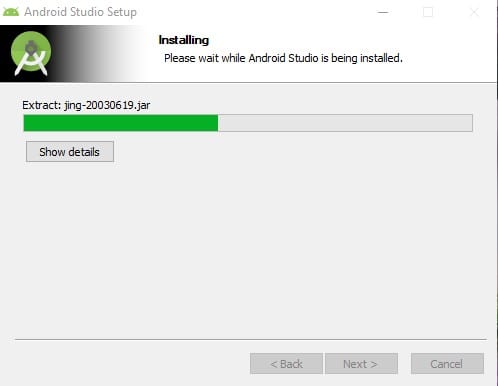
4. Now, wait until the program installs on your computer.
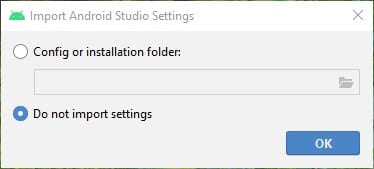
5. Once installed, the Android Studio will open automatically. Select the ‘Do not import settings’ option and click on ‘Ok.’
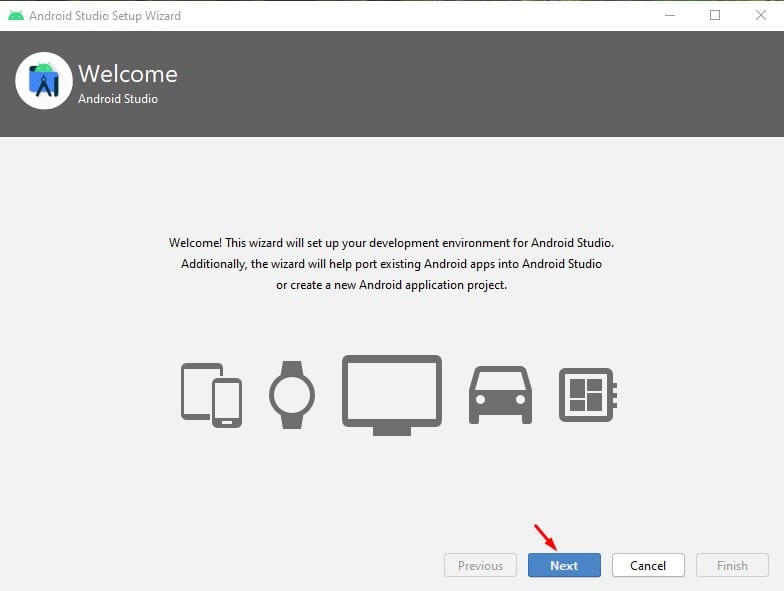
6. On the Welcome page, click on the ‘Next‘ button.
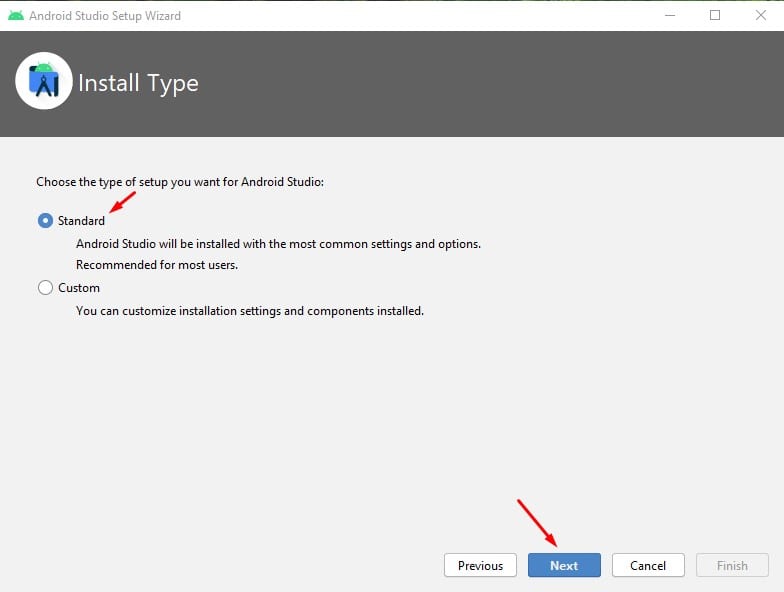
7. Now, on the installation type, select ‘Standard‘ and click on the ‘Next‘ button.
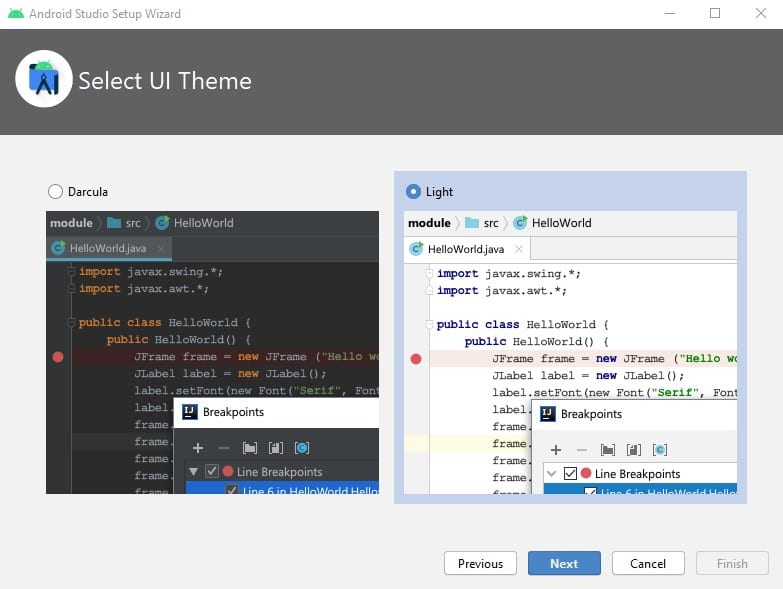
8. Now you will be asked to select the user-interface theme. Select the UI theme and click on the ‘Next‘ button.
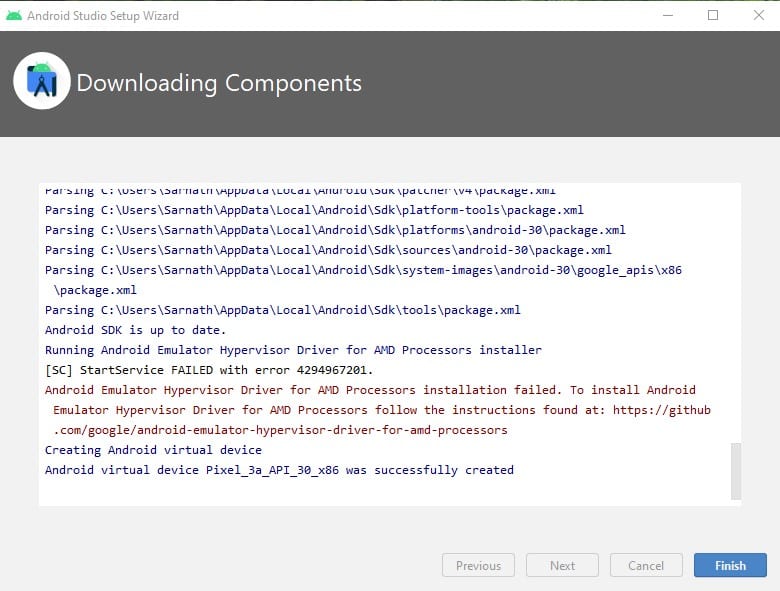
9. Now, Android Studio will attempt to download a few extra tools. Click on the ‘Finish‘ button to continue the download process.
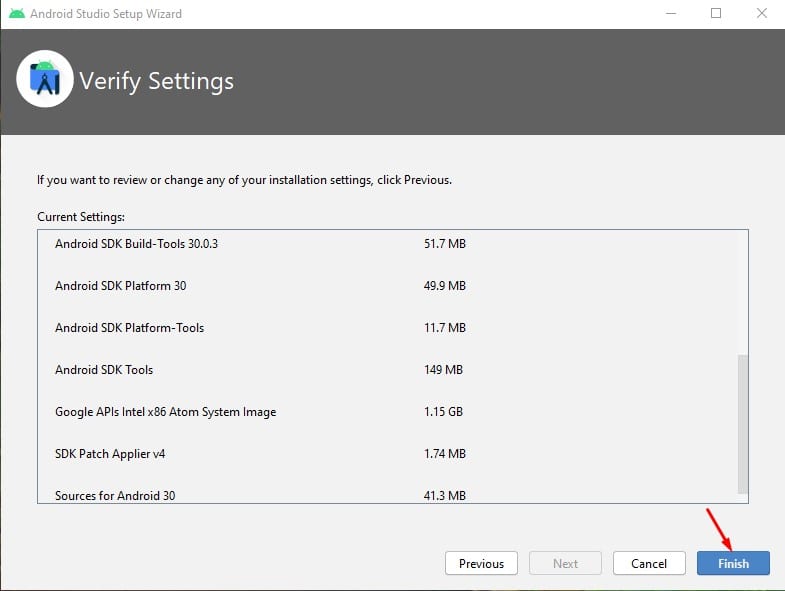
10. Once downloaded, click on the ‘Finish‘ button.
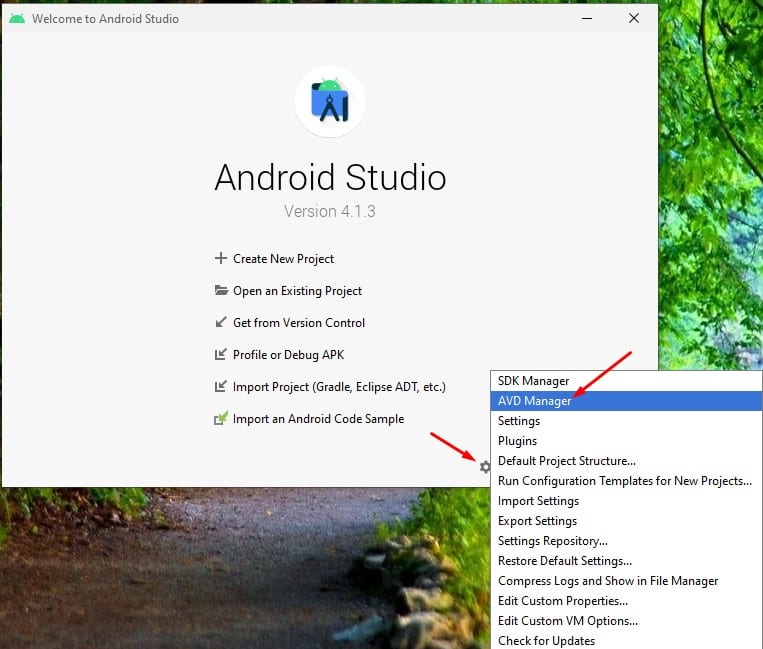
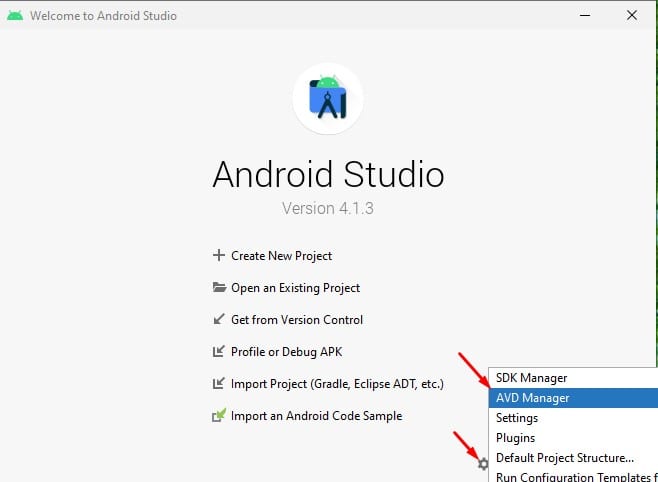
11. On the Welcome to Android Studio Window, click on the gear icon and select ‘AVD Manager.’
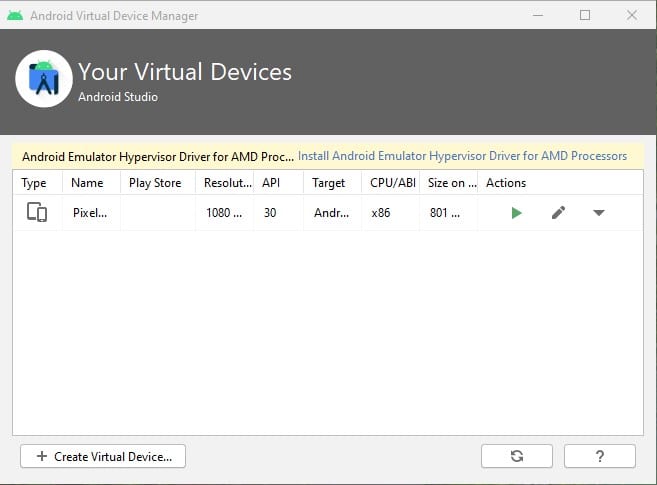
12. On the next Window, click on the ‘Create Virtual Device’ option.
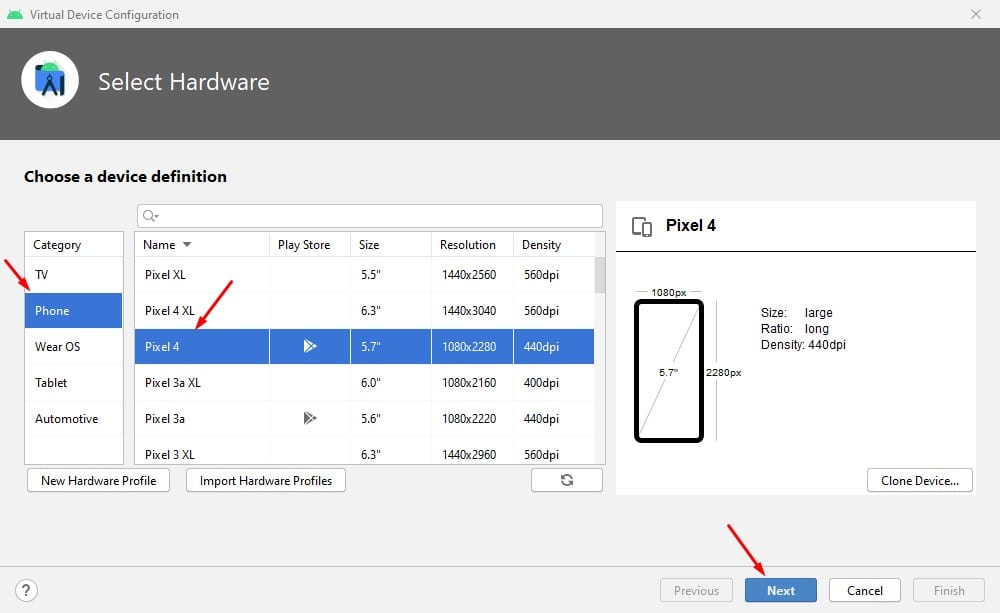
13. Select the phone you want to emulate and click the ‘Next‘ button.
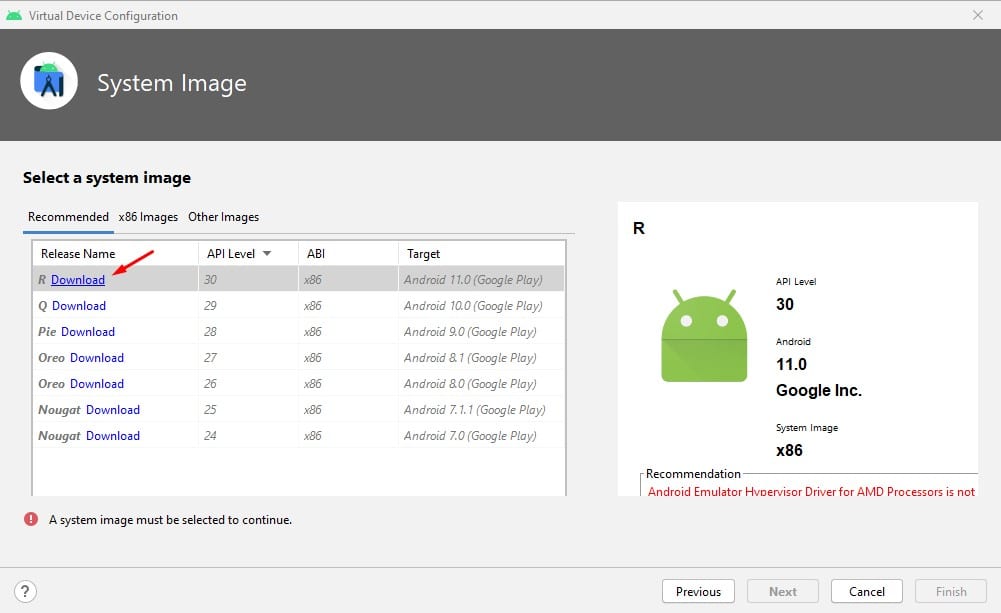
14. Now, on the System image window, select ‘R’ from the list and click on the download button next to it.
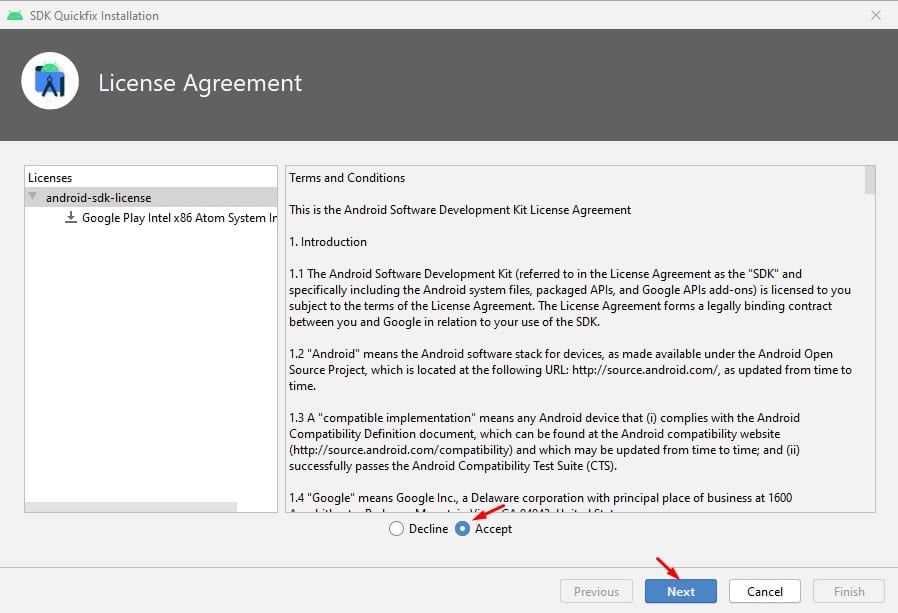
15. Now, you will be asked to agree with the license. Select ‘Accept‘ and click on the ‘Next‘ button.
16. Once done, you need to wait for a few minutes until the installation finishes. Once done, click on the ‘Finish‘ button.
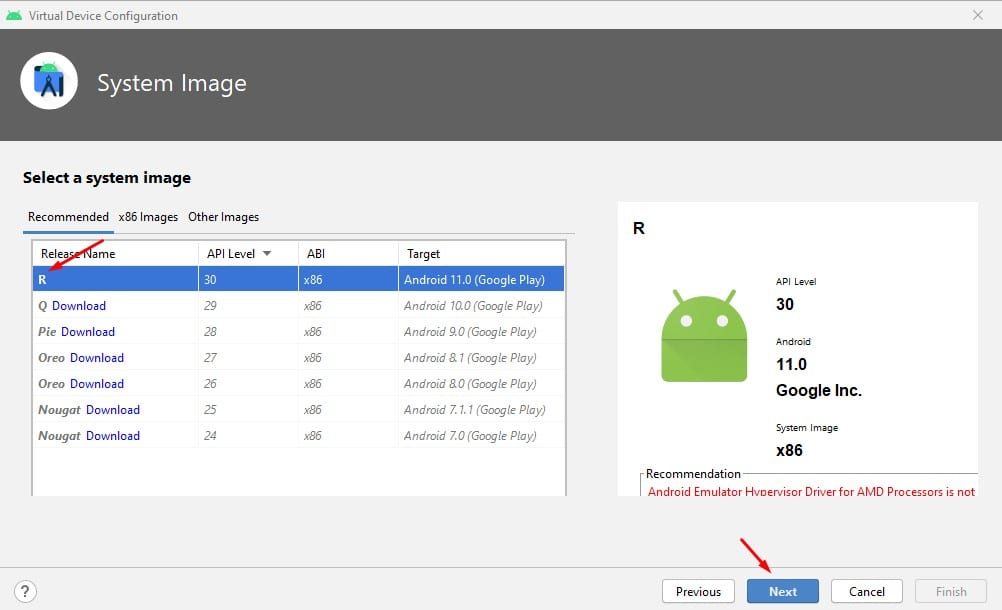
17. Now, on the System Image, click on the ‘R’ option from the list and click on the ‘Next‘ button.
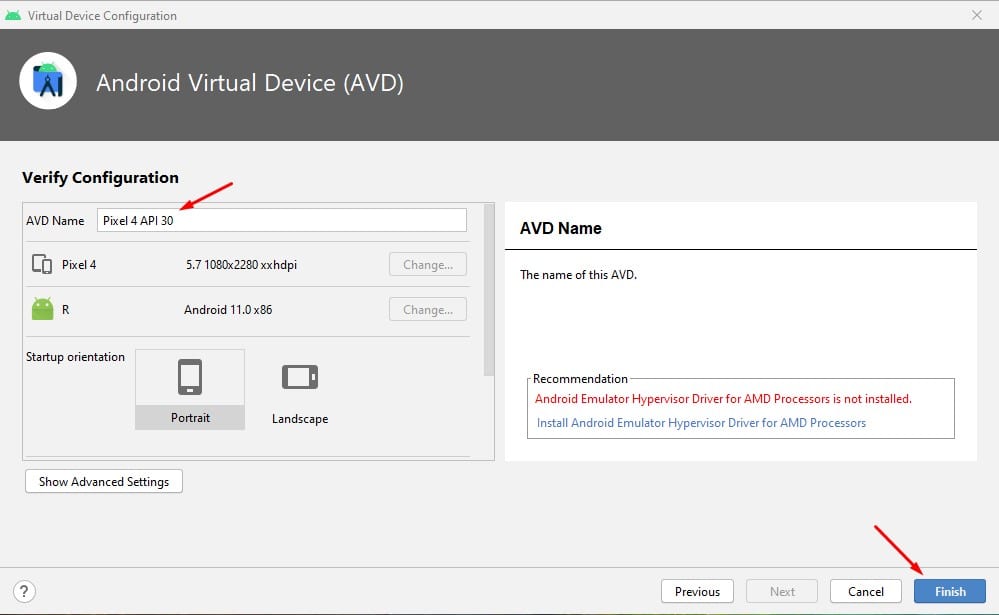
18. Name the new virtual device, and click on the ‘Finish‘ button.
19. On the Android Virtual Device Manager, click on the green play button under the ‘Actions’ to launch the virtual device.
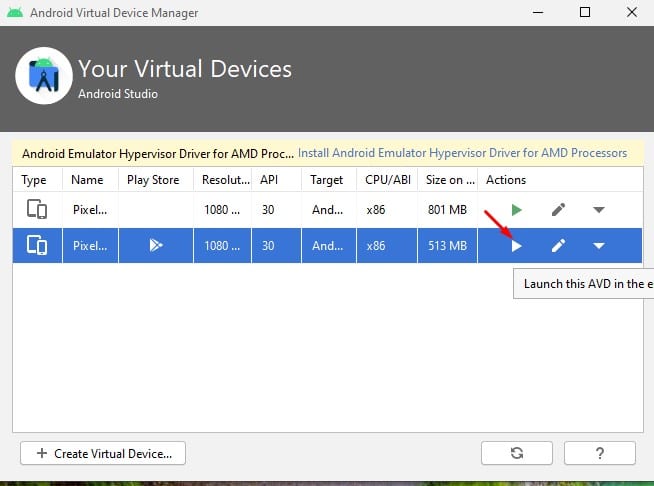
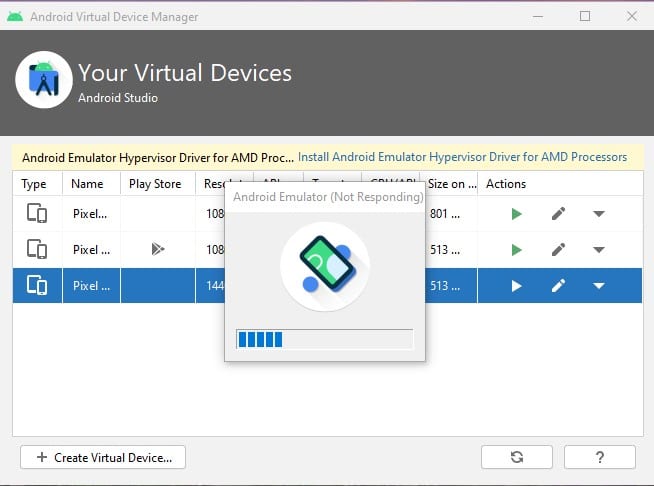
20. Depending on your computer specification, the virtual device will take a while to start. If you have a high-end pc, it will take only a few seconds to start.
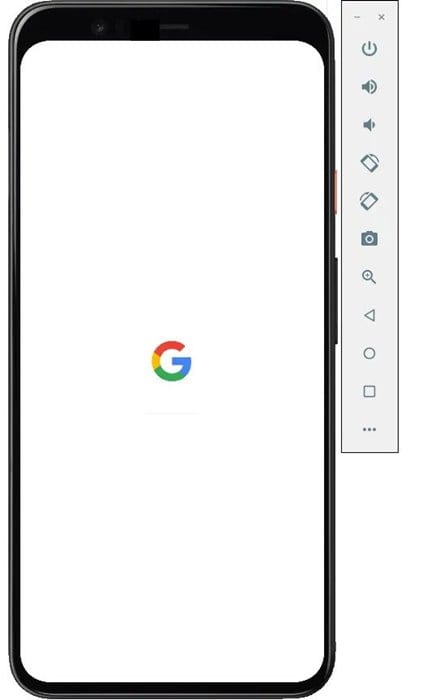
21. You can now use the full-fledged Pixel smartphone running on Android on your Windows 10 computer.
22. To launch the Virtual device directly, launch Android Studio and click on the Gear icon. From the list of options, select ‘AVD Manager.’
23. On the virtual device page, click on the green ‘Play‘ button under the Actions to launch the virtual phone.

That’s it! You are done. This is how you can install Android 11 on Windows 10 operating system.
So, this article is all about how to install Android 11 on Windows 10 computers. I hope this article helped you! Please share it with your friends also. If you have any doubts about this, let us know in the comment box below.

