It’s of no doubt that Android is right now the most used mobile operating system. Compared to every other mobile OS, Android provides users far more features and customization options. What’s important is that Android allows users to flash custom ROM. Flashing custom ROM could be a simple process if you know how to do it.
One of the great advantages of having an Android-powered device is that you can easily use skins of other smartphone manufacturers. For example, Huawei has EMUI, Xiaomi has MIUI, etc. You can enjoy these ROMs on your Android. However, the technique to flash custom ROM is a little bit tricky, and it comes with its own sets of drawbacks.
What Is Odin?

If you are an advanced Android user and have some knowledge about rooting and flashing, etc., then you might already know about Odin. Odin is a firmware flashing software that was developed by Samsung. It’s designed for developers to fix smartphones that were bricked during the rooting process. Apart from that, Odin is also used to flash the firmware.
Odin is only meant for Samsung devices, and it supports almost all old and new Samsung devices. Previously, Odin was only available for Windows operating system, but now it had been available for Mac users also.
So, in this article, we are going to share a working method to download & install Odin on MacOS. The below guide will help you to install Odin on the Mac computer.
Odin For MacOS:

Before reading the guide, please keep in mind that the software which we will provide below is not an official one. It’s a port from the Windows Version that was done by a senior XDA Developer. Also, you need to make sure that your device meets the given requirements to install Odin on MacOS.
Requirements:
- Latest Version of macOS
- Samsung drivers (Phone Drivers)
- Uninstall Samsung Kies From Mac
- Latest Version of Java
Install Odin In MAC:
In this section, we are going to share a working method to download & install ODIN in MAC Computer. Follow some of the simple steps given below to download & install Odin in MacOS 2019.
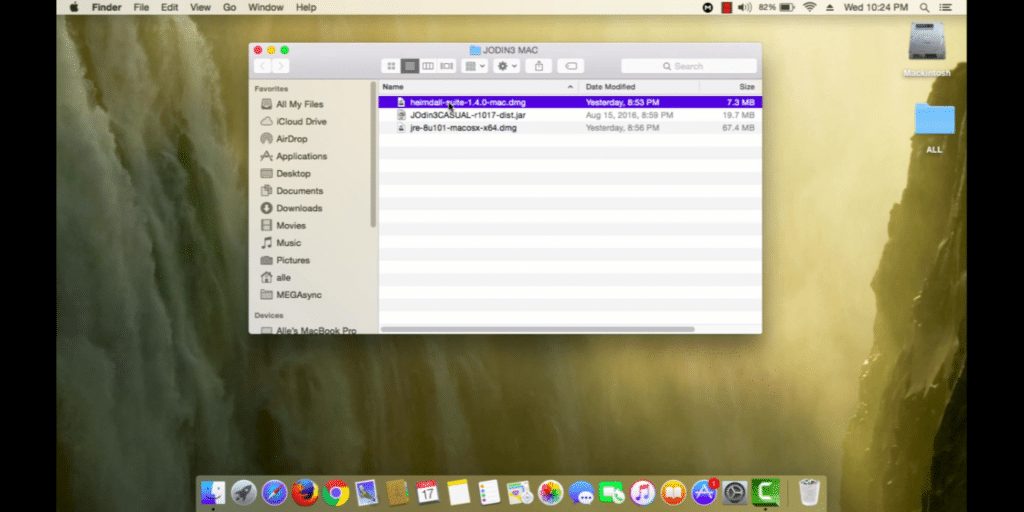
Step 1. First of all, download the Odin for the MAC file from here.
Step 2. Next, unzip the file and move it to the new directory.
Step 3. From the extracted files, double click on the Odin to launch the software.
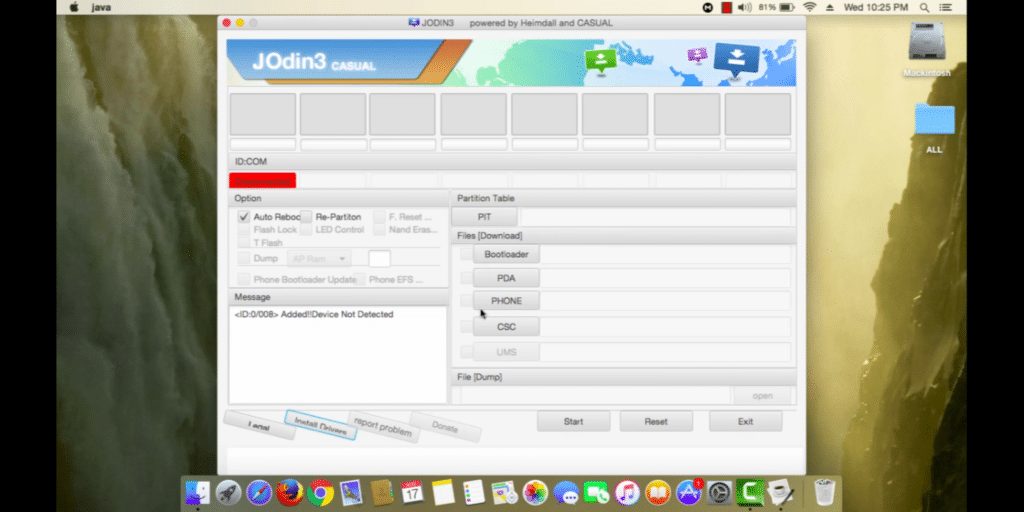
Step 4. Now you just need to wait for few minutes until Odin download and install all required libraries.
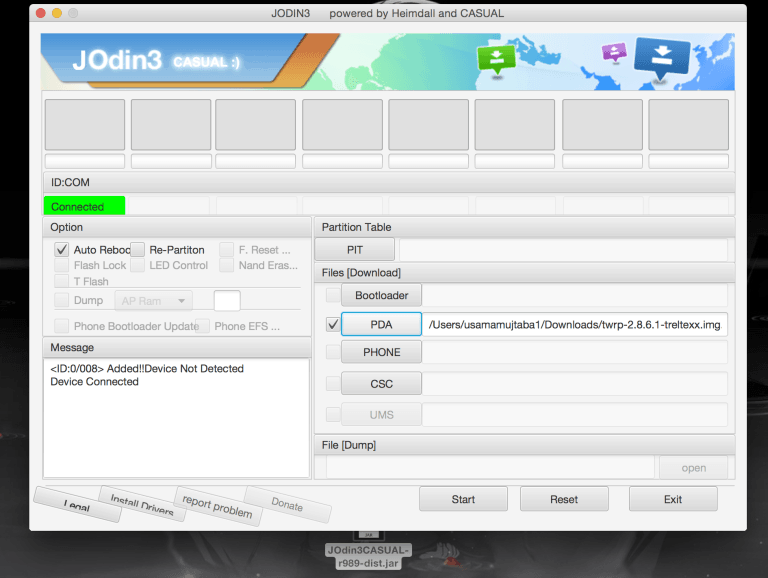
That’s it, you are done! After the installation, you will be able to use the Odin software on your Mac for rooting, flashing, recovery, etc.
So, this guide is all about how to install Odin on MacOS. If you have any other doubts related to this, let us know in the comment box below. If the post helped you, then make sure to share it with your friends also.

