Clearing the recycle bin on Windows 10 is as simple as in the rest of the versions of Windows. To do that, you need to right-click on the recycle bin icon and select the ‘Empty recycle bin’ option.
However, we all know that it is a manual procedure. Hence, today here we will show you all something different. There’s a way to configure Windows so that the recycle bin can get cleared automatically every time you turn off the computer.
In this way, you can avoid ‘leaving traces’ when using the computer. Also, you will be able to save some extra storage space on your computer.
Empty Recycle Bin When Shutting Down Your Windows PC
Therefore, in this article, we will share a detailed guide on empty recycling bin Automatically When Shutting Down Windows 10. So, let’s check out.
1. First of all, go to the desktop, create a new text document. Next, paste the following command: PowerShell.exe -NoProfile -Command Clear-RecycleBin -Confirm:$falseṣ
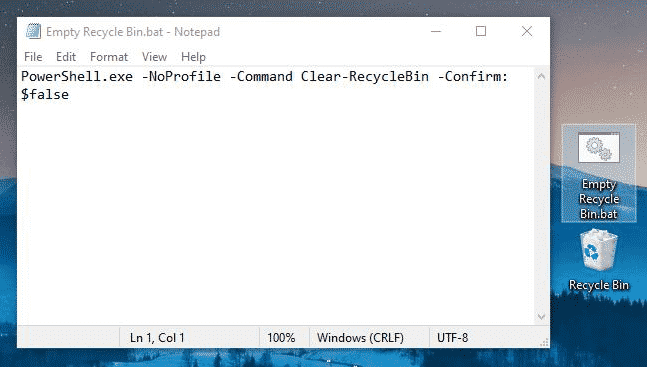
2. Save the file with ‘.bat’ extension. The final result would look like ‘Clear Recycle bin.bat’
3. Whenever you double-click on the ‘.bat’ file, it will automatically clear the recycle bin items.
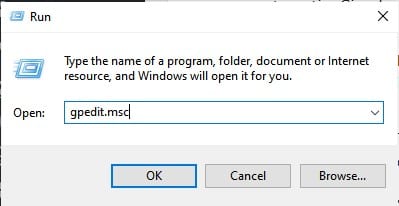
4. You need to make changes to the Local Group Policy Editor to make the process automatic. Search for gpedit.msc on the RUN dialog box.
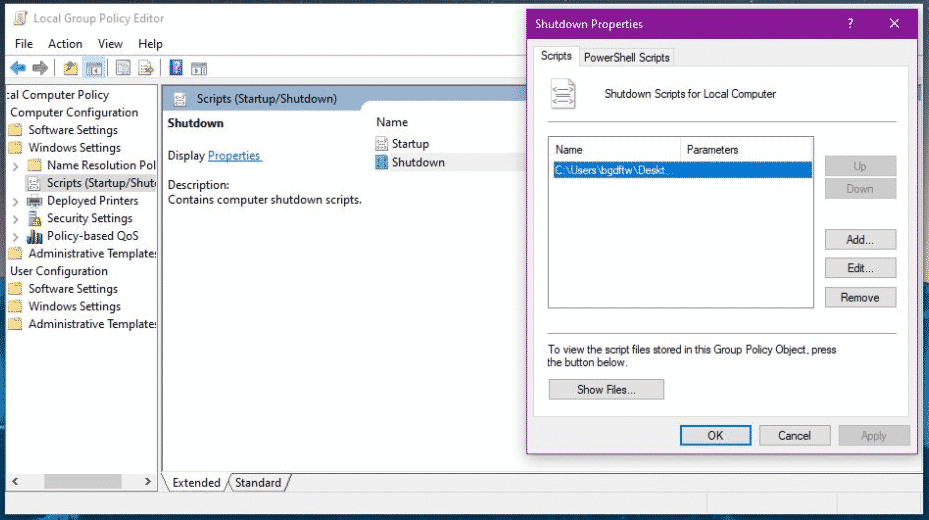
5. After that, navigate to the Computer Configuration > Windows Settings > Scripts > Shutdown.
6. On the Shutdown screen, select Add > Browse and locate the script that you have created earlier.
That’s it; You are done. This is how you can automatically clear the recycle bin when you turn off the computer.
Using Storage Sense to Clear Recycle Bin Automatically
Well, Storage Sense won’t clear the recycle bin on shutdown, but you can schedule it to clear the recycle bin at regular intervals. Here’s how to use Storage Sense to clear Recycle bin automatically every day.
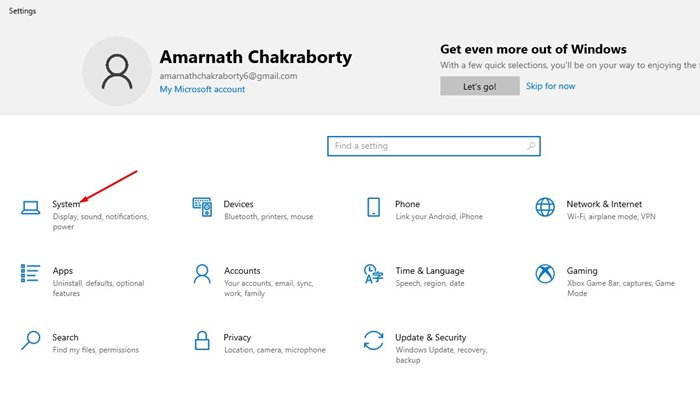
1. First of all, open the Settings app on your Windows 10 computer.

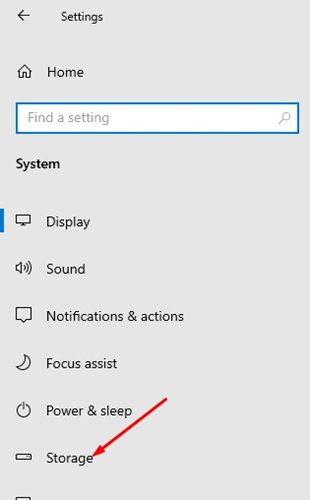
2. On the Settings page, click on the System.
3. Now, on the System Settings, click on the Storage option.
4. On the right pane, enable the Storage Sense option as shown in the screenshot.
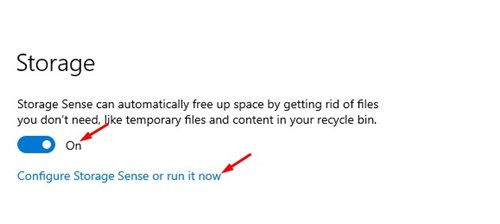
5. Now click on Configure Storage Sense or run it now link.
6. Now scroll down and enable Delete temporary files that my apps aren’t using.
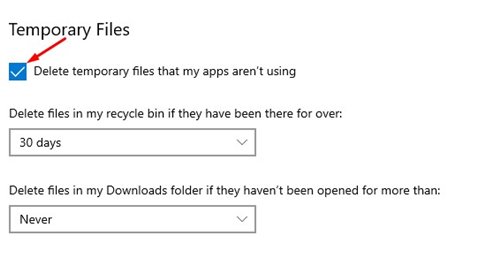
7. Now, under the Delete files in my Recycle bin, you need to select the days you want to Recycle bin to store files.
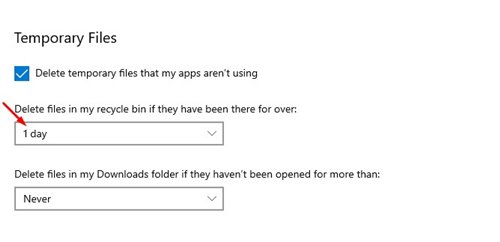
8. If you wish to clear Recycle bin every day, select the 1 Day option.
That’s it! You are done. This is how you can configure Storage Sense to clear recycle bin automatically.
So, this article is all about how to empty the recycle bin when shutting down your Windows PC. I hope this article helped you! Please share it with your friends also.
")


Nice information