If you used Windows 10, you probably know about Cortana, a digital assistant introduced with the operating system as an answer to Apple’s Siri and Google Now.
However, the digital assistant failed to impress the users and was considered a flop. Since it was a flop, Microsoft decided to disable the Cortana on its new Windows 11 operating system.
Windows 11 users may notice that the Cortana icon on the taskbar is no longer there. Although Microsoft dropped Cortana for the new operating system, it hasn’t been completely removed.
You can manually enable Cortana on your Windows 11 operating system if you want. So, if you are looking for ways to enable/disable Cortana on Windows 11, you are reading the right guide.
Enable or Disable Cortana in Windows 11
In this article, we will share a step-by-step guide on enabling or disabling Cortana on Windows 11. Let’s check out.
1. Enable Cortana in Windows 11
Well, Cortana is disabled by default in Windows 11. If you want to enable it on your system, you need to follow some simple steps shared below. Here’s how to enable Cortana in Windows 11.
1. First of all, click on the Windows 11 search and type in Cortana.
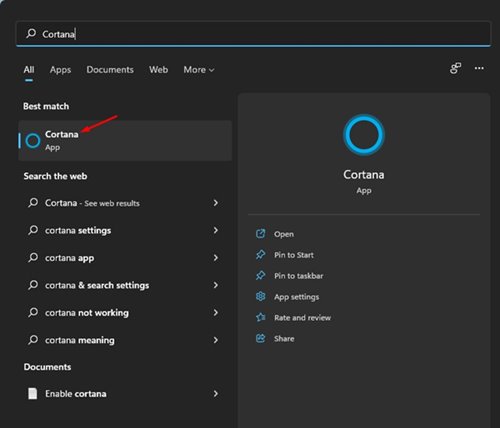
2. Open the Cortana app from the list.
3. Now, you will be asked to log in with your Microsoft Account. Enter your account details and click on the Accept and Continue button.
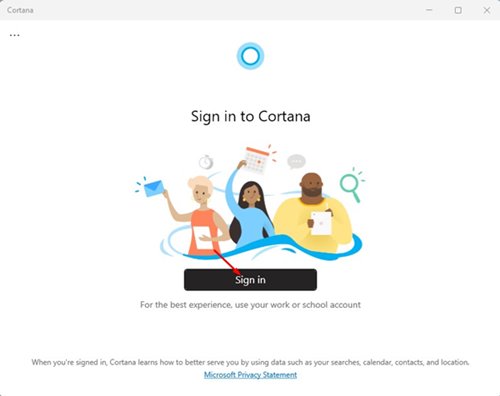
That’s it! Once you log in with your Microsoft Account, the Cortana app will launch.
2. Enable Cortana Via Task Manager
In this method, we will utilize the Task Manager to enable Cortana. Here are some of the simple steps you need to follow.
1. First of all, press the CTRL+SHIFT+ESC key on your keyboard to open the Task Manager.
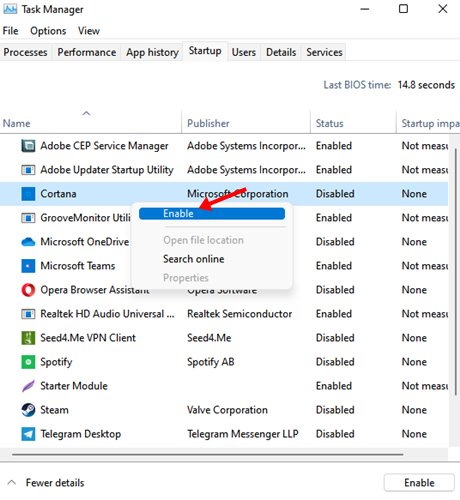
2. On the Task Manager, click on the Startup tab.

3. You will find the Cortana application on the Startup tab. Right-click on it and select ‘Enable‘
That’s it! You are done. This will enable Cortana on your Windows 11 operating system.
How To Disable Cortana
If you wish to Disable Cortana after enabling it, you need to use the Windows Registry. Here’s what you need to do in the Registry Editor to disable Microsoft Cortana on Windows 11.
1. First of all, press the Windows + R button on your keyboard to open the RUN dialog box. On the RUN Dialog box, enter Regedit and hit the Enter button.
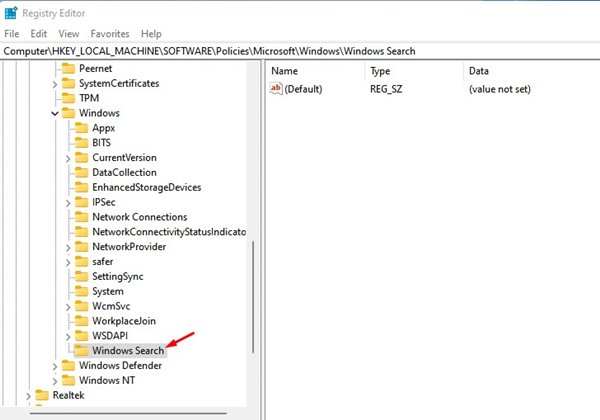
2. On the Windows Registry, navigate to the path:
Computer\HKEY_LOCAL_MACHINE\SOFTWARE\Policies\Microsoft\Windows
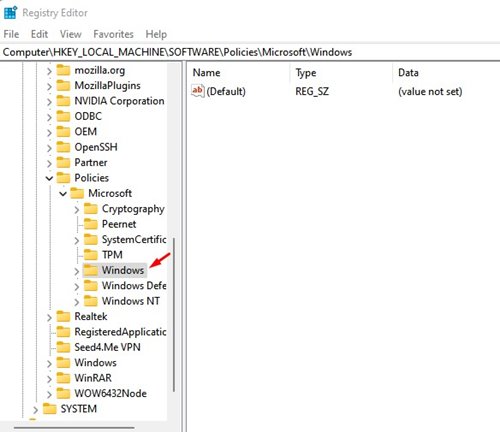
3. Now, Right-click on the Windows folder and select New > Key.
4. Name the new key ‘Windows Search’
5. Right-click on the Windows Search and select New > DWORD (32-bit).
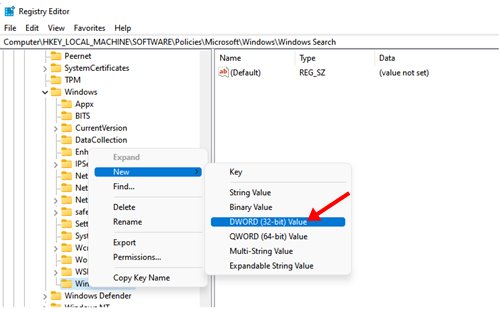
6. Now name the new DWORD (32-bit) file as AllowCortana.
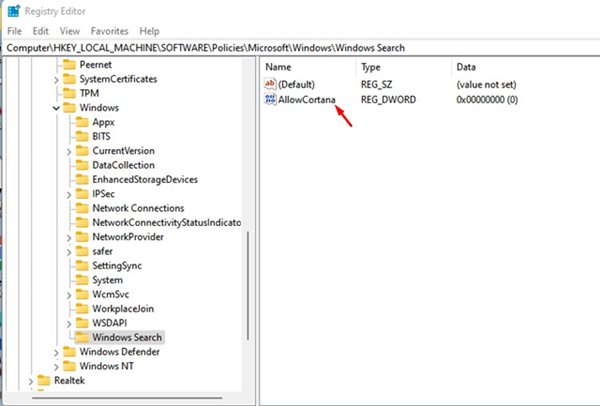
7. Double click on the AllowCortana and set its Value data to 0. Once done, click on the ‘Ok’ button and restart your PC.
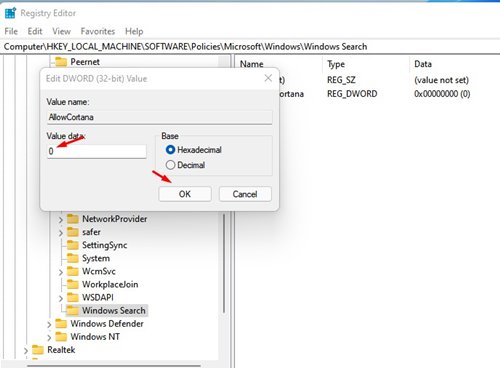
That’s it! You are done. This will disable Cortana on your system completely.
You can use the methods listed above to enable or disable Cortana in all-new Windows 11. However, one can’t overlook the privacy issue associated with the usage of Virtual or Digital assistant apps. If you have any doubts about this, let us know in the comment box below.


