Windows delivers far more customization options than any other desktop operating system. The latest Windows 11 ships with a new design and provides users with more features and customization options than its predecessor.
Apart from customizing the touch keyboard, Windows 11 allows you to customize your mouse experience in easy steps. You can open the Mouse settings page on Windows 11 to change the primary mouse button, mouse point speed, mouse pointer style, etc.
While exploring the mouse options on Windows 11, we recently found another best and most useful feature called ClickLock. Hence, in this article, we will discuss ClickLock and how you can enable or disable it on your Windows 11 device. Let’s get started.
What is Mouse ClickLock in Windows 11?
Mouse ClickLock is not a new feature; it’s also available on older versions of Windows such as Windows 7, Windows 8, and Windows 10.
ClickLock is a very simple feature that allows users to lock down the primary mouse button after a single click. In simple words, the feature lets you select or move items without holding down the primary mouse button.
You can enable this feature if you want to drag objects, select texts, or open menus without holding down the primary mouse button. You need to press the primary mouse button once to release the hold.
Steps to Enable Mouse ClickLock in Windows 11
Now that you know what ClickLock is and what it does, it’s time to know how to enable the feature on the new Windows 11 operating system. Here’s how you can enable Mouse ClickLock in Windows 11.
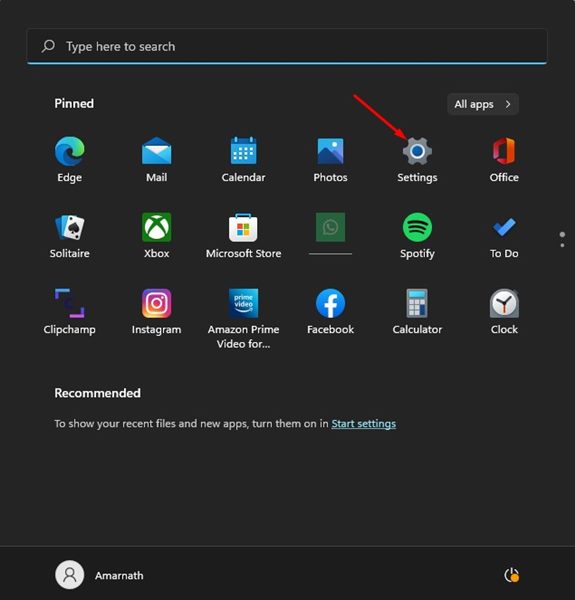
1. First of all, click on the Windows 11 Start button and select Settings.
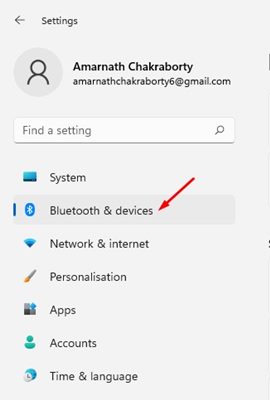
2. On the Settings app, click on the Bluetooth & devices option on the left pane.
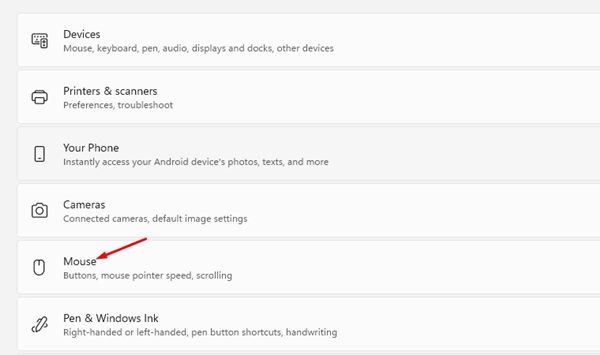
3. On the Right pane, scroll down and click on the Mouse.
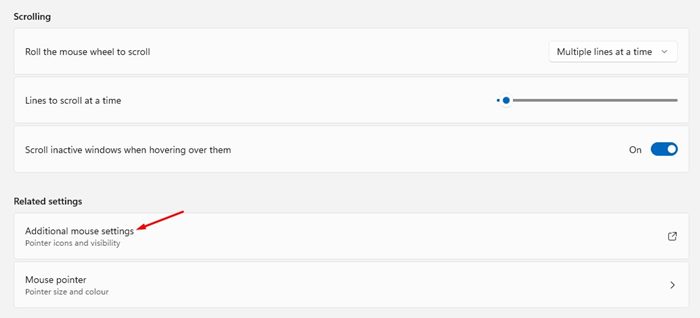
4. On the Mouse Settings page, scroll down and select the Additional mouse settings option.
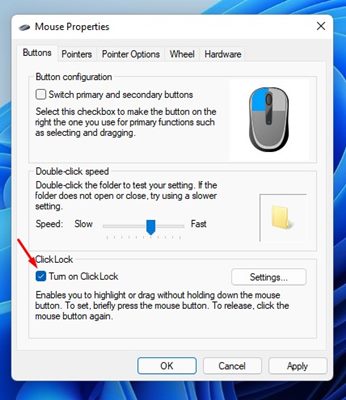
5. This will open the Mouse Properties Window. You need to check the ‘Turn on ClickLock’ to enable the feature.
After enabling the feature, briefly press the primary mouse button to lock on an item. To release the lock from an item, click on the Primary mouse button once. You will now be able to drag the item anywhere without pressing any mouse button.
6. If you wish to disable the feature, uncheck the Turn on ClickLock option.
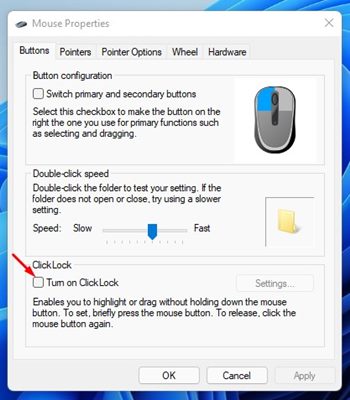
7. To apply the changes, click on the Apply button and then on Ok.
That’s it! You are done. This is how you can enable or Disable Mouse ClickLock in Windows 11.
How to Customize the ClickLock Settings?
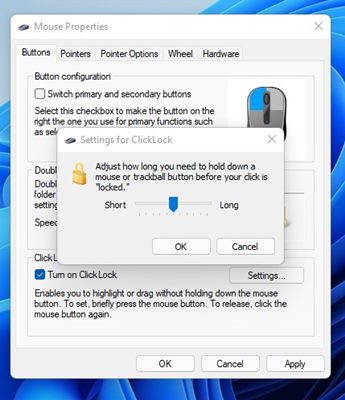
Windows 11 allows you to adjust how long you need to hold down a mouse before your click is locked. Here’s how to adjust that setting.
1. First of all, open Settings > Bluetooth & Devices > Mouse.
2. On the next page, scroll down and click on the Additional Mouse Settings option.
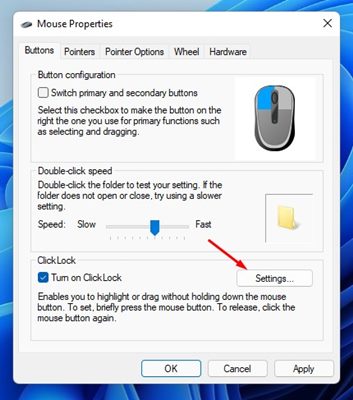
3. On the Mouse Properties Window, click on the Settings button beside Turn on ClickLock.
4. On the Settings for ClickLock, adjust the duration for the ClickLock and click on the Ok button.
That’s it! You are done. This is how you can customize the ClickLock functionality on your Windows 11 PC.
So, that’s all about enabling or disabling the ClickLock feature of Windows 11. The feature could be convenient for those who have difficulties operating a mouse. This will also improve the productivity level of users who often drag items or move things around.


