Windows 11 automatically installs the latest version of device drivers during Windows updates, but sometimes it can fail. If the audio drivers are not installed during system updates, you will face many issues. Here are some of the best ways to install audio drivers in Windows 11.
1. Install Sound Driver via Windows Update
If the driver installation fails during the system update, here’s how you can force Windows update again.
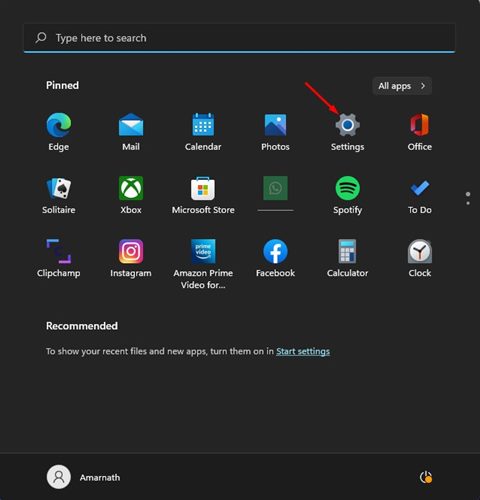
1. Click the Windows 11 start button and select Settings.
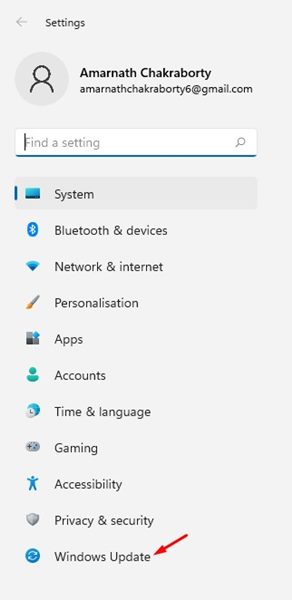
2. Click Windows Update.
3. Click Check for updates.

Windows 11 will search for all the much-needed drivers for your PC and install them.
2. Update the Audio Driver from the Device Manager
Device Manager can be used to manually update or install the audio drivers.
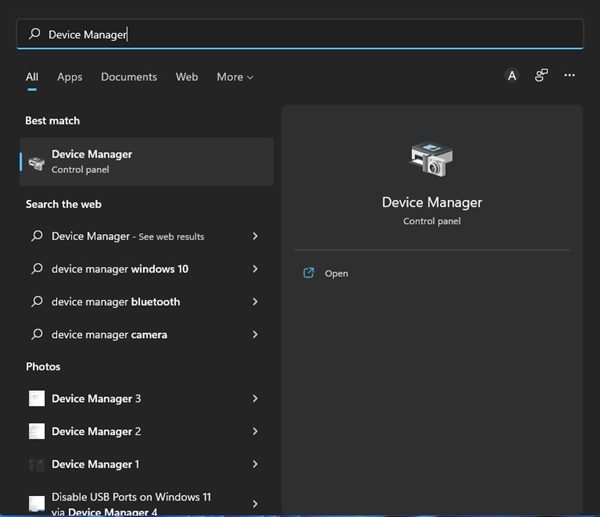
1. Open Device Manager from the Windows Search.
2. Expand the Sound, Video, and Game Controllers.

3. Right-click on the Audio driver and select Uninstall Device.
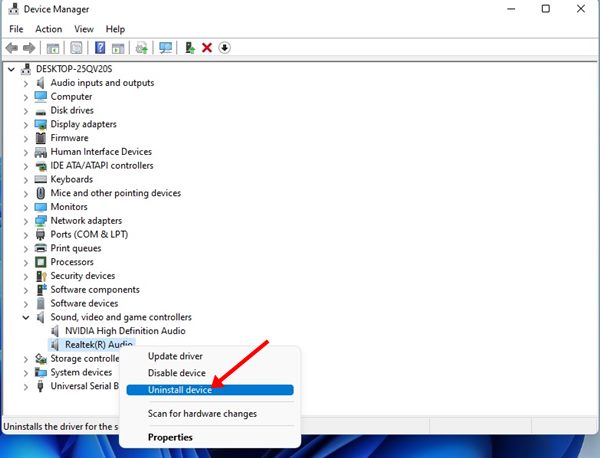
4. The audio driver will be uninstalled. Once uninstalled, restart your computer to install the driver again.
3. Manually install the Sound driver on Windows 11
If Windows updates can’t install the required sound driver, you should manually install it from the official website.
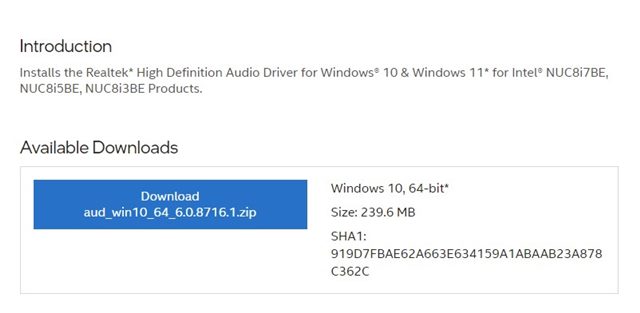
- Open your favorite web browser and visit your PC’s manufacturer’s website.
- Type in your PC/Laptop’s model number.
- You will see a list of all available audio drivers.
- Click on the Download button to download the audio driver.
- Double-click on the executable file that you have downloaded and install the app.
The steps might vary slightly depending on your PC’s manufacturer.
4. Run the Audio Troubleshooter
You can run the audio troubleshooter to find and fix driver-related issues. If it detects any problem related to the audio, it will attempt to fix it by installing the latest audio driver.
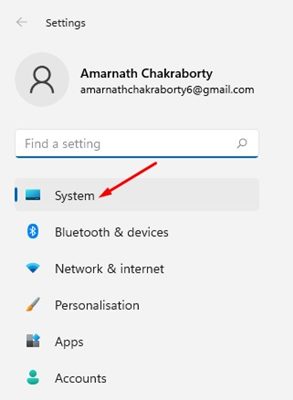
1. Click on the Windows 11 Start menu and select Settings.
2. Click the System tab.
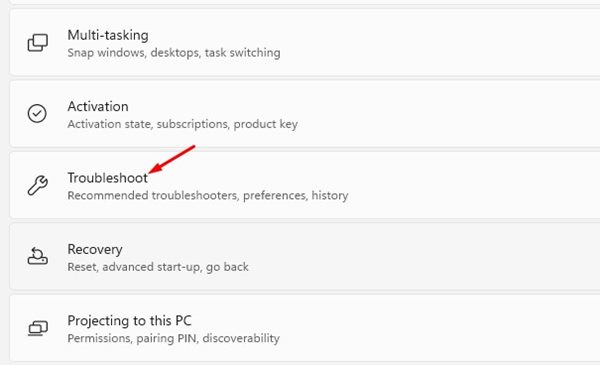
3. Click Troubleshoot.
4. Click on the Other trouble-shooters.
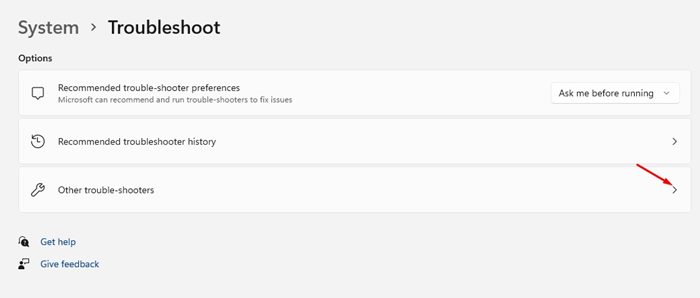
5. Click the Run button behind the Playing Audio on the next screen.
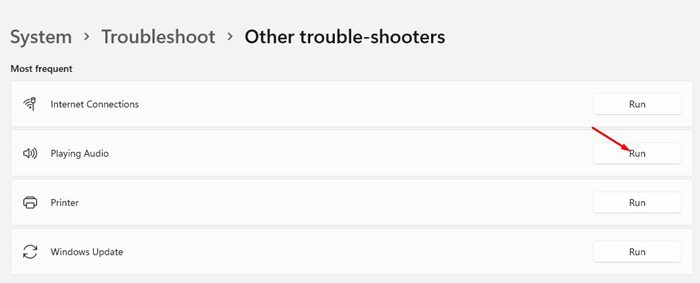
The Audio Troubleshooter will try to fix the audio problems by installing the latest sound drivers. To complete the troubleshooting process, follow the on-screen instructions.
5. Download and install the Audio Driver using Driver Updater
The role of driver updater programs is to find all outdated device drivers, download the latest version & install it on your computer.
Most of the driver updaters for Windows 11 are free to download; you can use any of them to update your audio drivers. Driver update programs like Driver Booster, Driver Genius, etc., can easily find and install the latest audio drivers on your computer.
If you don’t know which driver updater to install, check our guide – Best driver updating tools for Windows.
These are the best ways to install the Audio/Sound driver in Windows 11. If you are experiencing sound-related problems while using your PC, you should first update or install the audio driver.


