The new desktop operating system from Microsoft – Windows 11, is still being tested. Ever since it was launched, Microsoft has been making constant changes to the operating system to improve its performance & functionality.
Now, Microsoft is found testing a new and exciting feature on Windows 11 that would change how you switch between all opened windows. Microsoft is testing a new tabbed UI in the File Explorer of Windows 11.
Tabs For File Explorer on Windows 11
Microsoft has already enabled the tabs in File Explorer on Windows 11, making it easier for users to manage open tabs. However, the tabbed UI of Windows 11’s File Manager is kept hidden from the users.
So, if you are interested in enabling the tabbed UI in the File Explorer of Windows 11, you are reading the right guide. In this article, we will share a step-by-step guide on enabling tabs in Windows 11 File Explorer. Let’s check out.
Important: You can only enable Windows 11’s file explorer tabs if you have joined the Dev Channel. The feature is only available on the latest Windows 11 build 22572, released on March 9, 2022.
Steps to Enable Tabs in Windows 11 File Explorer
So, follow this method only if your system runs on the latest Windows 11 build 22572 in the Dev Channel. If you want to join the Dev channel, follow this guide – How to Join the Windows Insider Program.
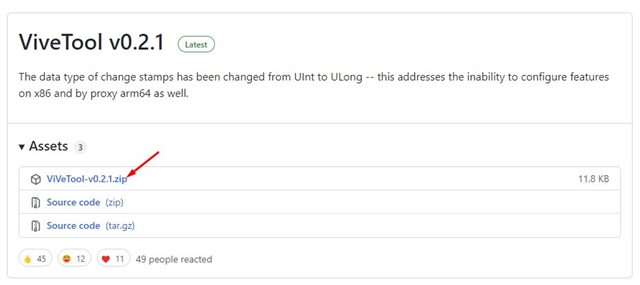
1. First of all, open your favorite web browser on Windows 11 and open this webpage. On the webpage, you need to download the latest ViVeTool ZIP file.
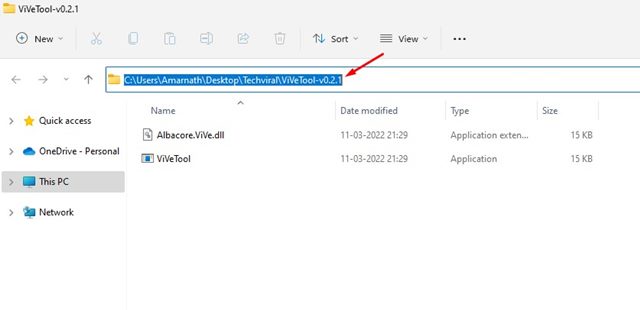
2. Once downloaded, you need to right-click on the ZIP file and select the Extract all option. Once extracted, right-click on the extracted folder and select the Copy as a Path option. Or else, you can copy the path displayed on the address bar.
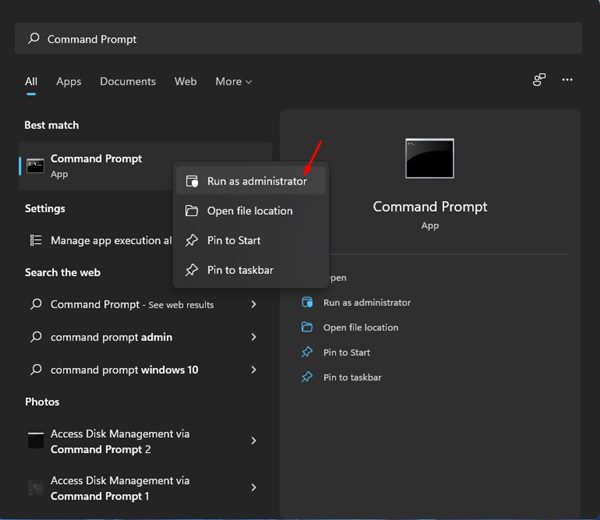
3. Now open Windows 11 search and type in Command Prompt. Now right-click on the Command Prompt and select Run as administrator.
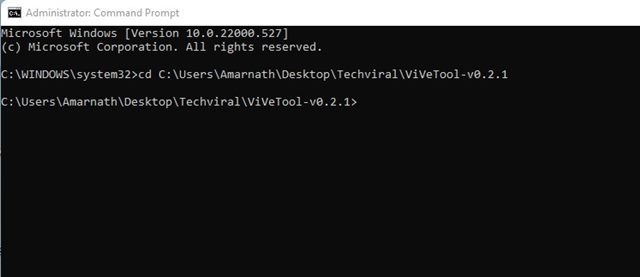
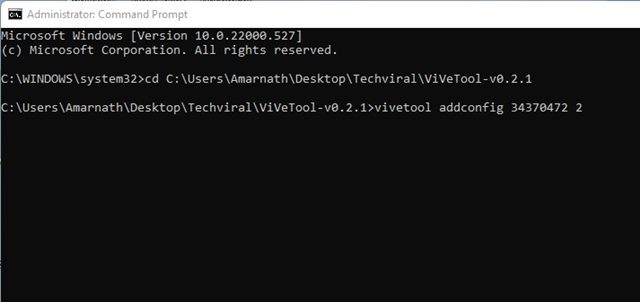
4. On the command prompt, type in cd followed by the path you copied in step 2. The full command would look like
cd "C:\Users\Techviral\Downloads\ViVeTool-v0.2.1"
5. Once done, you need to execute another command:
vivetool addconfig 34370472 2

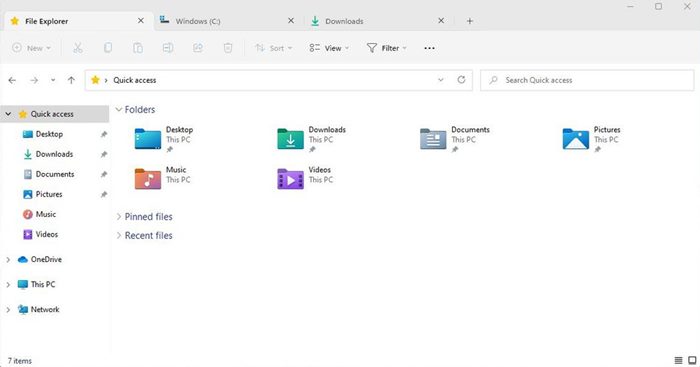
That’s it! You are done. Now restart your Windows 11 PC and open File Explorer. You will see the tabbed UI in the file explorer.
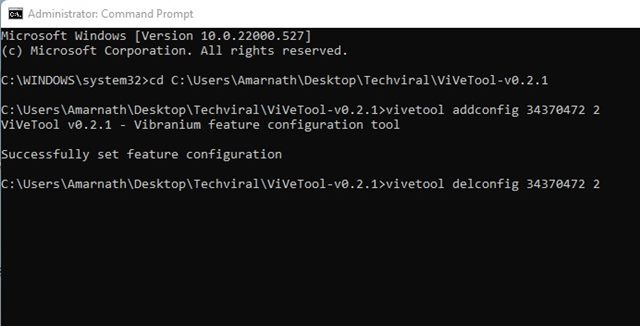
If you wish to revert the changes, you need to open CMD with administrative rights and execute the command:
vivetool delconfig 34370472 2
After executing the command, you need to restart your Windows 11 computer. This will remove the tabbed UI on the Windows 11 File Explorer.
The tabbed UI is available on the Dev Channel, and it’s still under testing. Therefore, you may experience some bugs while using the tabs in File Explorer. I hope this article helped you! Please share it with your friends also. If you have any doubts related to this, let us know in the comment box below.