On Windows 11, there are several ways to open the Disk Management utility. So, if you want to manage the drive partitions, format a partition, etc, here’s how you should access the Disk Management Utility.
1. Access Disk Management from Windows 11 search
You can search for Disk Management on the Windows 11 Search to have access to it instantly.
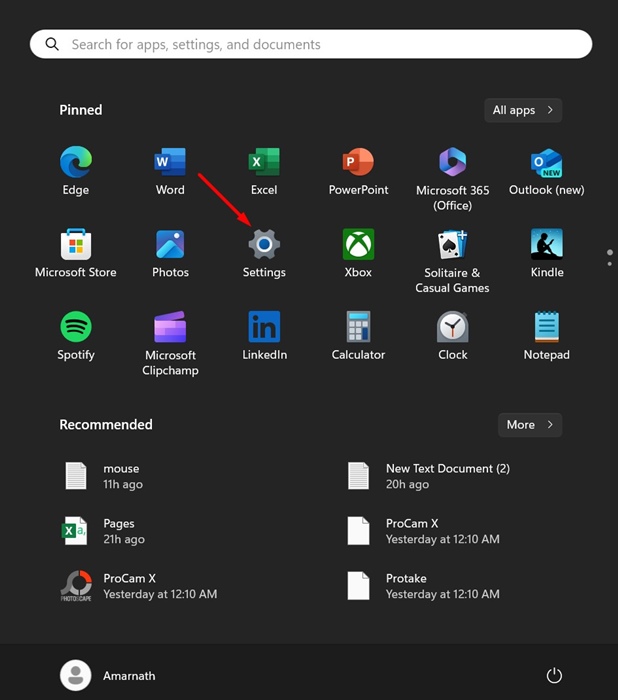
1. Click on the Windows 11 search and type in Disk Management.
2. Click on the Create and Format hard disk partitions.
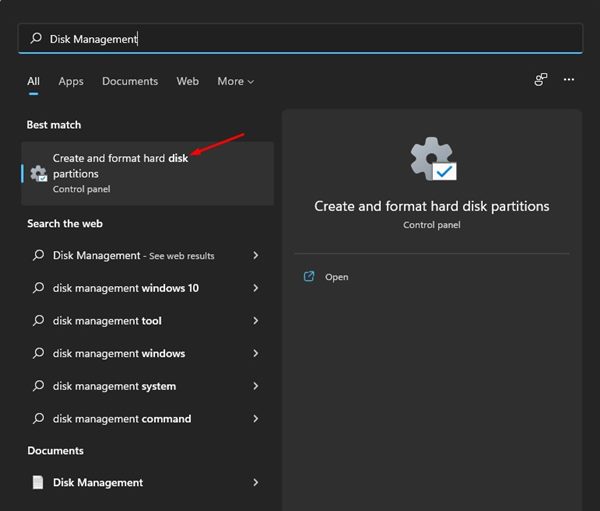
3. This will open the Disk Management tool on Windows 11.
2. Using the Windows 11 Power Menu
Windows 11 includes a secondary Start menu known as the Power Menu. You can use the Power Menu to access the Disk Management utility directly. To access the Power Menu in Windows 11, press the Windows Key + X button.
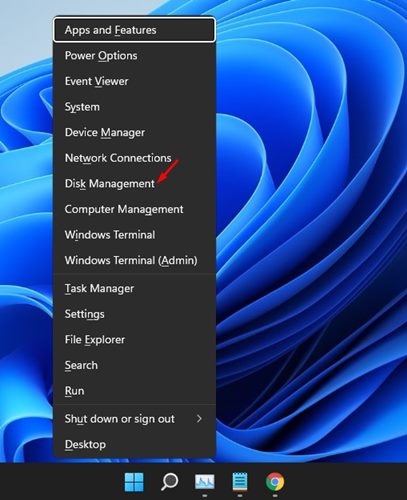
Alternatively, you can right-click the Windows 11 Start button to open the Power Menu. Click on Disk Management on the Power Menu to open the tool.
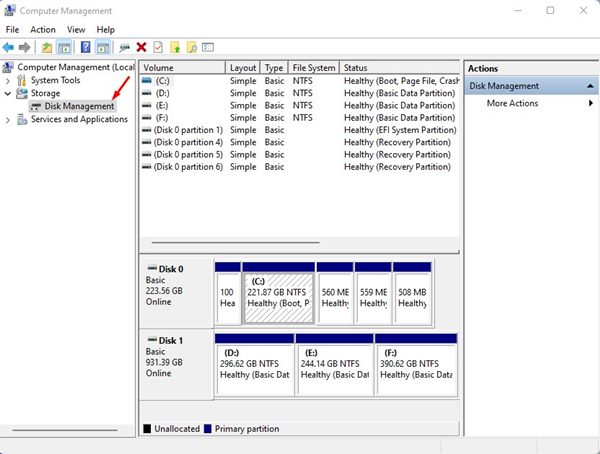
3. Access Disk Management via the Computer Management Menu
Another easy way to access Disk Management is through the Computer Management tool.
1. Open the Computer Management app from the Windows 11 Search.
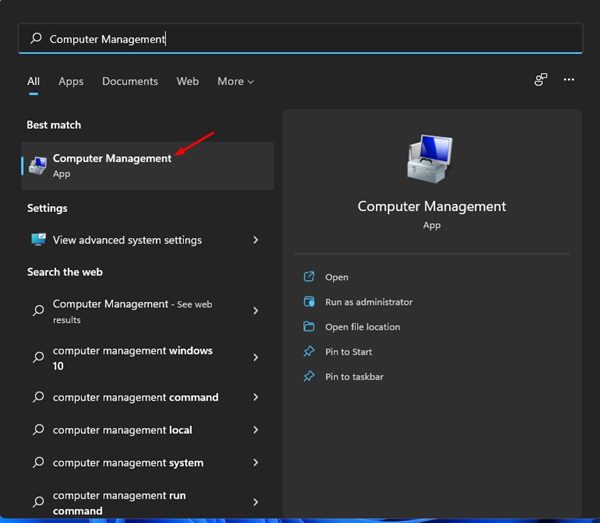
2. Expand the Storage section and click Disk Management.
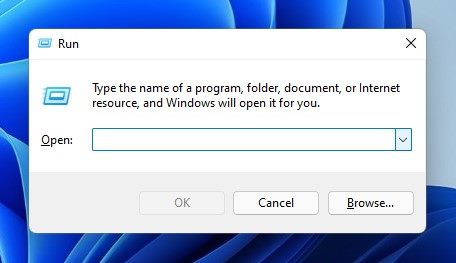
4. Access Disk Management via the RUN command
You can directly open the Disk Management utility from the RUN dialog box. Here’s what you should do.
1. Press the Windows Key + R button to open the RUN dialog box.
2. On the RUN dialog box, type in diskmgmt.msc and hit the Enter button.
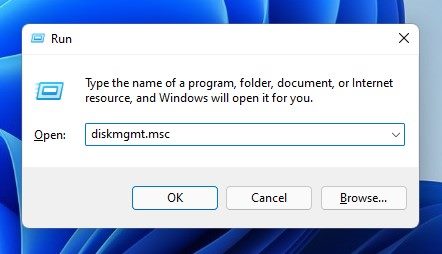
3. This will open the Disk Management utility on Windows 11.
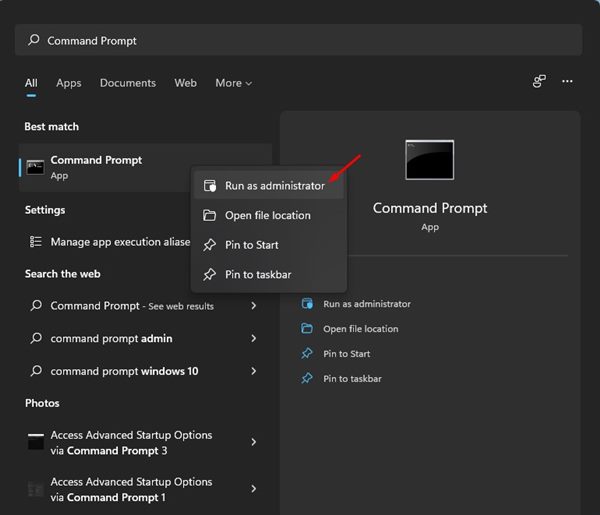
5. Access Disk Management via Command Prompt
You can use the Command Prompt utility to access the Disk Management tool.
1. Open the Windows 11 search and type in Command Prompt. Right-click on the Command Prompt and select Run as administrator.
2. Enter diskmgmt.msc and press Enter.

6. Create & open Disk Management from the Desktop
If you want quicker access to the Disk Management utility, you should create a shortcut file for it and place it on the desktop.
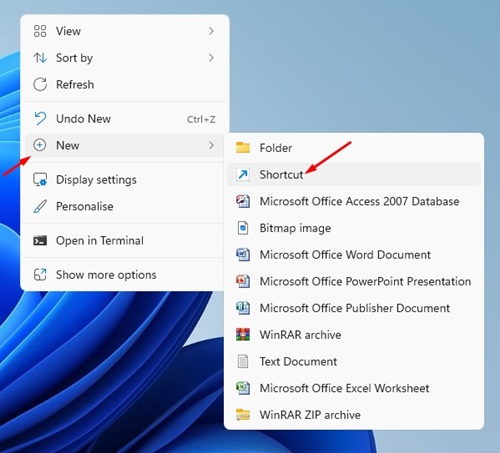
1. Right-click on a blank space on your desktop and select New > Shortcut.
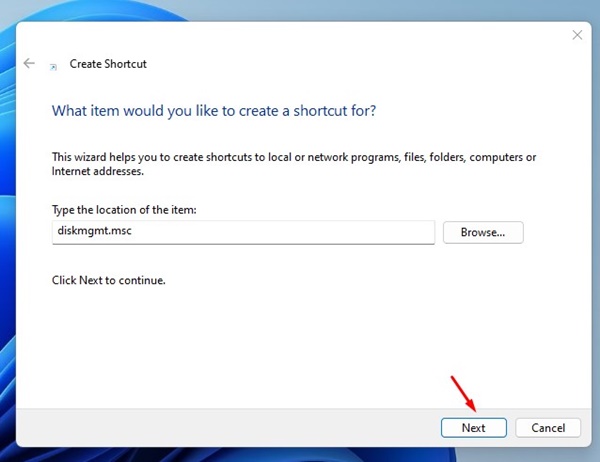
2. In the Type the location of the item field, enter diskmgmt.msc and click Next.
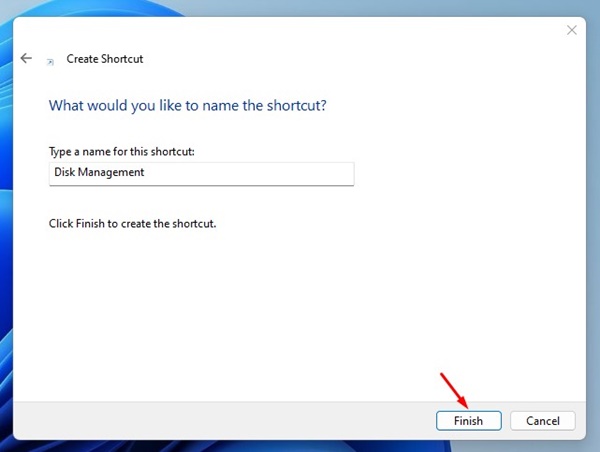
3. On the type a name for the shortcut prompt, name the shortcut anything you want, such as Disk Management, and click Finish.
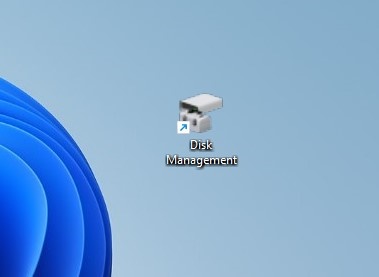
4. The shortcut will be added to your desktop screen. Whenever you want to access the Disk Management tool, double-click on the shortcut you’ve created.
7. Open Disk Management From Settings
Another great way to open Disk Manager on Windows 11 is from the Settings app.
1. Click on the Windows 11 Start button and select Settings.
2. Type Disk Management in the Search Field.
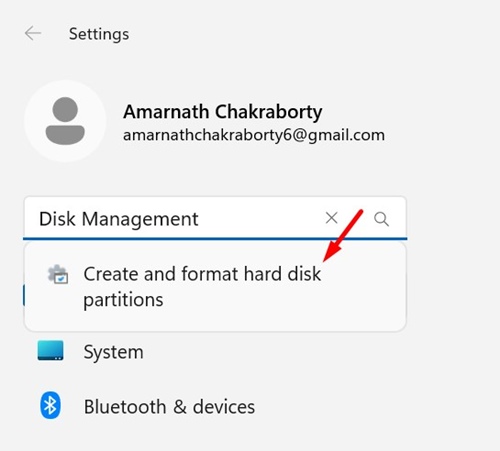
3. Select Create and format hard disk partitions.
This will open the Disk Management utility on your Windows 11 PC.
There are various ways to access the Disk Management utility on Windows 11. If you have any doubts, let us know in the comment box below.


