Those who have used older versions of Windows, such as Windows XP, Windows 7, or Windows 8, are likely to be very familiar with the Windows Photo Viewer application. Windows Photo Viewer used to be fast, and it supported almost all major image file formats. However, things have changed after the arrival of Windows 10/11.
Microsoft replaced the classic Photo Viewer application on Windows 10 and introduced a new ‘Photos’ app with a new design. The new Photos app has all features and looks good, but it has a major drawback. Compared to the older version of Photo Viewer, the new Photos app is slow and can only handle a few image file formats.
This is the only reason Windows 10 and Windows 11 users often look for ways to get back the old classic Windows Photo viewer on their devices. So, if you are also unsatisfied with the new Photos app and looking for ways to enable the old classic Photo Viewer app in Windows 11, you are reading the right guide.
How to Enable Windows Photo Viewer in Windows 11
In this article, we will list down some of the simple steps to enable Windows Photo Viewer in Windows 11. Here are some of the simple steps you need to follow. Let’s get started.
Using Winaero Tweaker
Winaero Tweaker is a Windows customization tool that’s available for Windows 7, 8, 10 & 11 operating systems. It’s a lightweight application that lets you customize the appearance and behavior of the operating system. You can use it on your Windows 11 to Enable Windows Photo Viewer. Here are some of the simple steps you need to follow.
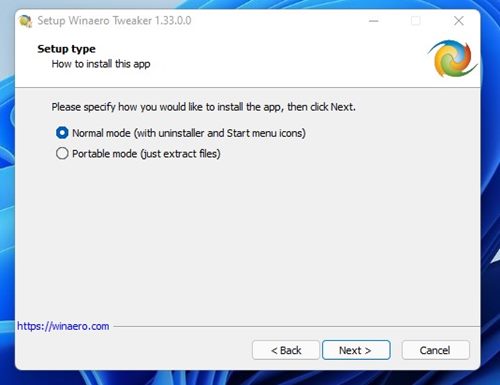
1. First of all, download & install Winaero Tweaker on your Windows 11 computer.
2. Once installed, open the Winaero Tweaker app on your device and click on the ‘I Agree’ button to continue.
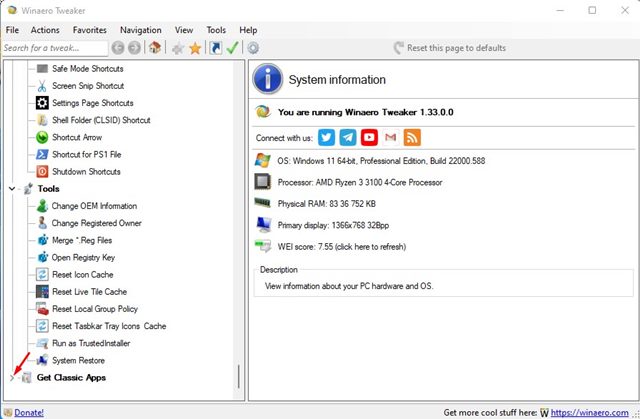
3. On the left pane, expand the Get Classic Apps section as shown below.
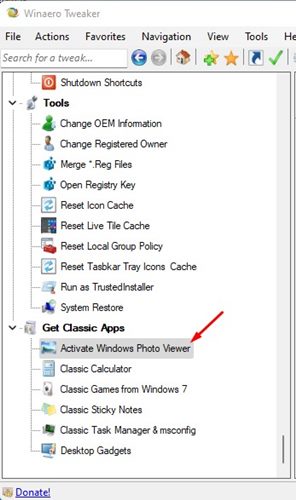
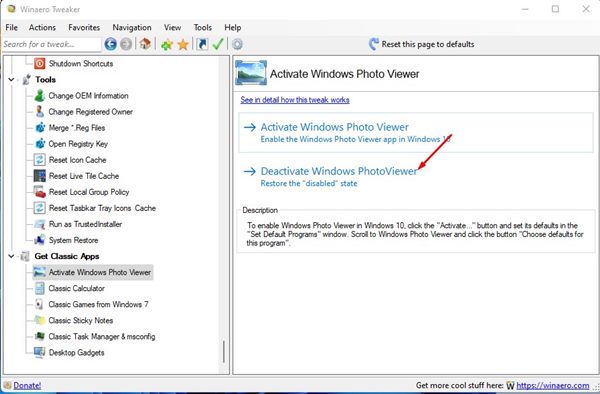
4. Next, click on the Activate Windows Photo Viewer option, as shown in the screenshot below.
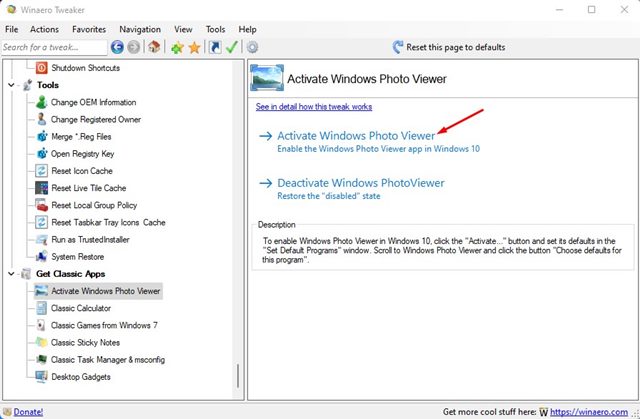
5. On the right pane, click on the Activate Windows Photo Viewer.
6. Now, you will see a UAC prompt. Simply, click on the Yes button to activate the classic Windows Photo Viewer.
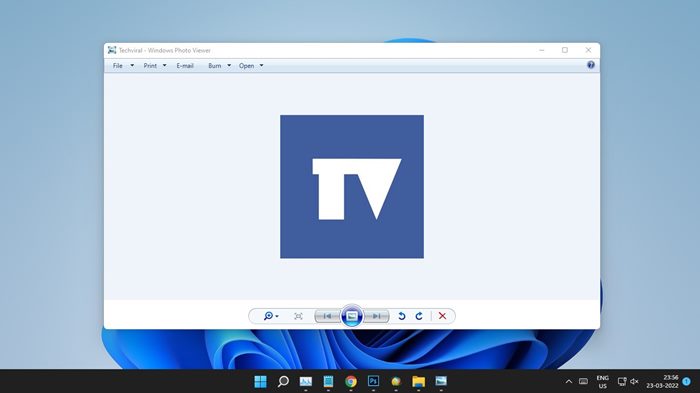
7. Now, right-click on any image and select Open With, and select Windows Photo Viewer from the list.

8. If you wish to disable the Windows Photo Viewer, simply click on the Deactivate Windows PhotoViewer.
That’s it! You are done. This is how you can get back the classic Windows Photo viewer on your Windows 11.
So, this guide is all about how to enable the classic Windows Photo Viewer app on Windows 11. I hope this article helped you! Please share it with your friends also. If you have any doubts related to this, let us know in the comment box.

