If you have enough knowledge about the workings of the internet, you might be well aware of the Domain name system or DNS. But, for those who don’t know, DNS or Domain Name System is a database consisting of different domain names and IP Addresses.
The ultimate role of DNS servers is to look at the IP Address associated with each domain name. For example, when you enter a URL on the web browser, the DNS Servers look for the IP Address associated with the domain name. Later it comments on the web server of the visiting site.
Once matched, the web page is loaded. So, the domain name system plays a vital role in connecting to the website. It decides how fast the DNS will match the URL with the IP Address. So, having the fastest DNS server results in better internet speed.
Until now, we have shared lots of articles on DNS, like how to configure google DNS, best free public DNS servers, etc. Today, we will share a method that would help you identify the fastest DNS server based on your location.
Also Read: How to Change DNS Server On Windows 11
Steps to Find the Fastest DNS Server For Your PC
To find the fastest DNS server for your Windows 10 pc, you need to use the tool Namebench. It’s a free DNS benchmarking tool that would help you find the fastest DNS server for your computer.
1. First of all, download & install Namebench on your Windows 10 pc.
2. Now open the app, and you will see a screen like below.
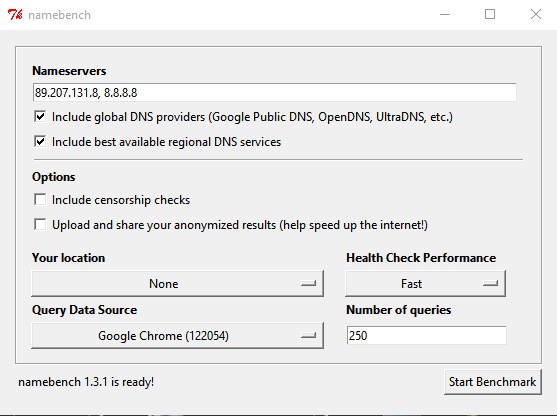
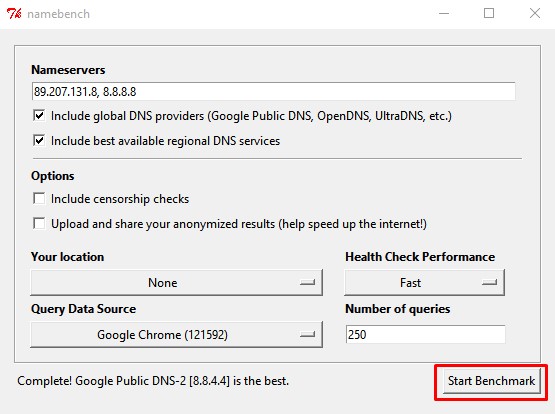
3. You don’t need to change anything. Just click on the ‘Start Benchmark’ option.
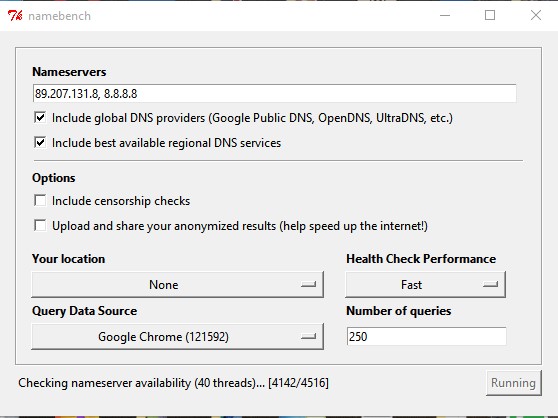
4. Now, wait for a few minutes until the scan completes. It might take 30-40 minutes to complete the scan.
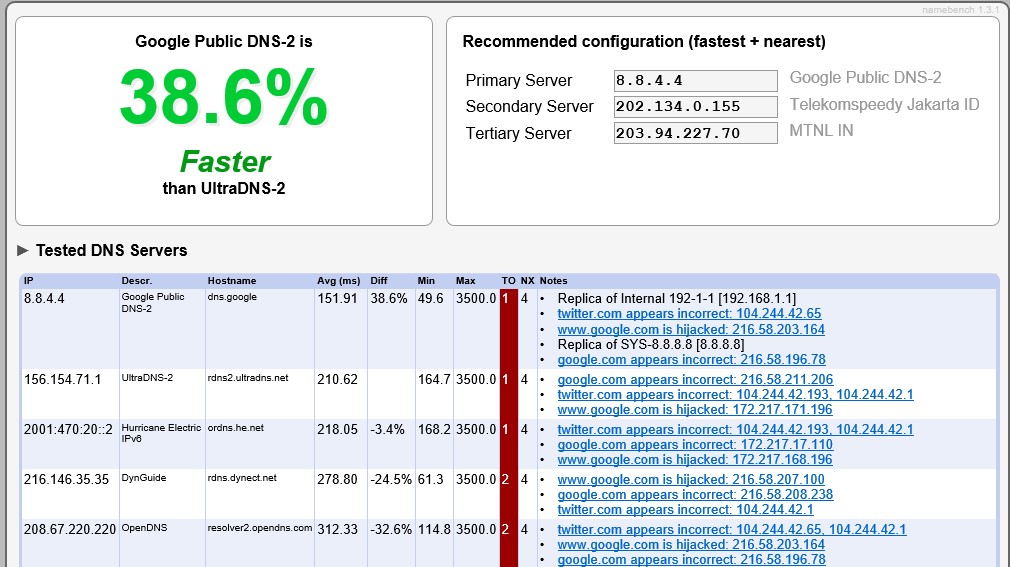
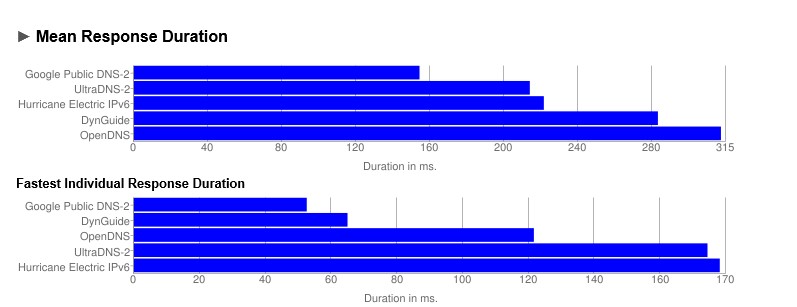
5. Once done, you will see a webpage listing the fastest DNS server.
6. You can set up the fastest DNS server on your PC to enhance the speed. To set up a DNS server, follow this guide – Change Default DNS To Google DNS For Faster Internet
That’s it! You are done. This is how you can find the fastest DNS server for your computer.
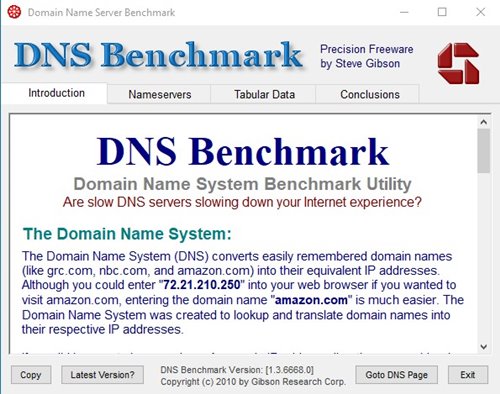
Using GRC Domain Name Speed Benchmark
Well, GRC Domain Name Speed Benchmark is another best Name server benchmark tool that you can use on your Windows 10 computer. The tool provides you with a detailed analysis of your connection’s optimum DNS settings. Here’s how to use the tool.
1. First of all, download the GRC Domain Name Speed Benchmark on your system.
2. It’s a portable tool. Hence, it doesn’t need installation. Just double-click on the executable file to run the application.
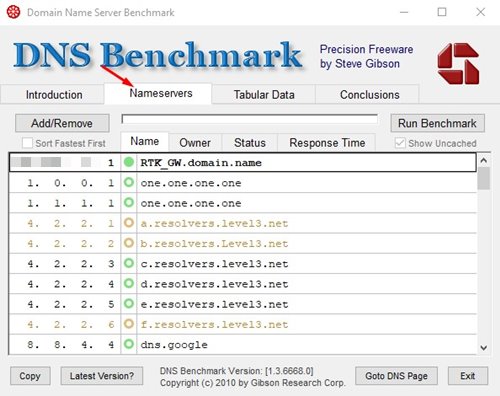
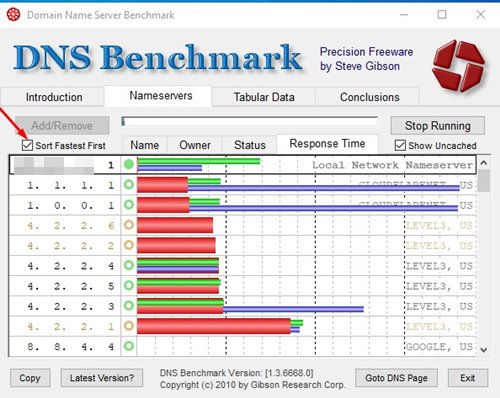
3. Now click on the Nameservers tab, as shown in the screenshot below.
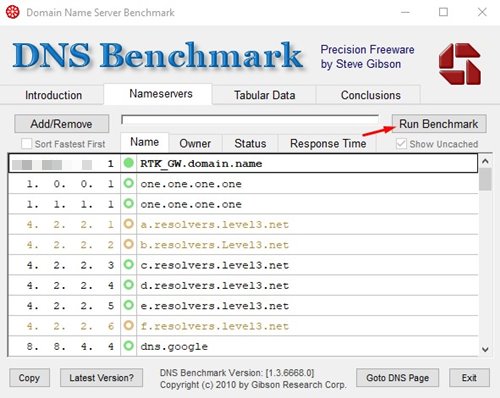
4. Now click on the Run benchmark button to find the fastest DNS server.
5. To sort the DNS servers, enable the Sort fastest first option as shown below.
That’s it! You are done. This is how you can use GRC Domain Name Speed Benchmark to find the fastest DNS server for your PC.
So, this article is all about how to find the fastest DNS server for your computer. I hope this article helped you! Share it with your friends also.


