Google DNS servers are considered the best for web browsing and gaming. It provides better browsing speed and enhanced security features. You can switch to a Google DNS server if you feel you are not getting the promised internet speed or face problems while playing online games.
Change Default DNS To Google DNS on Windows
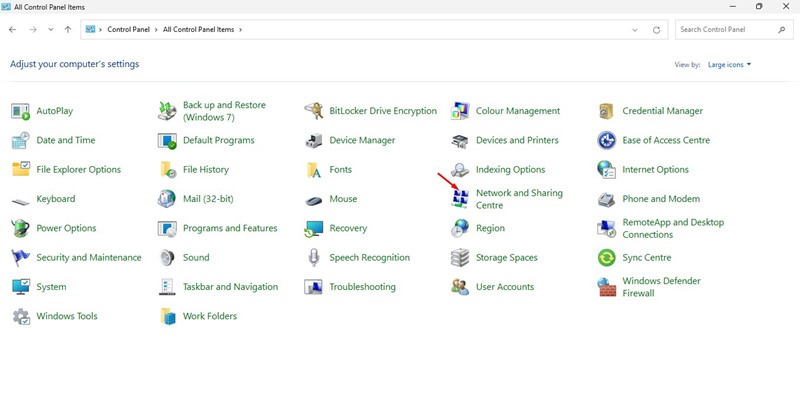
1. Go to the Control Panel and select Network and Sharing Center.
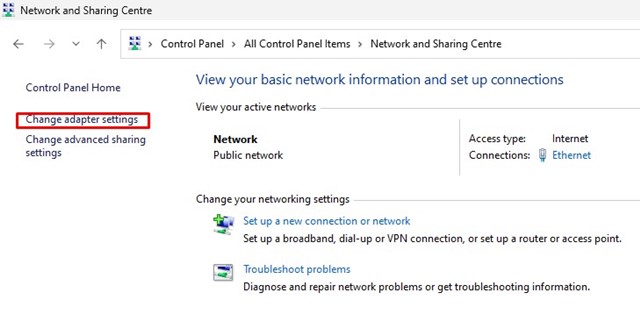
2. Click on Change adapter settings.
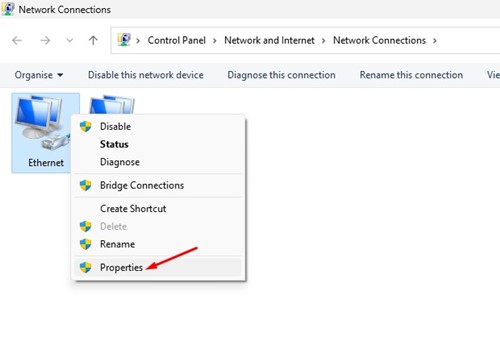
3. You will see all networks; select the network you want to configure for Google DNS. To change Ethernet settings, right-click on Local Area Connection and select Properties.
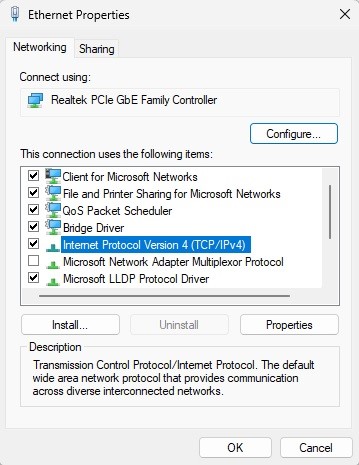
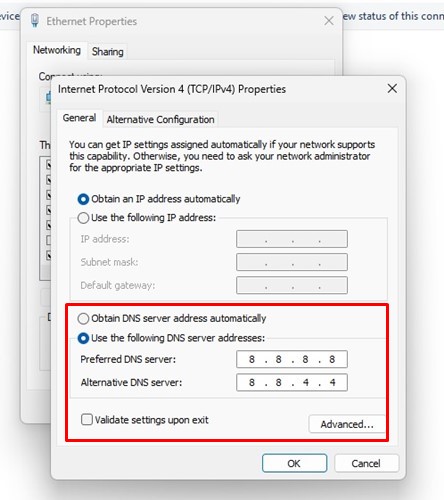
4. Click on the Networking tab, select the Internet Protocol Version 4 (TCP/IPv4) option, and click on properties.
5. Choose the radio button to Use the following DNS server addresses. In the Preferred DNS server field, enter 8.8.8.8; in the Alternative DNS field, enter 8.8.4.4. Once you’ve done this, click the OK button.
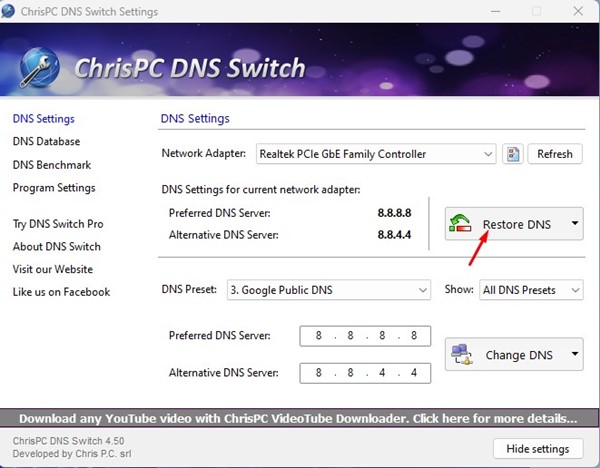
Switch to Google DNS on PC Using Chris-PC DNS Switch
This tool makes DNS changes easier and faster, giving you options like choosing from preset groups of DNS servers the one that fits your browsing habits.
1. Download and install the Chris-PC DNS switch on your Windows computer.
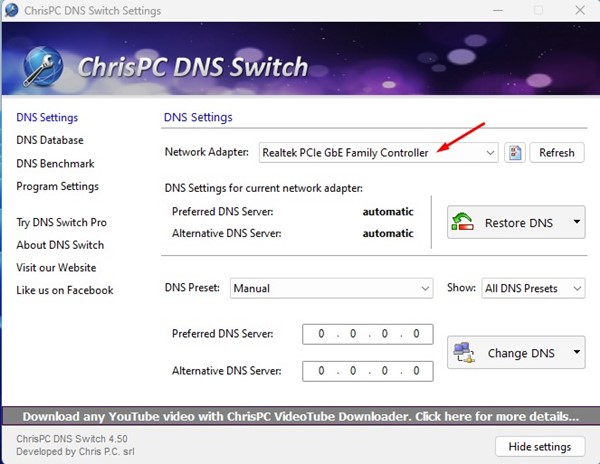
2. Select your Network Adapter (It will pick up the connected one).
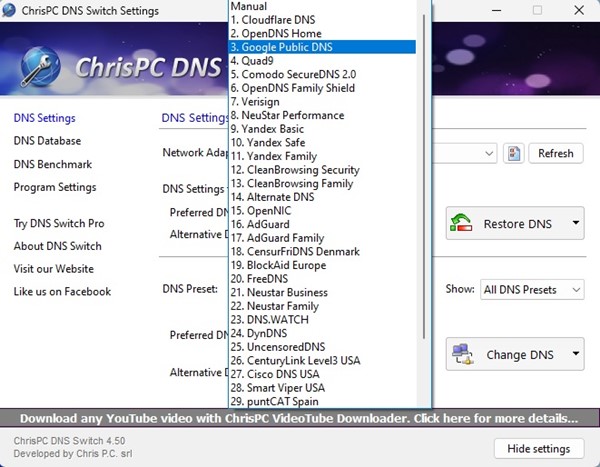
3. Select the DNS Preset. You will see lots of options. Just choose Google Public DNS from the drop-down.
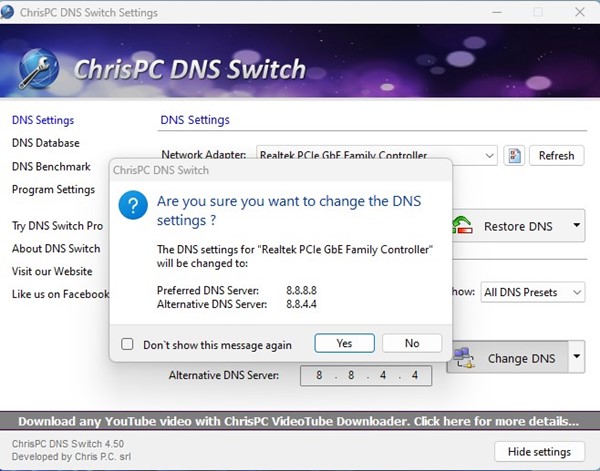
4. You need to click on the Change DNS option.

5. Once done, you will see a Pop-Up DNS successfully changed!
5. If you want to restore previous DNS settings, click Restore DNS; on the pop-up, click Yes.
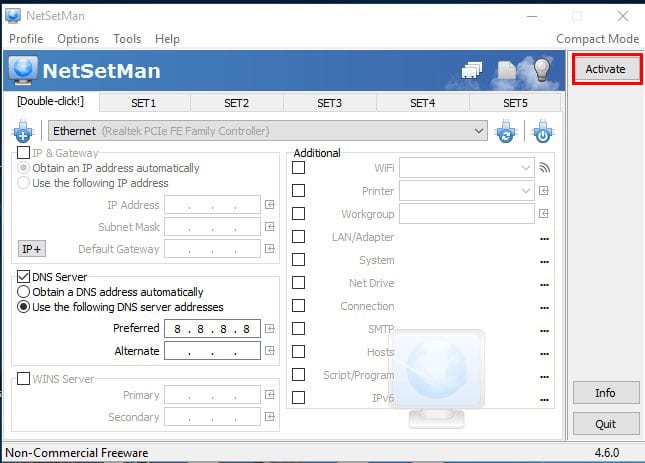
Switch to Google DNS on PC Using NetSetMan
NetSetMan is not limited to changing DNS Settings; this tool can also manage your WiFi network, workgroup network drives, and much more.
1. Download and install NetSetMan on your Windows computer and launch the app.
2. From the adapter drop-down, select your connected network.

3. Click on the DNS server box shown in the screenshot and enter the DNS server, which is 8.8.8.8 OR 8.8.4.4.

4. Click on Activate.
Switch To Google DNS On Android
Like a Windows computer, you can also increase the internet speed on your Android smartphone. Here’s how you can switch to Google DNS on Android.
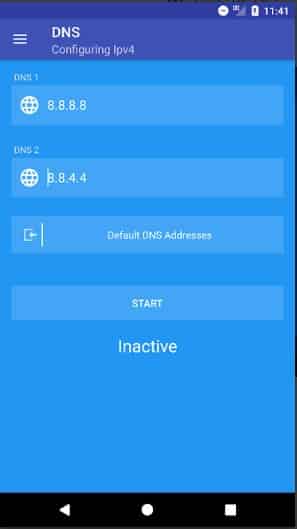
1. Install the DNS Changer app on your Android smartphone. For a direct Google Play Store link, click here.
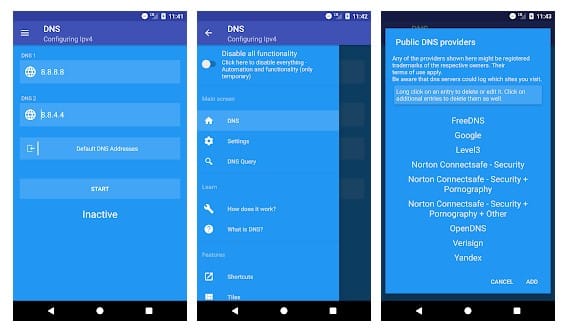
2. Open the app from your Android app drawer. You will be asked to grant a few permissions. Make sure to grant all permissions.
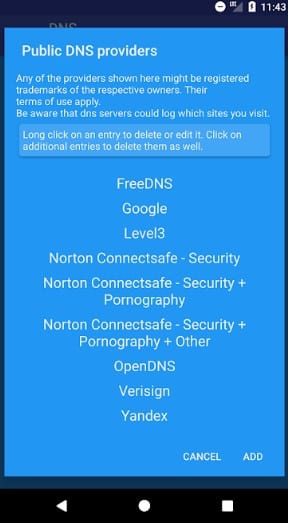
3. You will see the list of DNS Servers. Tap on the Google DNS.
4. Tap the Start button.
Switch to Google DNS on iPhone
You can add a custom DNS server to your iPhone to have faster internet. We have shared a detailed guide on how to do this.
Set the Custom DNS server with the addresses 8.8.8.8 and 8.8.4.4. This will switch to the Google DNS server on your iPhone.
These are some of the simple ways to change the Default DNS to Google DNS. After switching to Google DNS, you will notice improved video streaming speed. Let us know in the comments below if you need more help changing the default DNS to Google DNS.


Always looking for different things to try in order to boost my internet speed. Great information, thanks for sharing!