A few Windows users have asked about Audio lagging issues in Windows. They have stated that they face audio lag problems while playing any video.
This Audio lag can ruin your entire playback experience. If you’re experiencing a similar problem, here’s what you can do to fix it.
Run Audio Troubleshooter
If you don’t know, Windows offers a built-in Audio troubleshooter that can fix almost every audio-related problem. The built-in tool works great, but you need to know how to use it. Here’s how you can use Audio Troubleshooter.
1. Search for Troubleshooter on the Windows search bar. Then, open the first suggestion from the list.
2. You will see the Troubleshooting page. Click on the Troubleshoot audio playback option.
3. You will see another pop-up window. Click on Next.
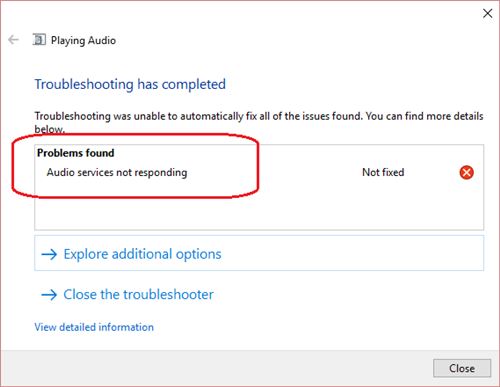
4. The Audio troubleshooter of Windows will scan for the existing problems. If it finds any, then it will fix it automatically.
Update Audio Drivers
Audio lagging on Windows operating systems is also caused by outdated audio drivers. So, we need to use the Device Manager to update the existing audio drivers in this method.
1. Open the device manager on your Windows computer. To open the device manager, click on My Computer > Properties. Under the Properties, you need to select Device Manager.
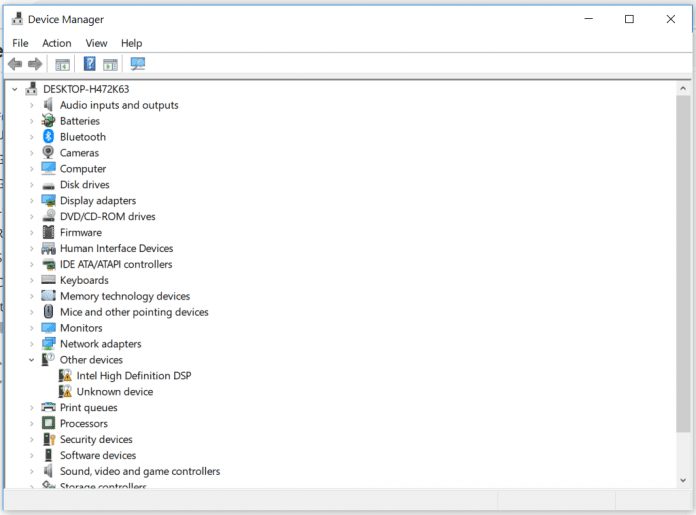
2. Under the device manager, find and expand the option System Device.
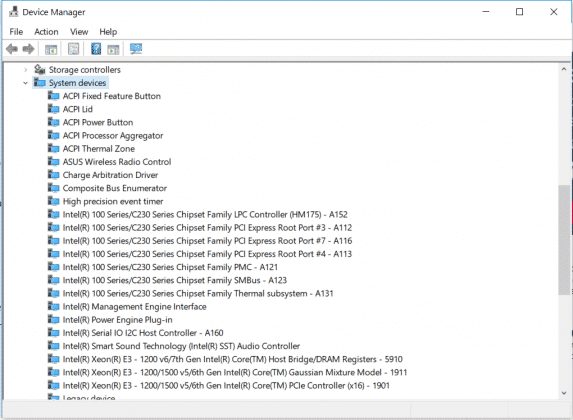
3. Find and right-click the current Audio driver, then choose Update Driver.

4. You will see another pop-up window asking you to select the method for searching for the drivers. You need to select the First Option.
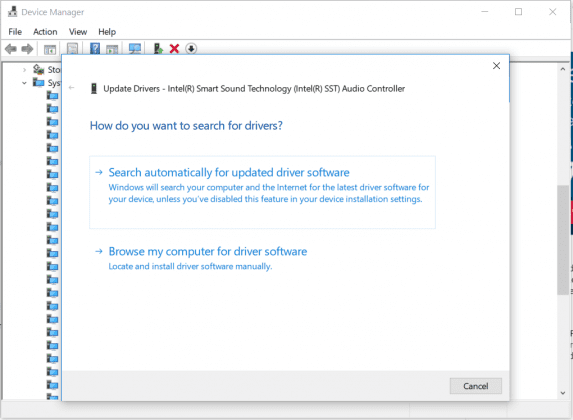
This option will automatically search and download the latest version of the Audio driver on your computer. After updating the driver, restart your computer for the changes to take effect.
Restore Playback Device to Default
If you have recently used any new playback device on your computer, like headphones, speakers, etc. Then, you need to restore the Playback device.
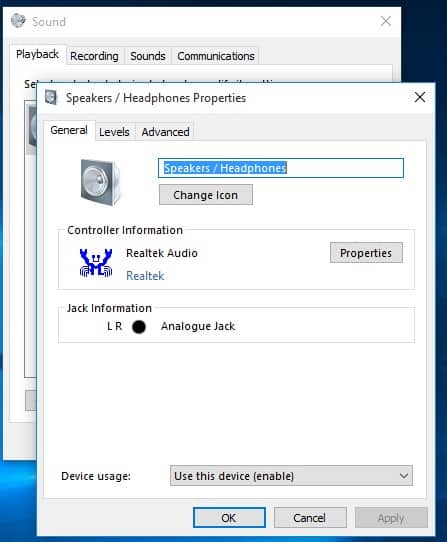
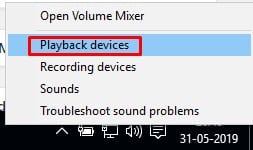
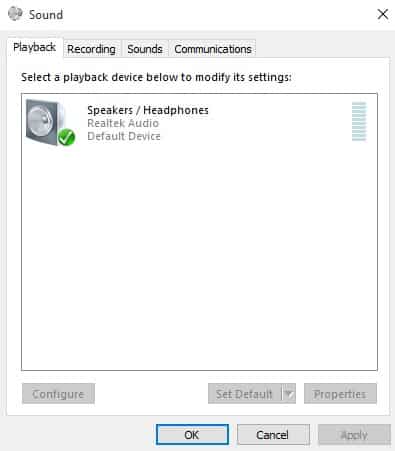
Restoring all values to the factory should fix the audio lagging problem on Windows computers. To do that, users need to right-click on the Sound Icon and select the Playback tab. Under the Playback tab, right-click on the default playback device and then select ‘Properties’.
You need to click on the Restore Defaults. That’s it; you are done! This is how you can restore the Playback device to its defaults. This will eventually fix the audio lag on Windows.
Check On VLC Media Player
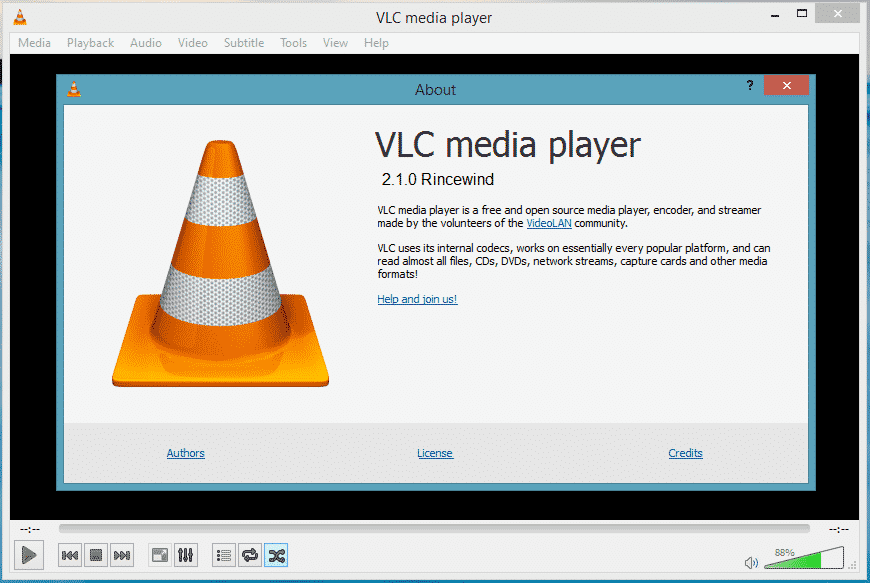
We know it’s not a permanent solution to fix Audio Lag; however, the VLC media player is a capable video player app that is available on the web.
If the audio lagging problem doesn’t appear on the VLC media player, the audio codecs are faulty.
Install Codec Pack
Installing a third-party codec pack sometimes seems to fix audio lag & crackling sound on Windows. If you don’t know, Codec is software that compresses video so it can be stored and played back.
One of the most significant advantages of codecs is that they optimize video and audio files for playback.

There are many codec packs available for Windows. However, the K-Lite Codec Pack seems to be the best option. The codec pack also includes Media Player Classic Home Cinema.
Change Your Audio Format
Some users have reported fixing the Audio lag and crackling sound by changing the Audio Format. You can try doing it as well.
1. Right-click on the speaker icon from the notification bar and then select Playback Devices.
2. In the next step, double-click on the default playback device.
3. Click on the Advanced tab and select the Audio format. We recommend setting it to 16 bits, 44100 Hz (CD Quality).
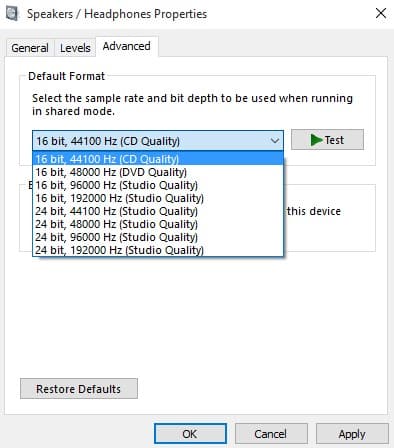
4. Similarly, you can try different audio formats as well. Once done, click on Ok to make the changes.
These are the best methods to fix audio lagging in Windows. Not just audio lagging, but these methods will fix almost all audio-related issues on your Windows computer. Let us know in the comment box below if you know other methods to fix Windows audio lagging.


