Well, if you have used the older version of the Windows operating system, you will know that the Windows 10 start menu greatly differs from Windows 7 and 8. Compared to the older versions, Windows 10 start menu looks more modern and cleaner.
The Windows 10 start menu shows live tiles of installed apps. However, Windows 10 is not entirely free from bugs, and Windows users often face issues like search not working, the start button not working, the start menu showing blank tiles, etc.
So, here in this article, we have decided to cover Windows 10 live tiles not working issue. So, if your Windows 10 Start Menu is showing blank tiles, we have discussed a few methods to help you fix the problem.
Best Methods to Fix Blank Tiles On Windows 10 Start Menu
Not just Blank tiles, but the methods we will share below will fix most of the Windows 10 start menu related problems like the search feature not working, the start button not clickable, etc. So, let’s know how to fix blank tiles in Windows 10 start menu.
1. Restart Your Computer
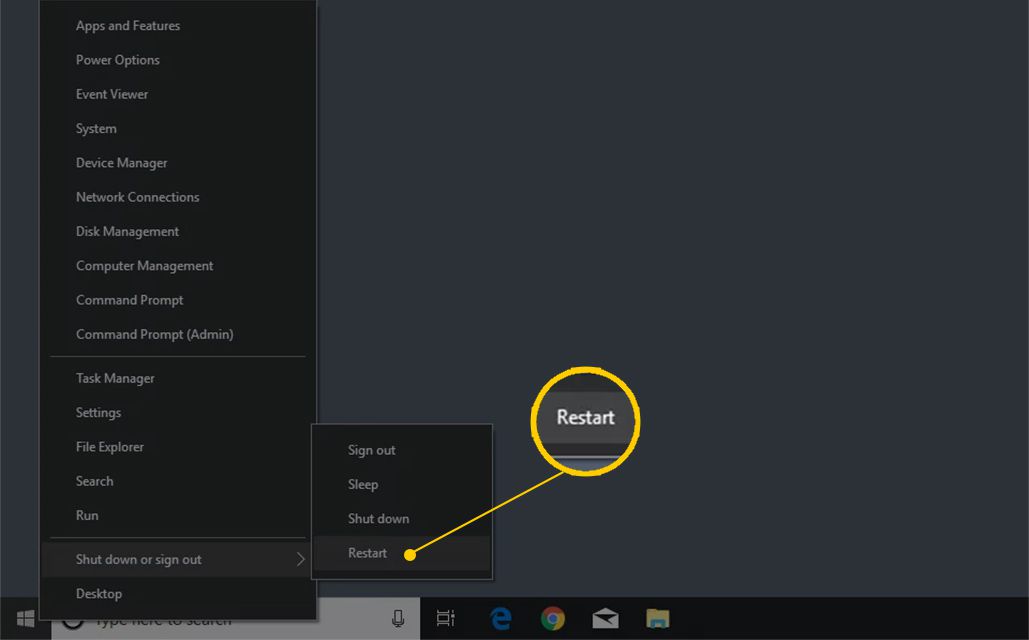
Well, this is one of the first things which you should do. Not just start menu problems, but a simple restart can sometimes fix critical errors. So, make sure to save all your work and close all programs. Once done, restart your computer, and the Blank tiles error will probably be fixed.
2. Restart the Windows Explorer
You can follow this method if you don’t want to restart your system. System restart also restarts Windows Explorer, so if you have followed the first method, you can skip this one. Here’s how you can restart Windows Explorer to fix Live tiles not working on Windows 10.
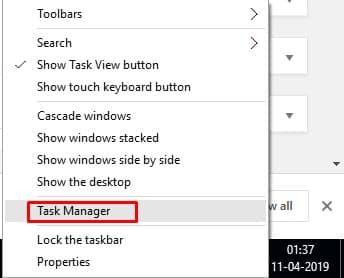
1. First, right-click on the Taskbar and then click Task Manager.
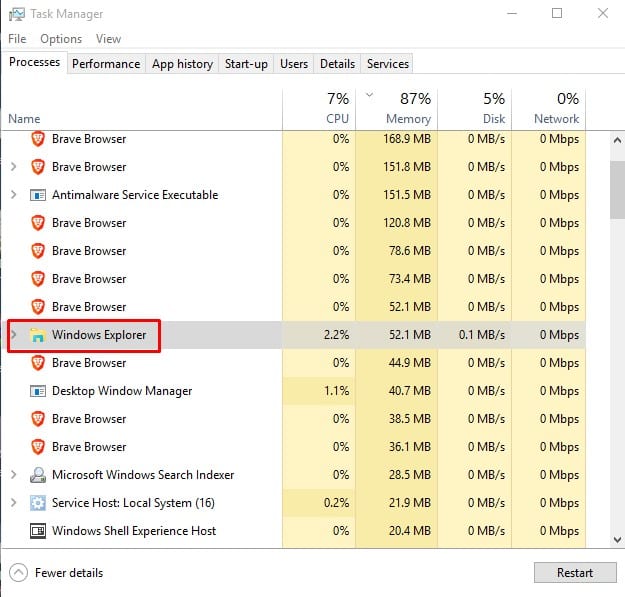
2. Now, on the Task Manager, you need to find ‘Windows Explorer‘
3. Right-click on ‘Windows Explorer’ and then click on ‘Restart‘
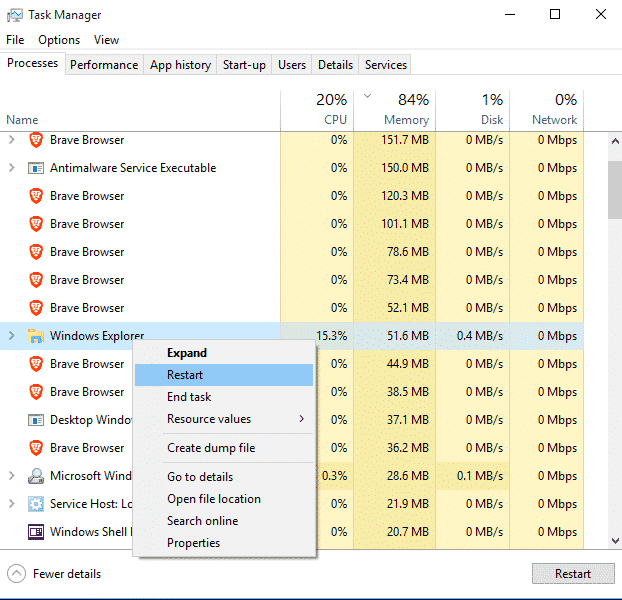
That’s it! This is how you can restart Windows Explorer to fix blank tiles on Windows 10.
3. Using Start Menu Troubleshooter
Well, the Start menu has some fixes, and there’s no troubleshooter available to fix Start menu problems. Fortunately, you can download Start Menu Troubleshooter from this link to fix Windows 10 start menu related problems.

Visit this link and download the Start Menu Troubleshooter. Once downloaded, open the tool, and you will see the main interface. Click on the ‘Apply Repair Automatically’ option and then click on ‘Next’.
That’s it! This is how you can use the Start menu troubleshooter to fi blank tiles in the Windows 10 start menu.
4. Run SFC Command
The System File Checker (SFC) command on Windows 10 can fix most Windows problems. The command basically scans and repairs the corrupted system files. So, if the start menu error appears due to corrupted system files, then the SFC command can fix it. Here’s how you can use the SFC command on Windows.
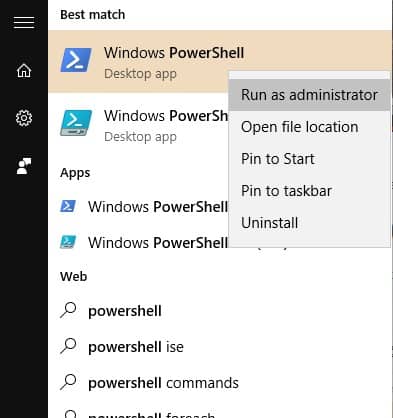
1. First of all, press the Windows button and then type in Powershell. Right-click on the Windows PowerShell app and select ‘Run as Administrator’
2. On the Powershell window, type in sfc /scannow and press Enter.
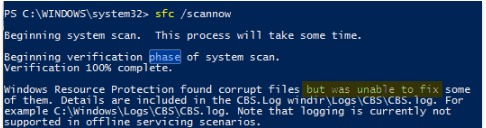
Now, wait until the scan completes. Once completed, restart your computer.
5. Using System Restore
The System Restore option on Windows 10 rolls back the app settings and data to the previous state. However, System Restore will also delete the data and app settings created after the restore point. So, create a backup of your Windows before performing a System Restore.
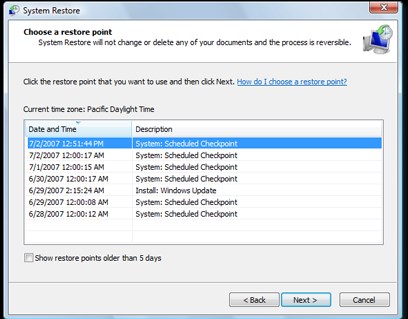
1. Head to the Control Panel and click on the System Restore option.
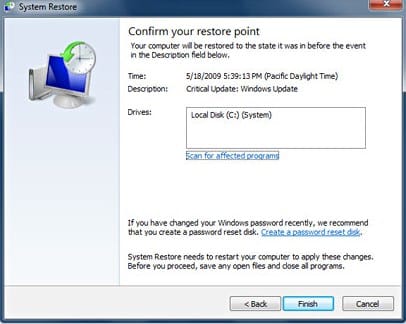
2. The System Restore panel will show all restore points you have created. Select the restore point and then click on ‘Next‘
That’s it! Now follow the on-screen instruction to complete the System Restore.
So, these are the best methods to fix Blank tiles in the Windows 10 start menu. We are sure this would probably fix blank tiles on your Windows 10 start menu. If you know of any other working method, let us know in the comment box below.


