If you are using the latest version of Microsoft Windows, then you might have already experienced random freezes and lags. Random Freezes and Lags are nothing new on Windows 10, and it has been troubling users since it was launched. Normally, users face random operating system lags after upgrading to the latest Windows 10.
Random hangs can drastically impact your Windows experience. In some cases, freezing can occur as soon as the Windows starts. Some users have also reported that Windows starts stuttering at random intervals.
6 Best Methods To Fix Windows 10 Freezes Randomly Issue
So, in this article, we have decided to share a few methods which would help you to fix Windows 10 random freezes. These methods could help you in dealing with lots of Windows OS related problems.
1. Updating Your Drivers
Let’s just forget about Windows freezing, for the efficient working of your PC’s hardware, you much ensure that whether your Windows Drivers are updated to the latest version or not. Updating your drivers could help you to deal with most of the problems including audio not working, game lagging, system lags, etc.
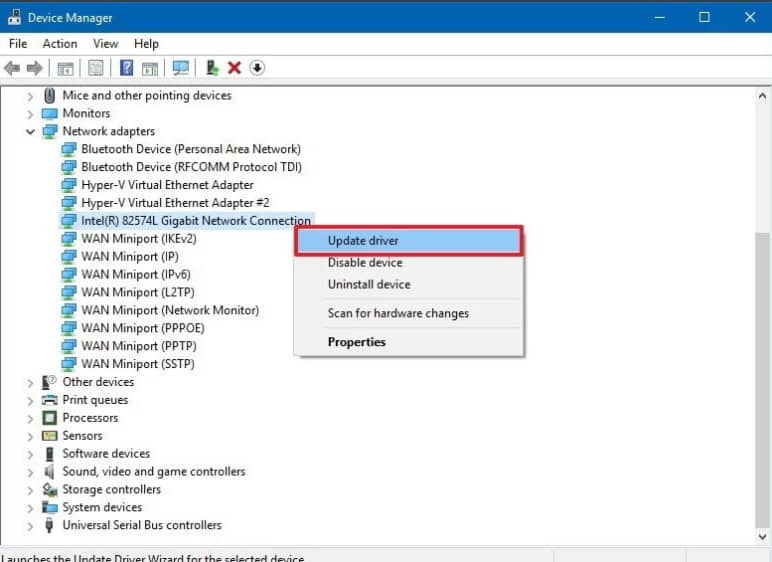
Step 1. First of all, open the Start menu and search for ‘Device Manager’. You need to open the first option from the list.
Step 2. Now you will see the Device Manager page. There you need to look for the components which have an error icon assigned. Right-click on it and then select ‘Update Driver’
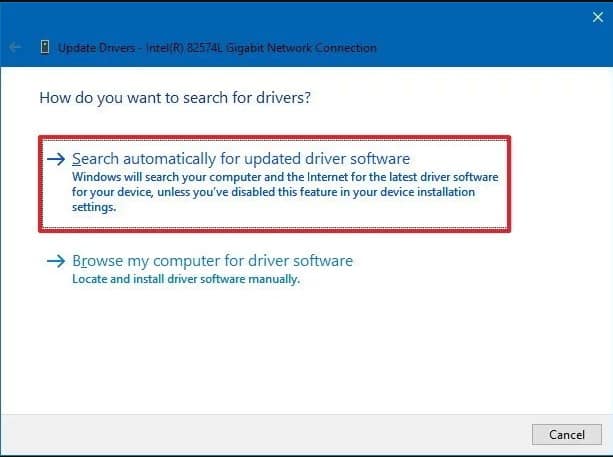
Step 3. In the next step, you will be provided with two options. You need to select the first option ‘Search automatically for the updated driver…’
That’s it, you are done! If you are not willing to follow the method given below, then you can also consider driver updating tools for windows. We have already shared an article in which we have discussed the best driver updating tools for Windows.
2. Install All Pending Windows Updates
Users don’t bother to install the pending Windows updates which leads to various errors. It’s worth understanding that Microsoft pushes important updates that contain lots of bug fixes. So, the solution for the Windows 10 freezes randomly lies in the Windows Updates Installation.
Step 1. First of all, visit the Settings Page on Windows 10. For that, Press Windows Key + I on your keyboard.
Step 2. Now you will see the Settings Page. There you need to click on the option ‘Update & Security’

Step 3. Once done, you will now see the ‘Update & Security’ page. There click on the Windows Update tab and then click on ‘Check for Updates’
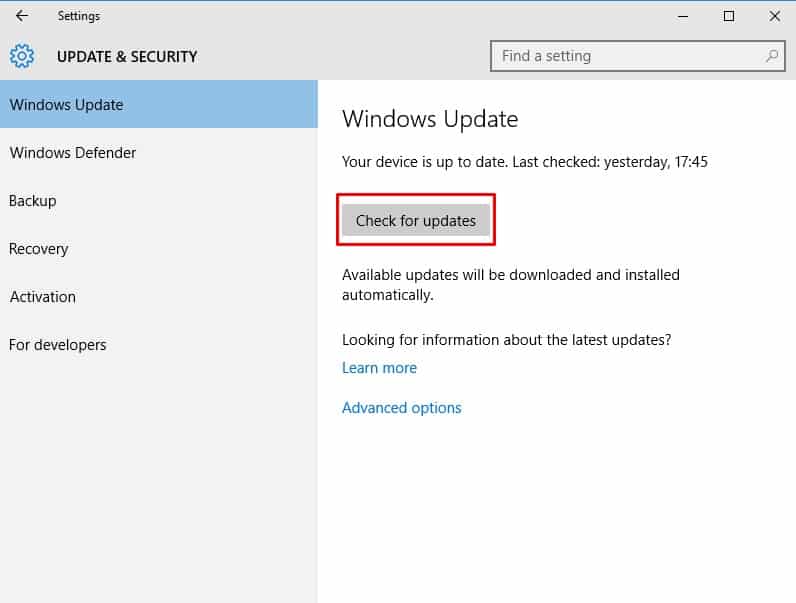
That’s it, you are done! Now the Update & Security utility will check for any available updates. Make sure to install the pending updates to fix Windows 10 lag issue.
3. Turn Off Link State Power Management
Link State Power Management is a complicated subject, so we aren’t going to explain what it does. But, in short, it has something to do with Power Management. It somehow preserves the power leading to lags and hangs. So, in this method, we are going to turn off the Link State Power Management option to fix the Windows 10 random freezes.
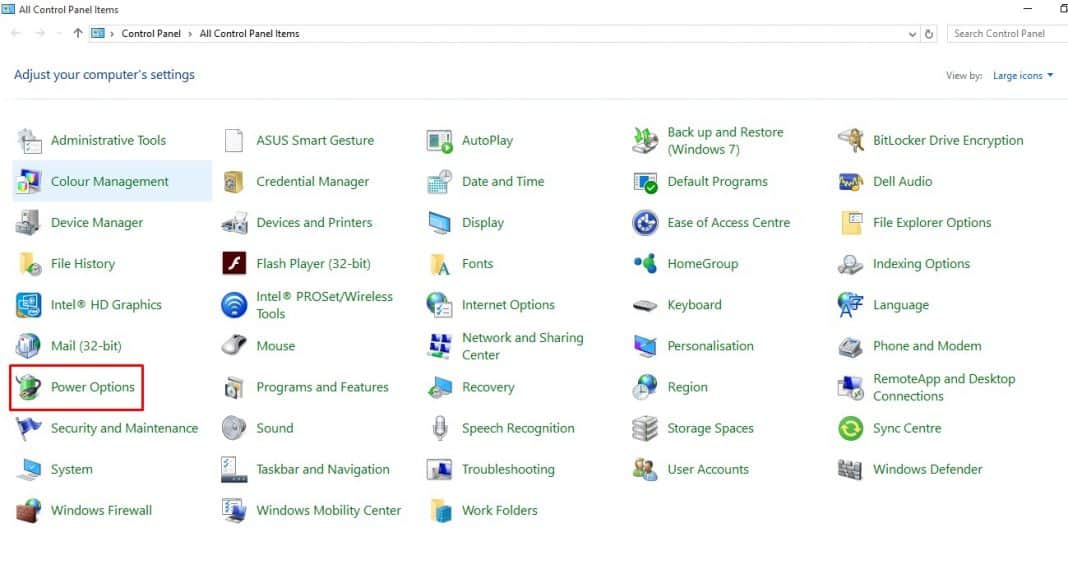
Step 1. First of all, press Windows Key + S on your keyboard and search for Control Panel. Open the Control Panel from the list.
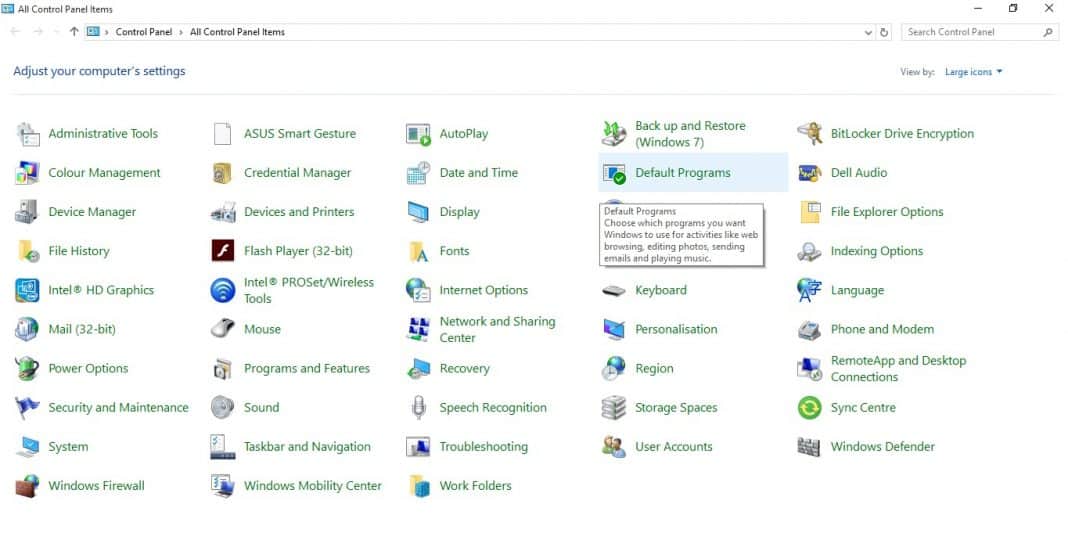
Step 2. Now under the Control Panel Page, select ‘Power Options’
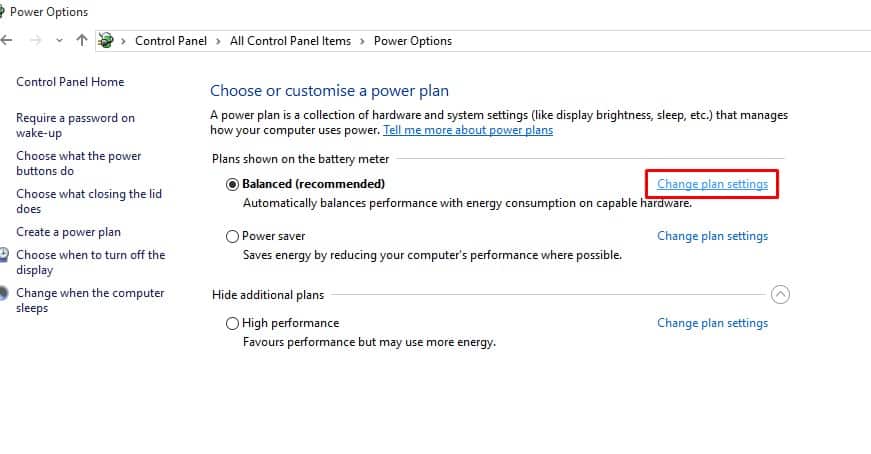
Step 3. Now you need to click on the ‘Change Plan Settings’ under the currently selected plan.
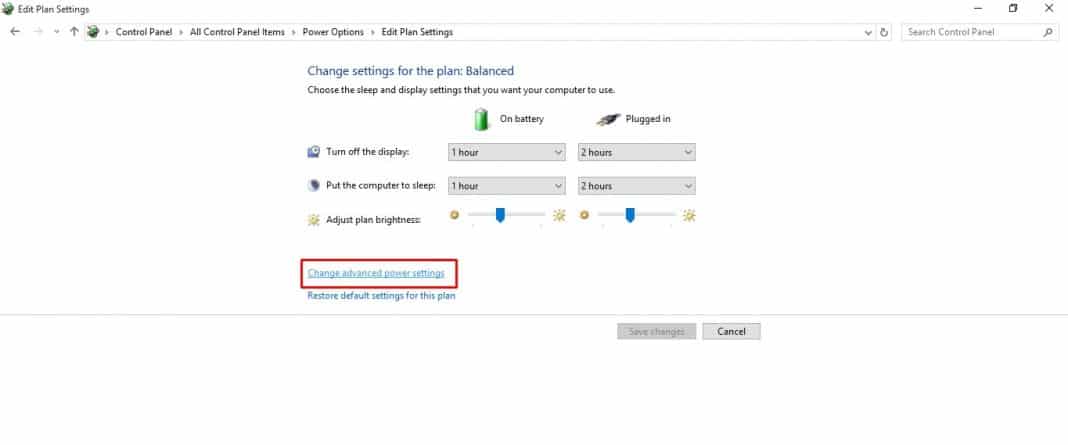
Step 4. In the next window, click on ‘Change Advanced Power Settings’
Step 5. In the next step, head to the PCI Express > Link State Power Management. You need to set the option to ‘Off’. Finally, click on ‘Apply’ then on ‘Ok’
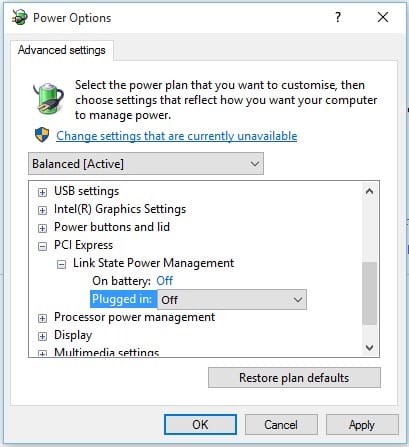
That’s it, you are done! This is how you can turn off Link State Power Management to fix Windows 10 random lags and freezes.
4. Check The SATA Cable
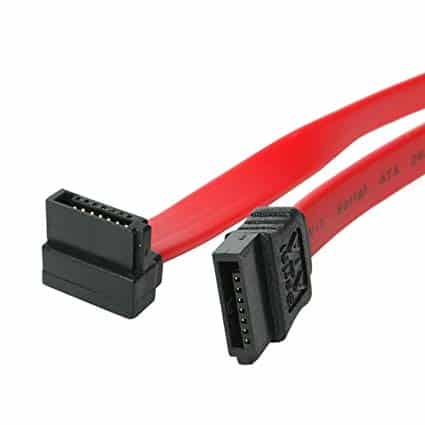
Well, STATA cables are used for connecting devices like optical drives and hard drives to the motherboard. Sometimes, an unstable connection between the motherboard and hard drive also leads to the Operating system lags & freezes. In fact, some Windows 10 users have reported that SATA cable was the actual cause behind the Windows 10 freezing problem. Replacing SATA cable is not a difficult task. However, if you aren’t sure of what you will be doing, then you can take your computer to the repair center and ask them to replace the SATA cable.
5. Using SFC Command
Well, corrupted, missing, or modified system files could be another reason behind the random Windows 10 lags and freezes. So, in this method, users need to use the SFC Command to fix the corrupted Windows files. The SFC Command will also help you in troubleshooting a buggy Windows system.
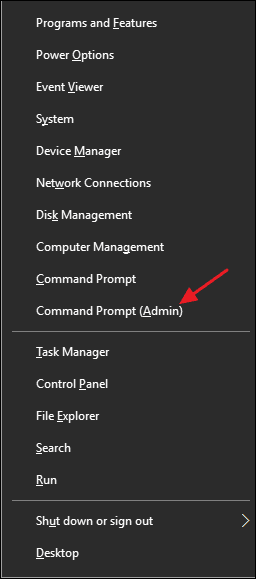
Step 1. First of all, right-click on the Start Button and then select the option ‘Command Prompt (Admin)’
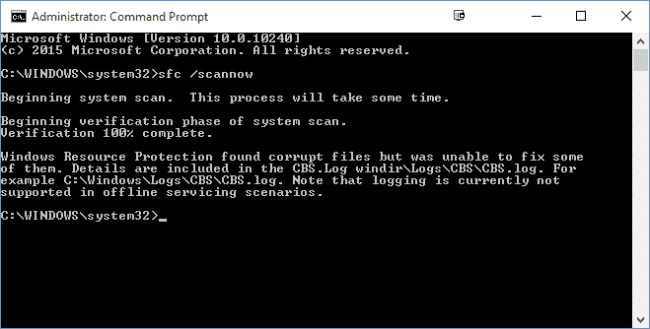
Step 2. Now on the command prompt window, enter the command 'sfc /scannow' and press Enter.

Step 3. Now, wait for a few seconds to complete. If you get an error message like ‘unable to fix some files’ then repeat the steps in the Safe mode.
That’s it, you are done! This is how you can use the SFC command to fix Windows 10 freezes Randomly issues.
6. Repair Startup
If the Windows 10 keeps freezing on startup, then there’s something wrong with the Startup. The best way to fix a Startup problem is to run the Automatic Startup repair tool. Windows operating systems can troubleshoot various startup problems and fix them on its own. So, here’s how you can perform a startup repair.
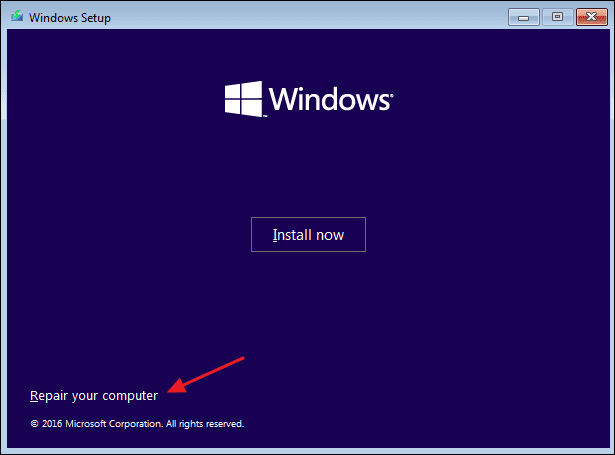
Step 1. First of all, insert the Windows 10 installation disk and then restart the system. During the boot, press F8 two-three times and later on the Windows installation screen select ‘Repair Your Computer’
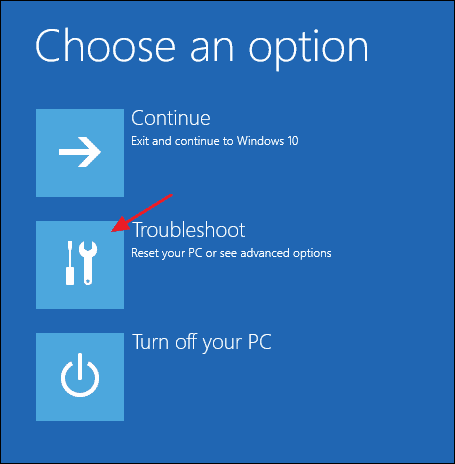
Step 2. On the next page, you need to click on the ‘Troubleshoot’ option.
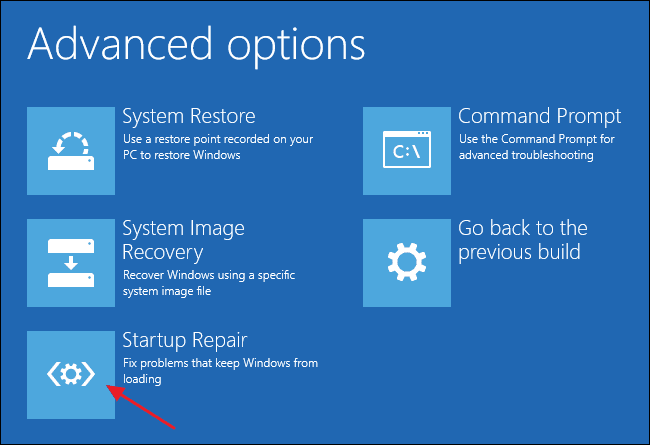
Step 3. Now you will see the ‘Advanced Options’ page. There you need to click on ‘Startup Repair’
Step 4. Next, select the target operating system and your computer will restart and will start to diagnose your computer.
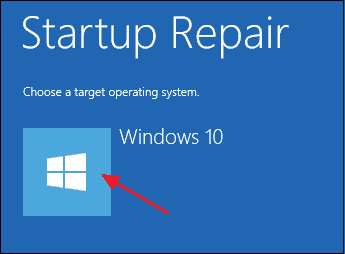
The process might take a few minutes or hours to complete depending upon the specifications. Once done, the Windows 10 random lags and freeze after the startup will be fixed.
So, these are the best methods to fix Windows 10 random freezes and lags. If you know any other method to fix the error, let us know in the comment box below. I hope this article helped you! Share it with your friends also.


