Let’s admit it, there are times when we have wanted to format an entire drive on Windows 11. Of course, there might be various reasons behind formatting an entire drive on Windows; maybe you want to get rid of all files in one click or just want to have a fresh start.
Whatever might be the reason, you can easily format a drive in Windows 11. When you format a drive on Windows 11, it removes all existing data from the drive. Also, while connecting a drive to Windows, either internally or externally, it’s important to format it.
After formatting a drive, you can create a new partition through the Disk Management utility. Also, if you feel that the drive is not working correctly, you can choose to format it.
However, you should keep in mind that formating a drive removes all existing data. So, if you want to format it, make sure to create a copy of all important files and folders. As after the Format, there will be no option left to recover those data.
Also Read: Download Windows 11 ISO Files Without Media Creation Tool
List of 2 Best Ways to Format a Drive On Windows 11
So, in this article, we will share the 2 best ways to format a drive in Windows 11. Let’s check out.
1. Format a drive via File Explorer
In this method, we are going to use the Windows 11 File Explorer to format a drive. You need to follow some of the simple steps shared below.
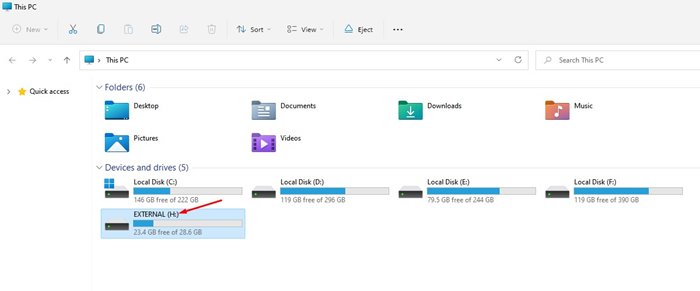
1. First of all, open File Explorer on your Windows 11 PC. You can double click on the This PC desktop icon to open the File Explorer.
2. Now, under the Devices and drives, select the drive that you want to format.
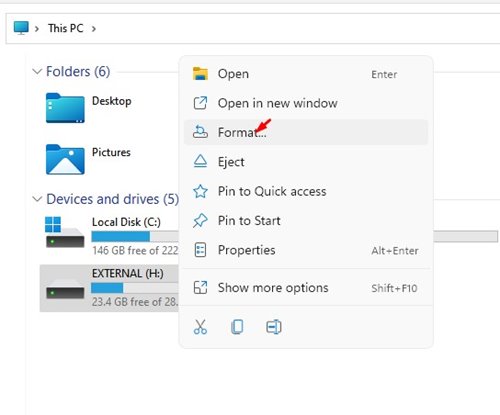
3. Now right click on the drive and click on the Format option from the Context menu.
4. You will now see the Format menu. The format menu will list many things. Here are what each of the options means.
Capacity: This displays the total capacity of the hard drive.
File System: This defines how data is stored on a drive. There are three file systems – FAT32. NTFS, and exFAT. For Windows 10/11, you need to use the NTFS file system.
Allocation Unit Size: Allocation unit size or Cluster size is meant for devices with slow hard disk drives. The cluster size is set to 4096 bytes by default in the NTFS file system. In most cases, you don’t need to alter any changes to the Allocation Unit Size.
Volume Label: Here, you need to enter the name of the drive. The name will appear on the file explorer after formatting the drive.
Format Option: You will find two options here – Quick and Full Format. The Quick Format deletes the file system table and root folder. If you perform a quick format, the data could be recovered. On the other hand, Full Format makes data unrecoverable.

5. To start the formatting process, click on the Start button. You will get a warning message; click on the Ok button to proceed.
2. Format Windows 11 Drive via Disk Management Utility
You can even use the Disk Management utility to format a drive on Windows 11. However, the disk management process is a little bit complicated. Here are some of the simple steps to follow.
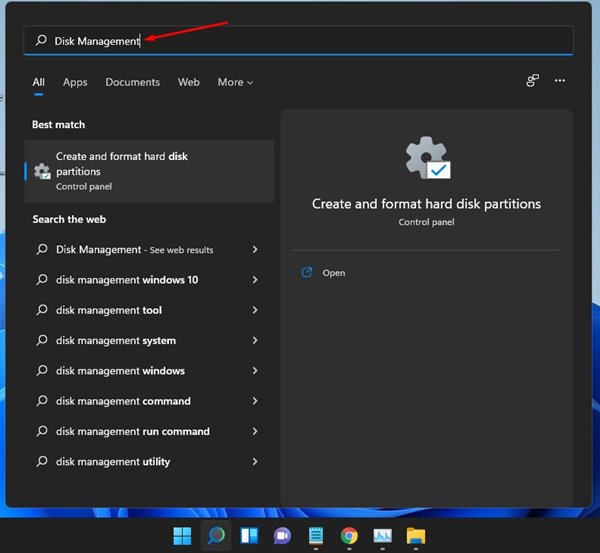
1. First of all, open the Windows 11 search and type in Disk Management. Then, open the Disk Management utility from the list.
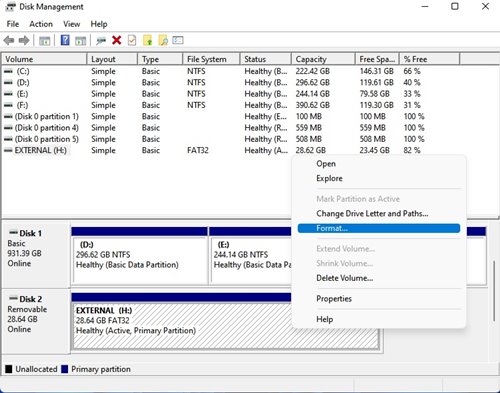
2. On the Disk Management utility, select the drive which you want to format.
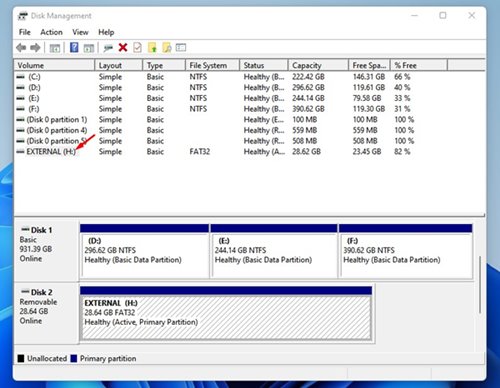
3. Right-click on the drive partition and select Format.
4. On the popup, set the Volume level, select the File System and Allocation unit size.
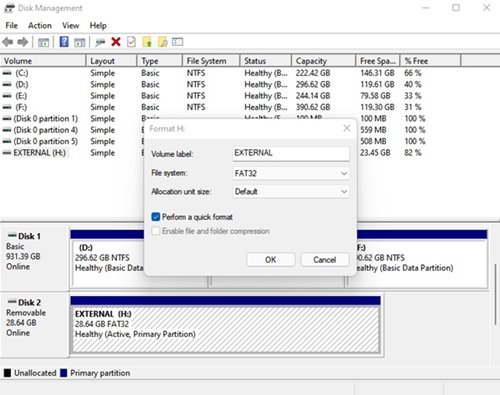
5. Check the option Perform a quick format and click on the Ok button.
That’s it! You are done. This will format the drive partition.
So, this guide is all about how to format a drive on Windows 11. I hope this article helped you! Please share it with your friends also. If you have any doubts related to this, let us know in the comment box below.

